after my pac-man stencil disaster, i wanted to do a restoration which would (hopefully) go down quickly and easily. the school easter holidays were knocking on my door and patrik asked me if we don't want to bring another cab up into my apartment before he goes on holidays with his family - as if i didn't already have enough restoration projects going on. but who cares?

we decided to go for
PAC-MANIA from my
FIVE IN A ROW BERLIN ROADTRIP because i had already removed the monitor, the control panel and the power block before - so this was a light cabinet to carry up the stairs.
i didn't take any pictures before i started removing parts from the cab, but the two pics i took while on location in berlin will do just fine!
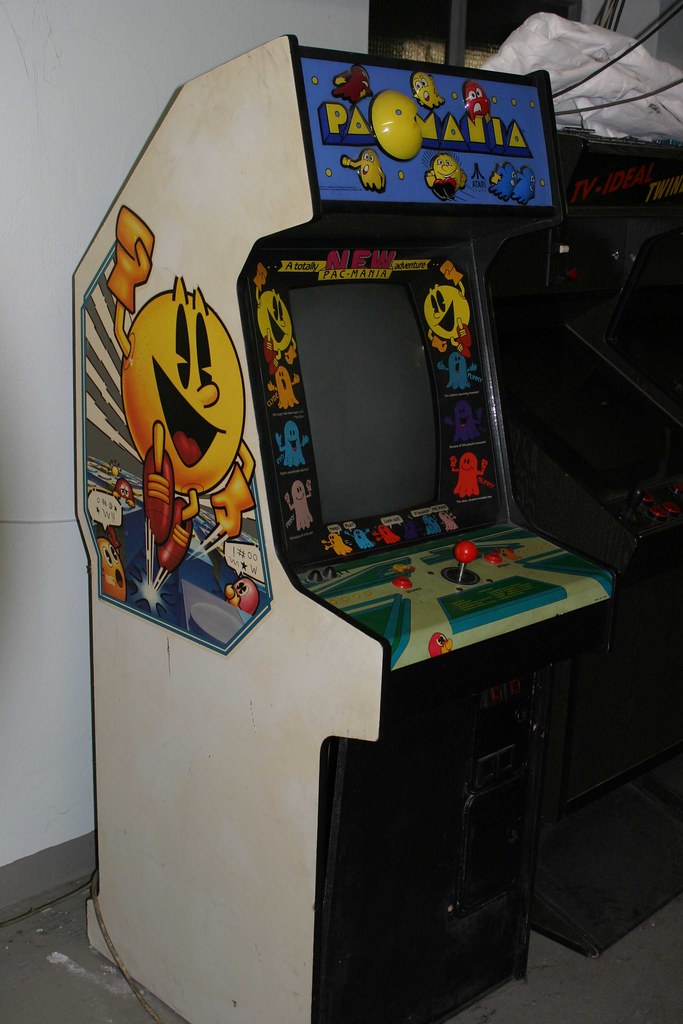

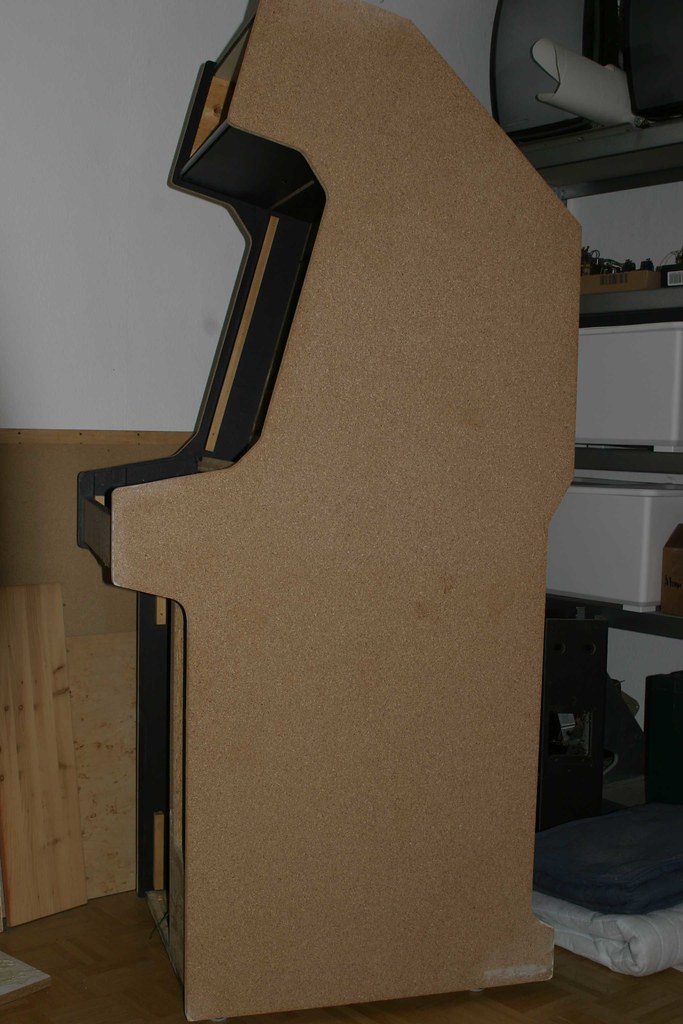
as you can see, the condition of the cab is pretty good, so this shouldn't be a major undertaking
 let the restoration begin ...
first, some detailed pictures of the cabinet:
the vinyl on the sides has the usual wear
the sideart on one side has lost its colors - looking pretty pale, don't you think?
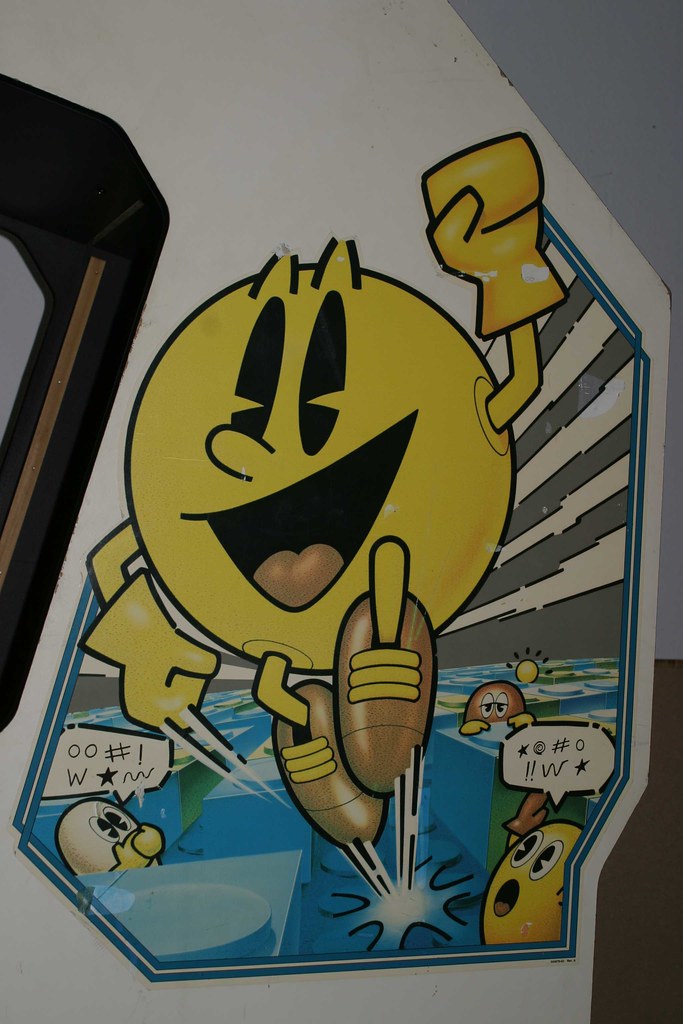
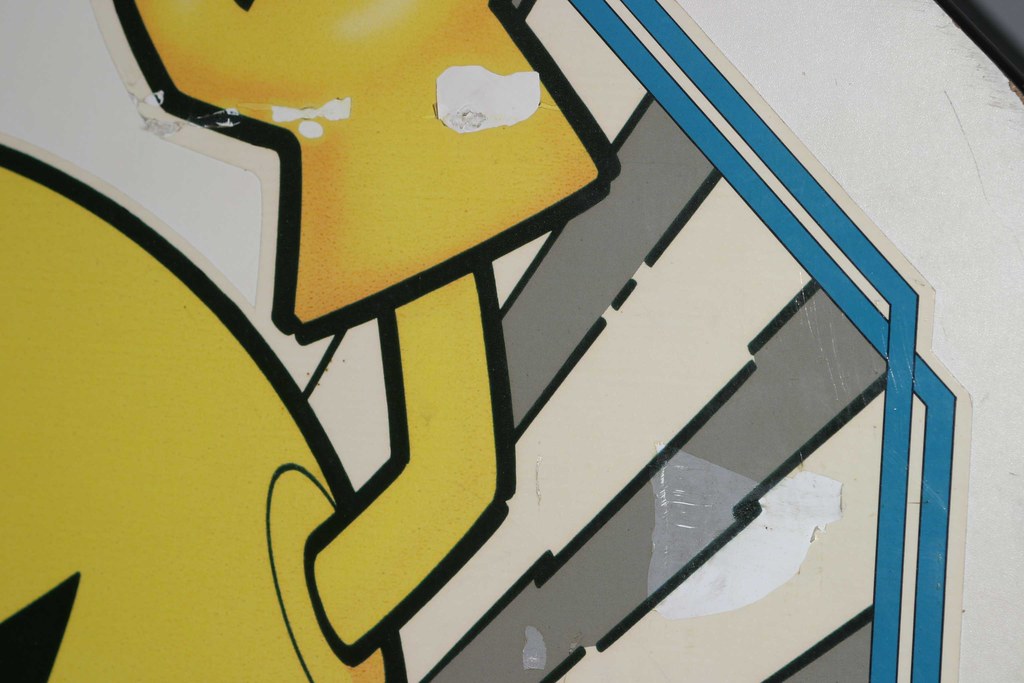
parts of the protective layer are peeling off ...
... or are already gone

on the other side the colors look much more vibrant
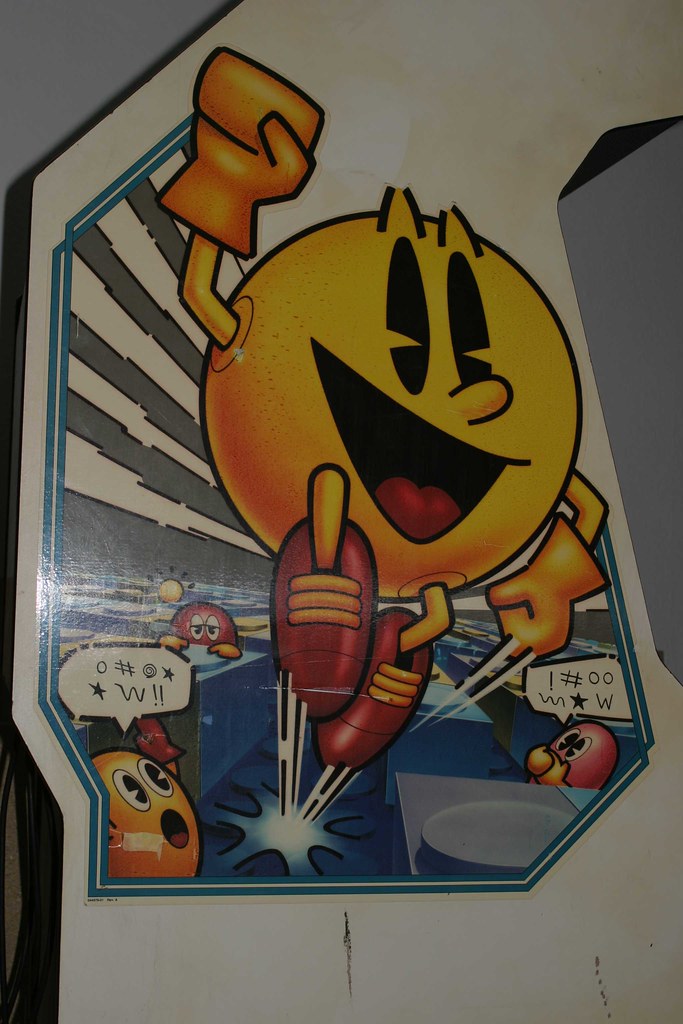
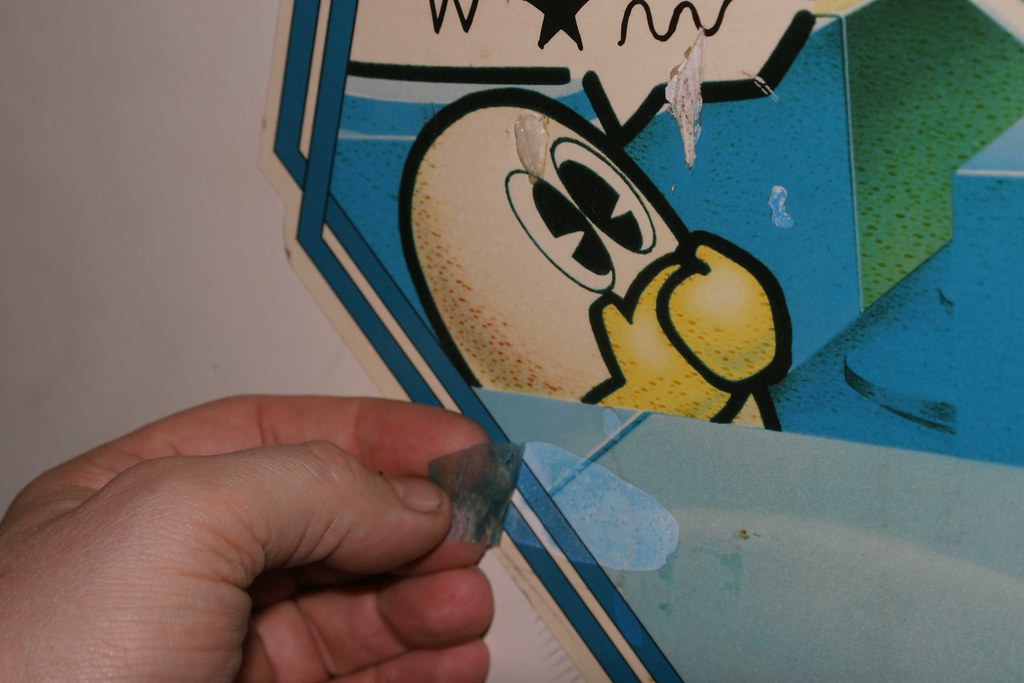
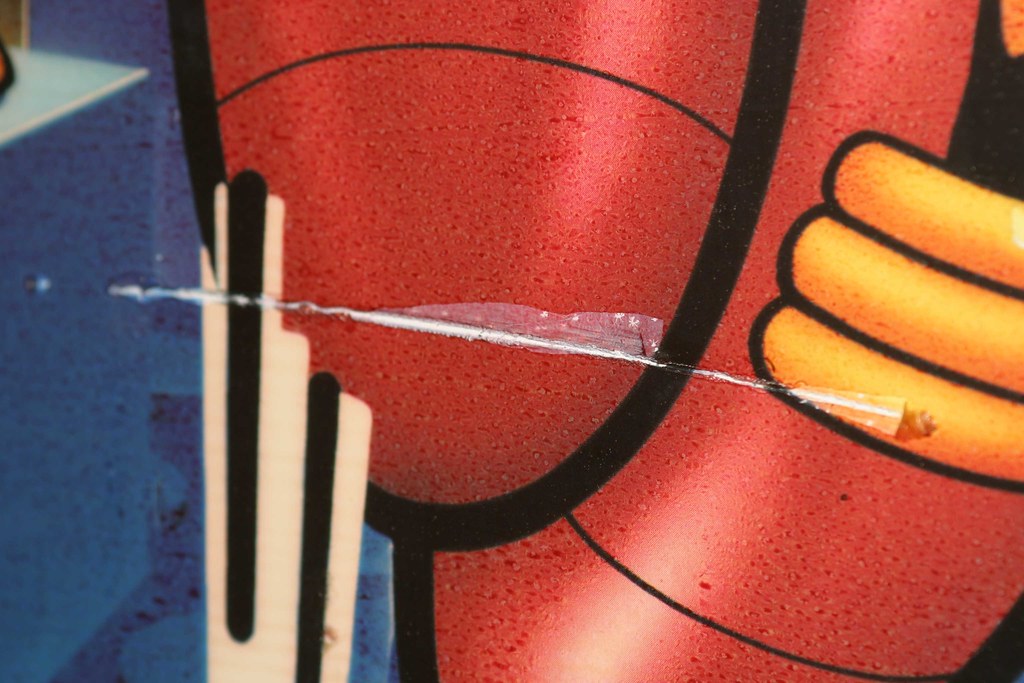
but the sideart has the same problem with the protective layer ...
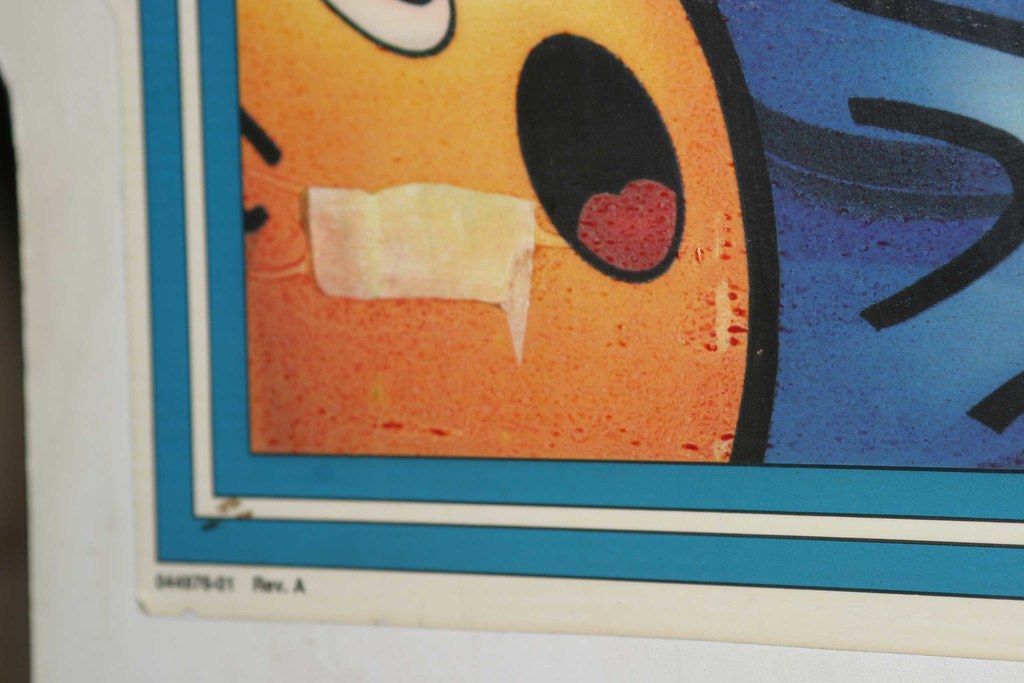
... and some nasty scratches

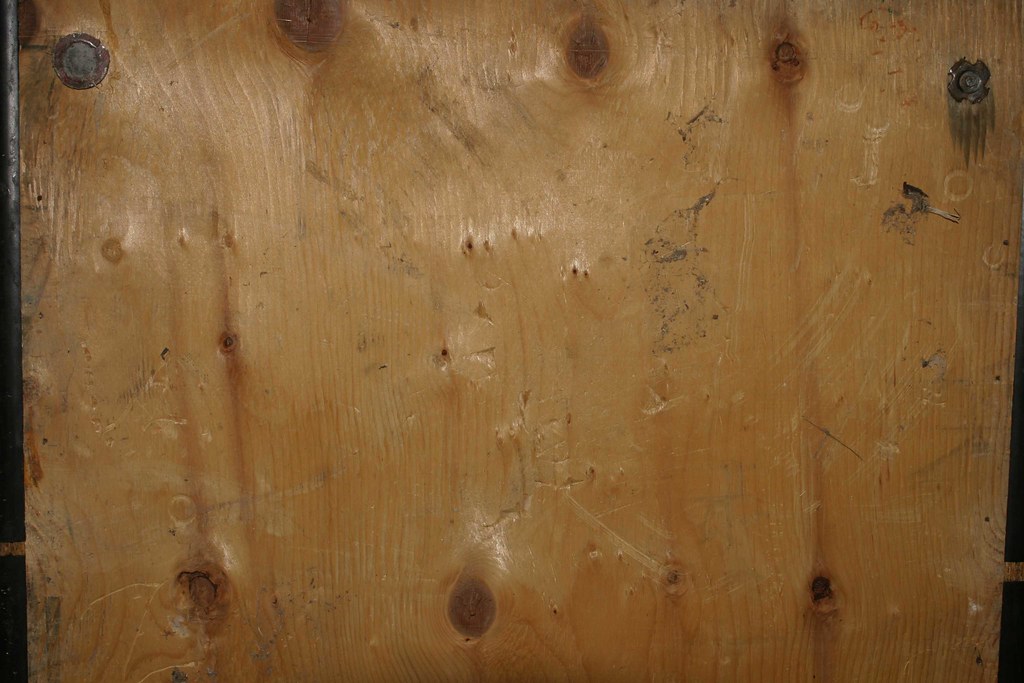
nothing new on the back. this cries out loud: RESTORE ME!!!
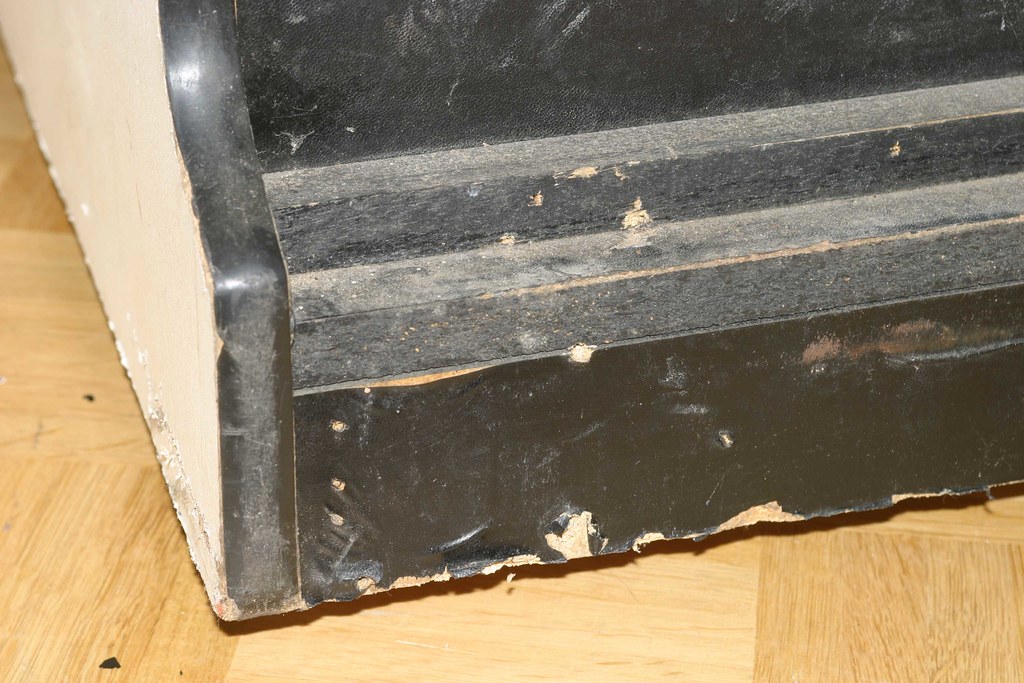
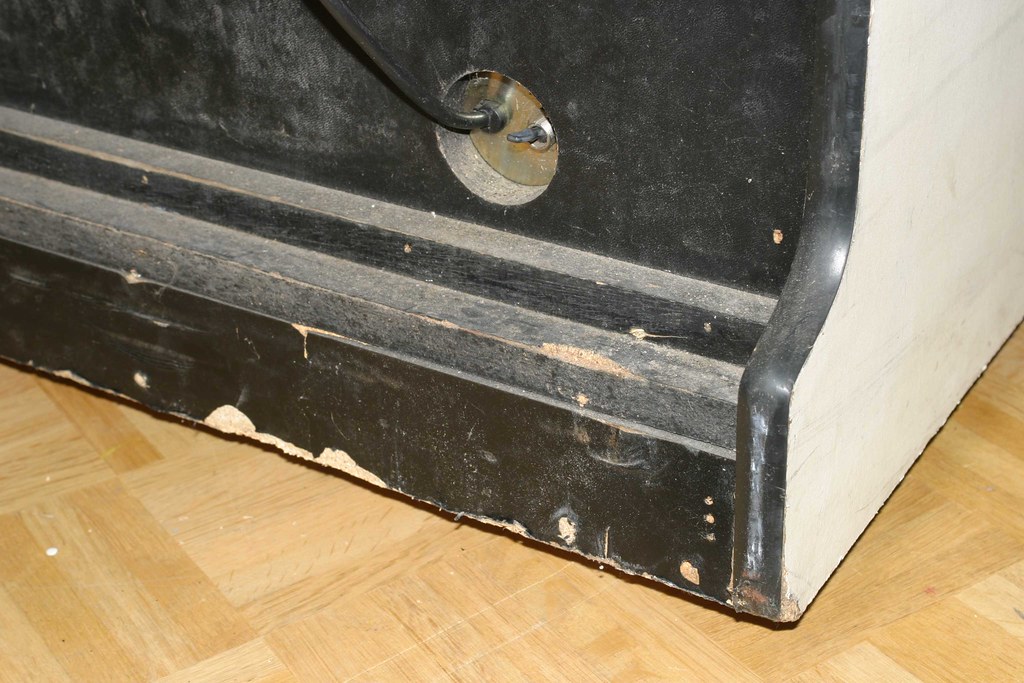
the vinyl on the front is worn from years of abuse
in detail

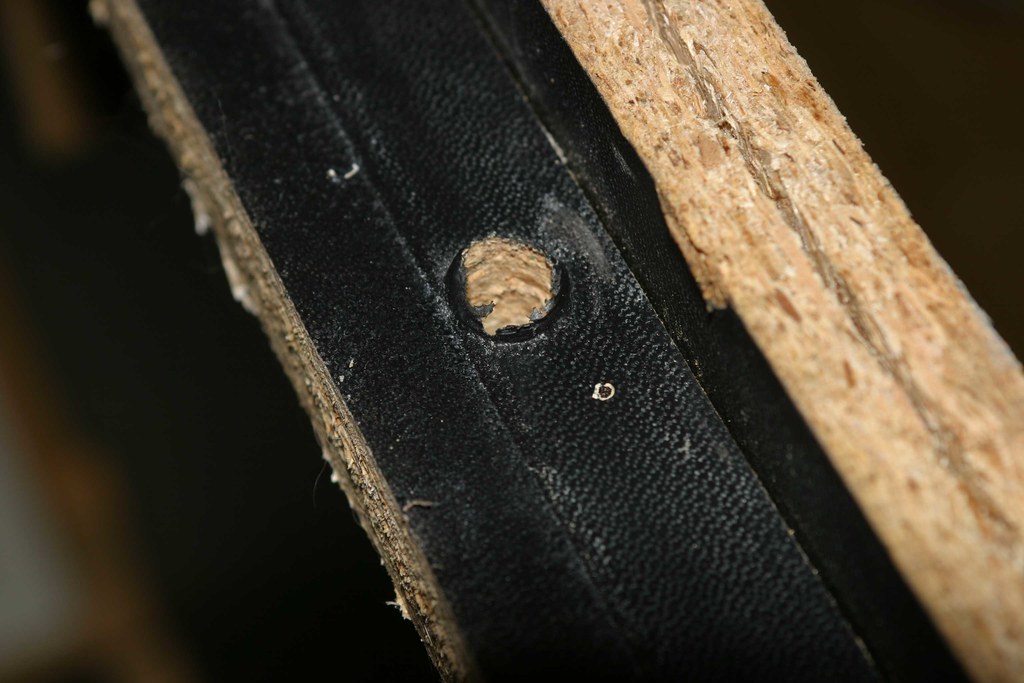
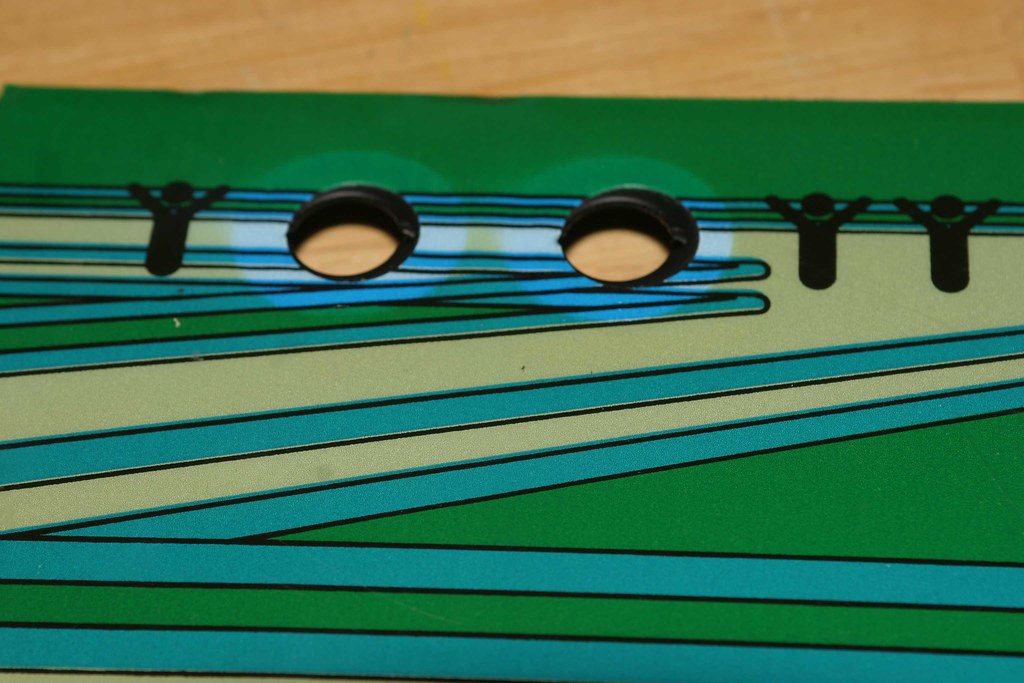
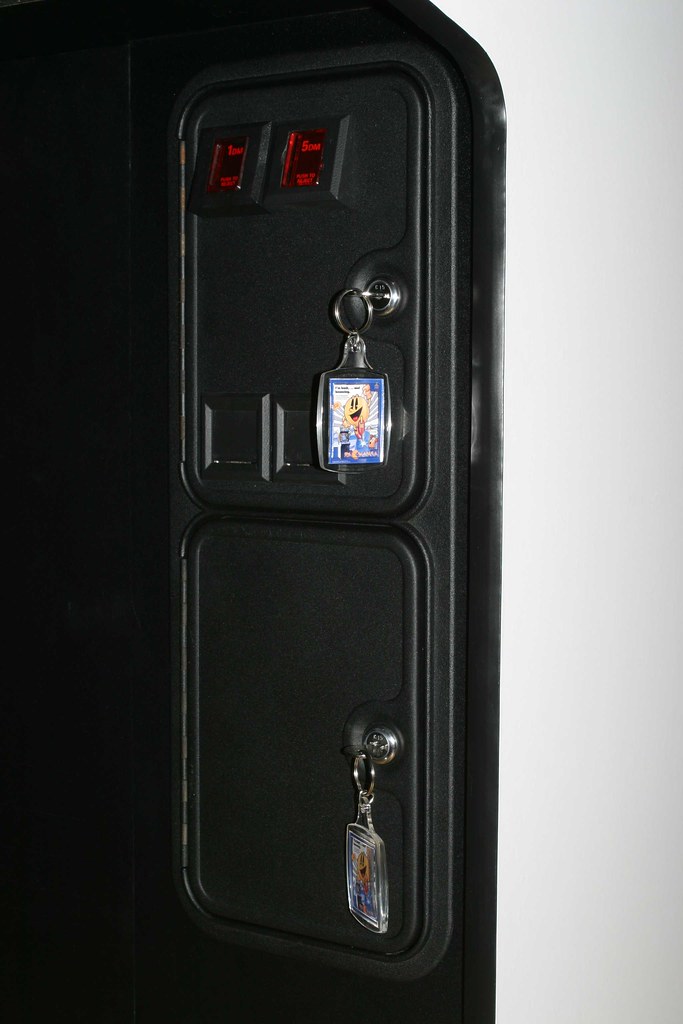
and some holes have been drilled around the coin door area - probably for a security bar (which is no longer there)
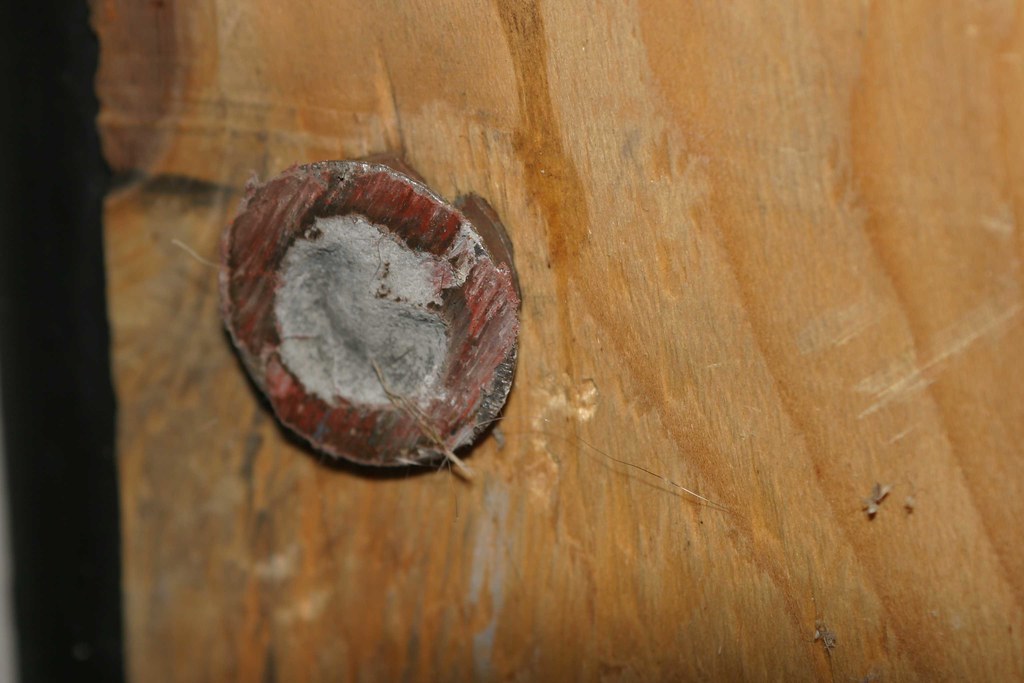
as always, i'm starting at the very bottom
can you still call that leg levelers?
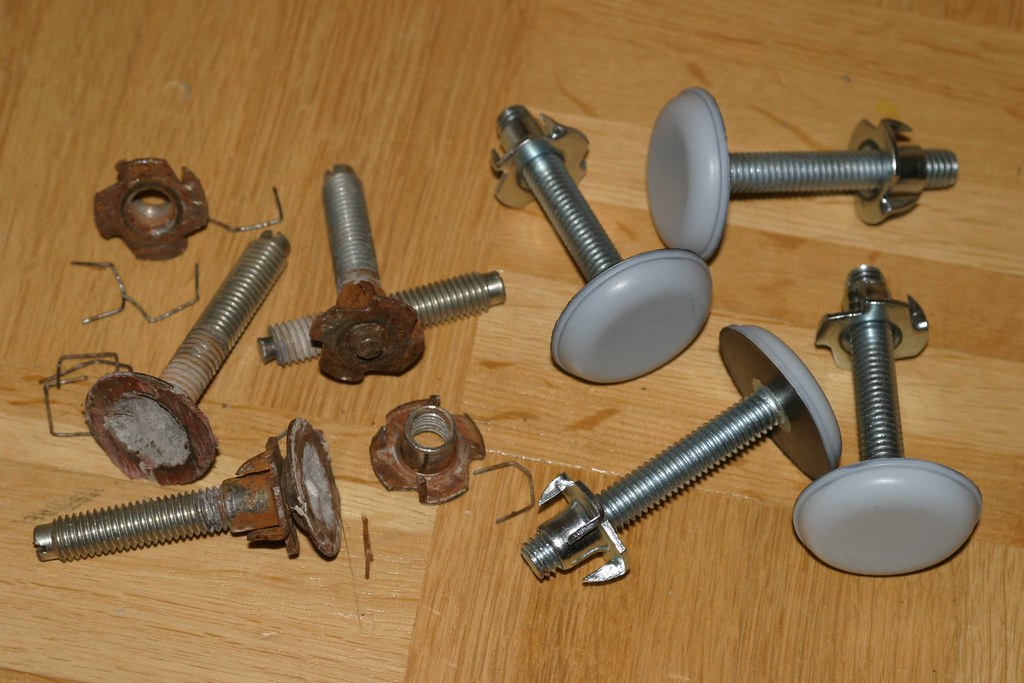
the usual: old vs new
inside, the cab is extremely filthy

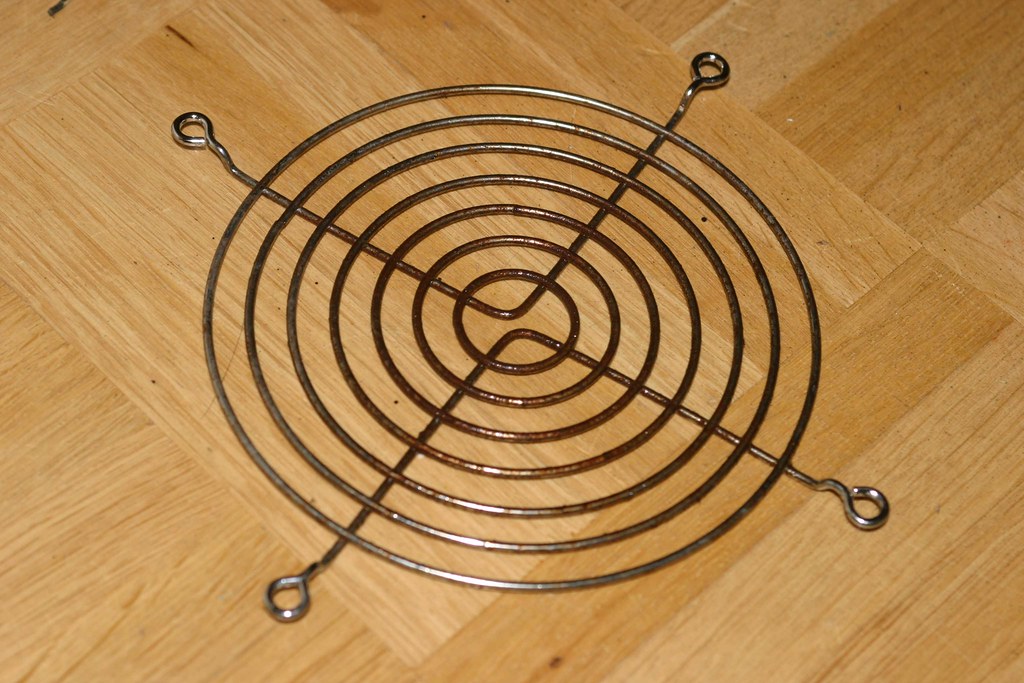
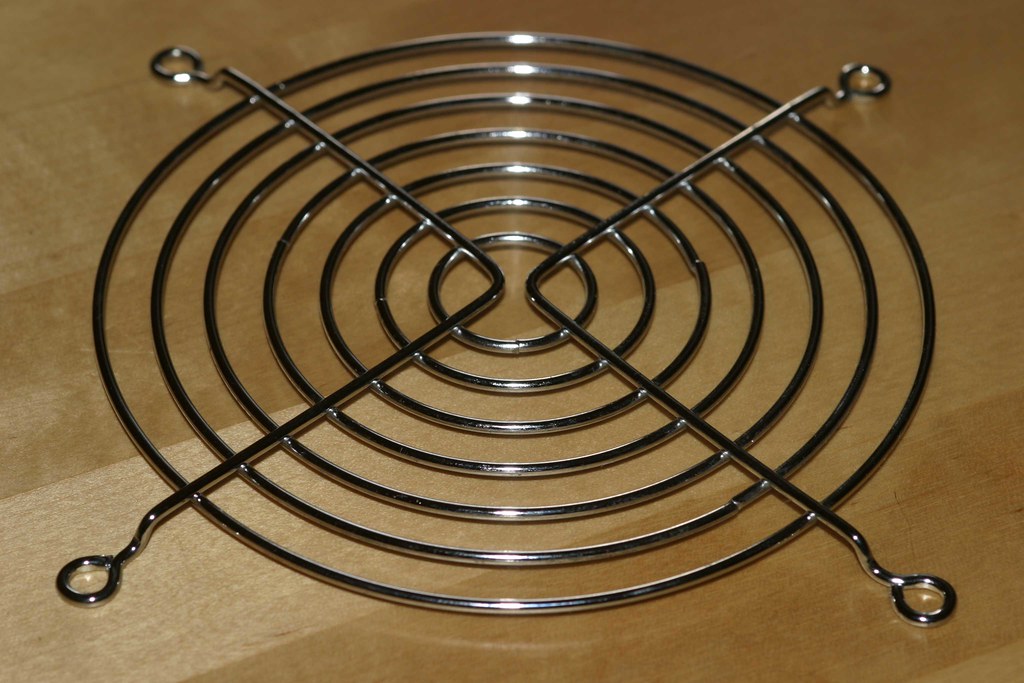
the ventilation grill BEFORE and AFTER
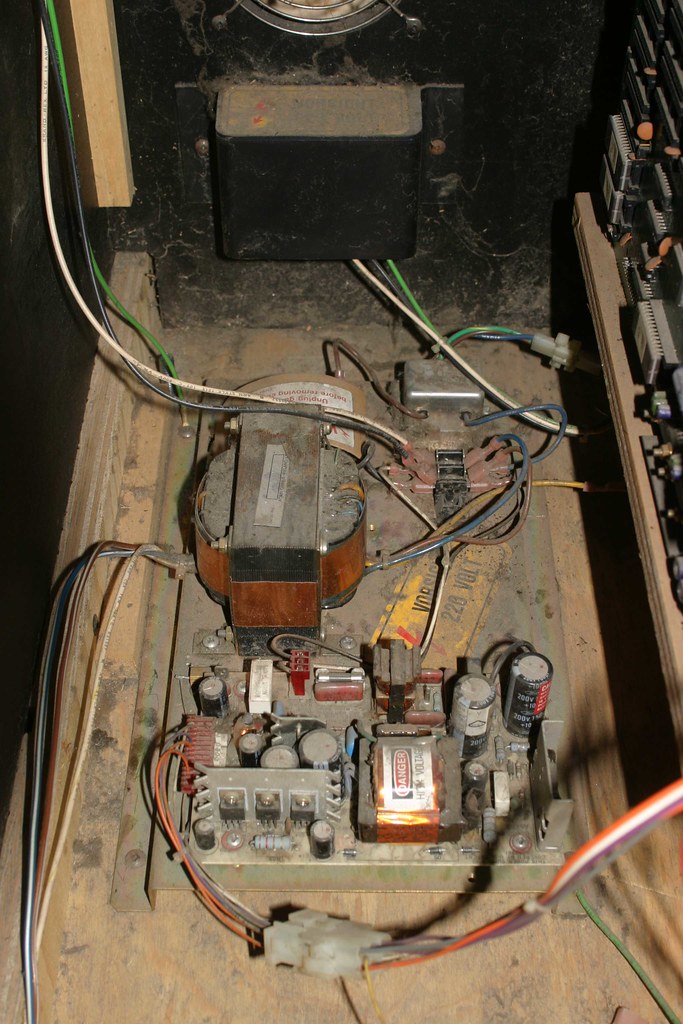
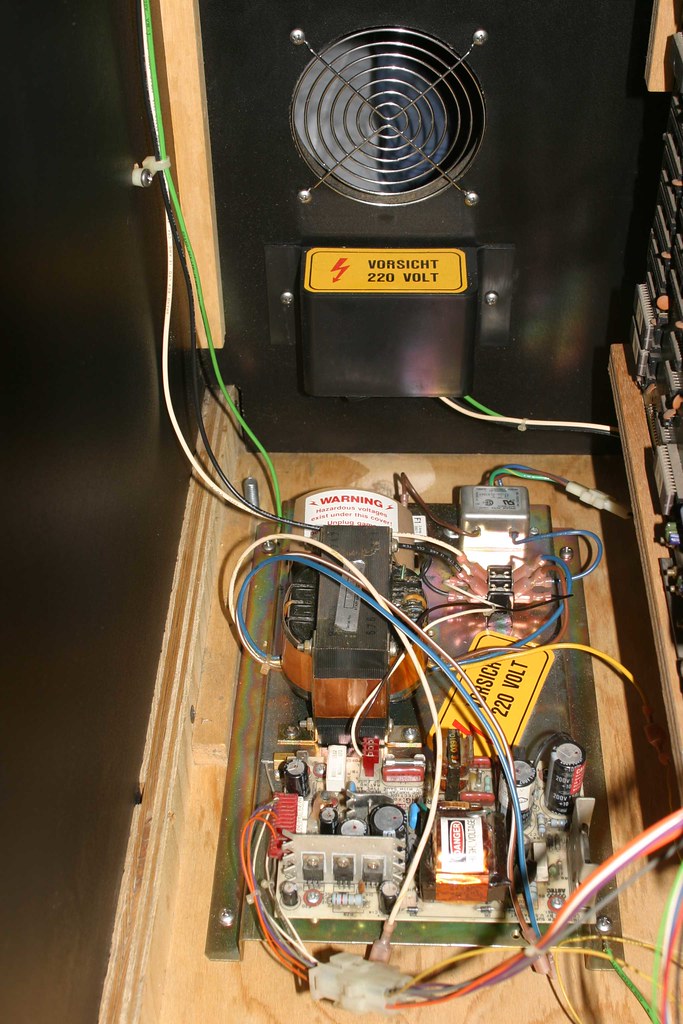
back on location
the power block removed from the cabinet
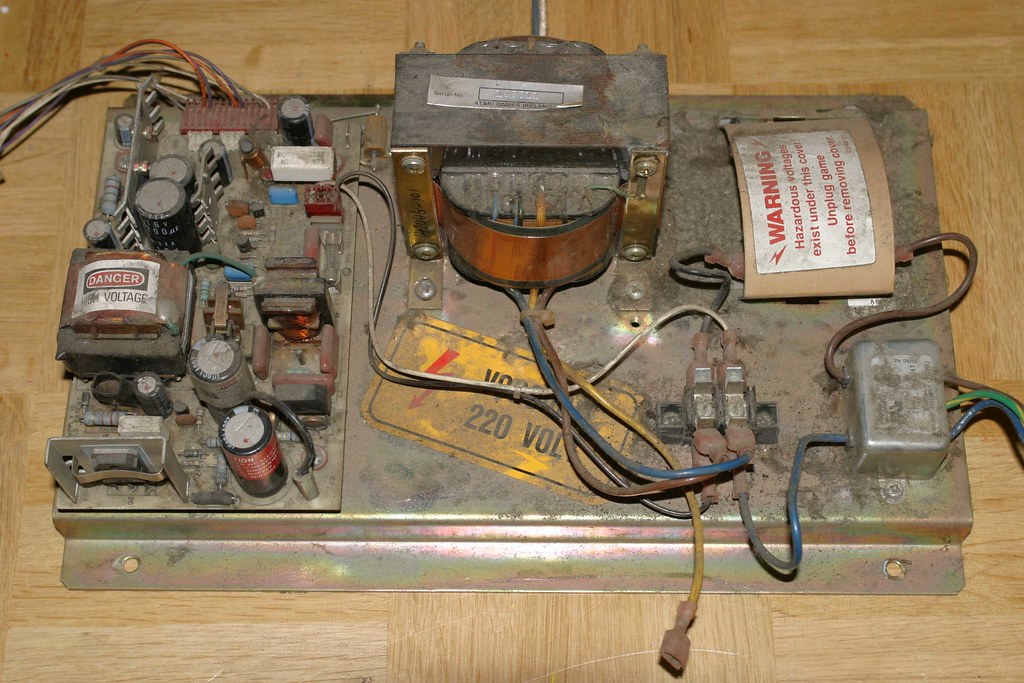
in order to clean it up nicely, everything has to go
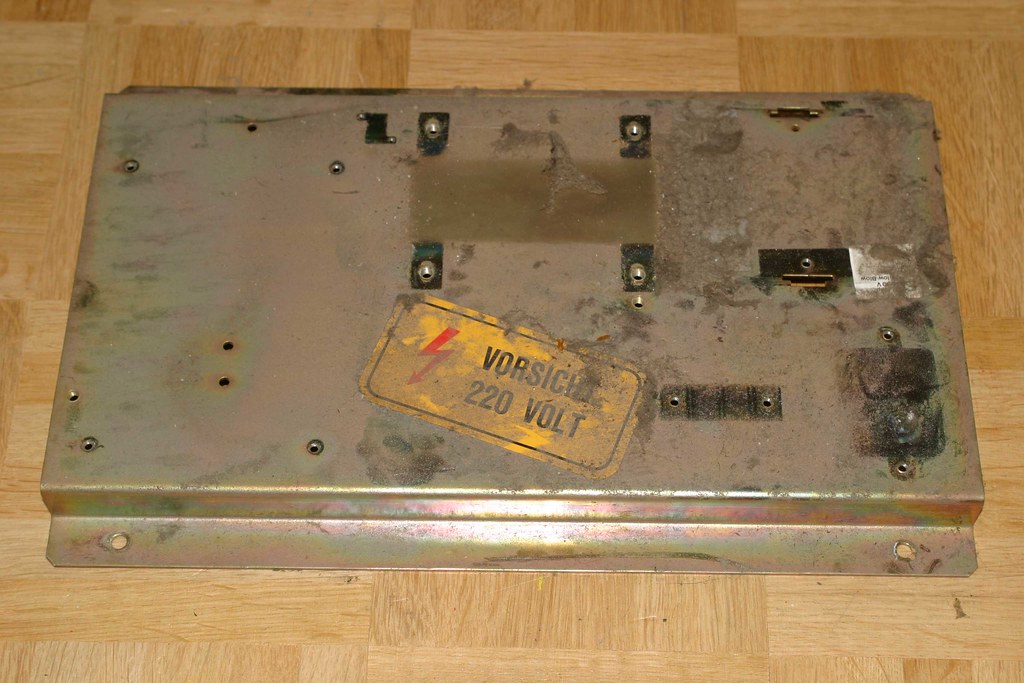
can you spot the difference?
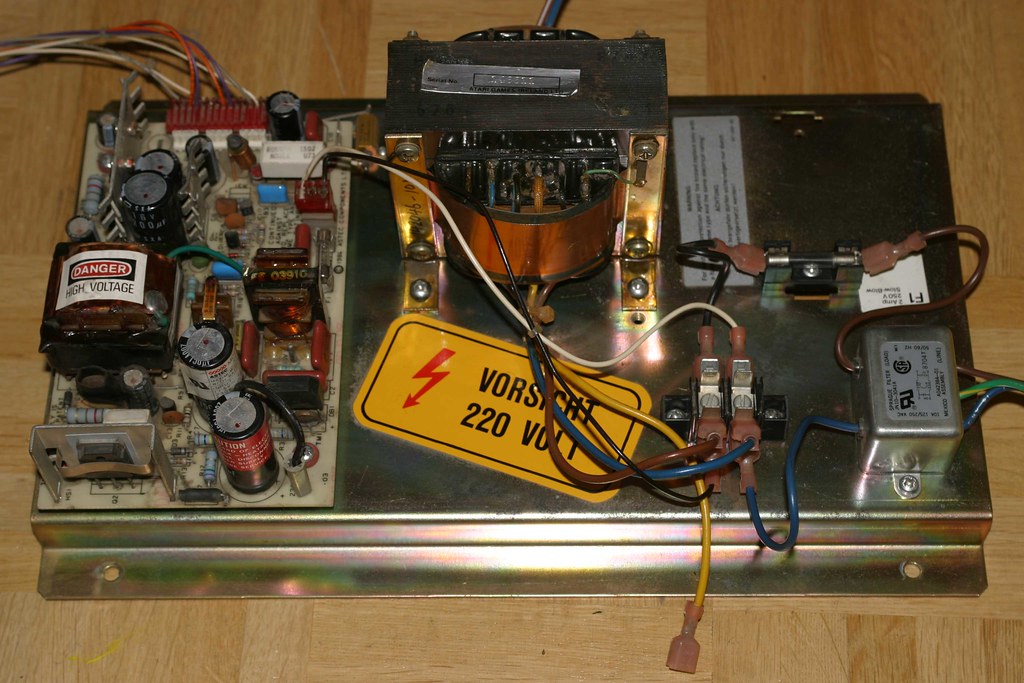
the once filthy inside now extremely clean!
my cats love it

when i'm working on games - those cabinets are a blast to climb into / onto
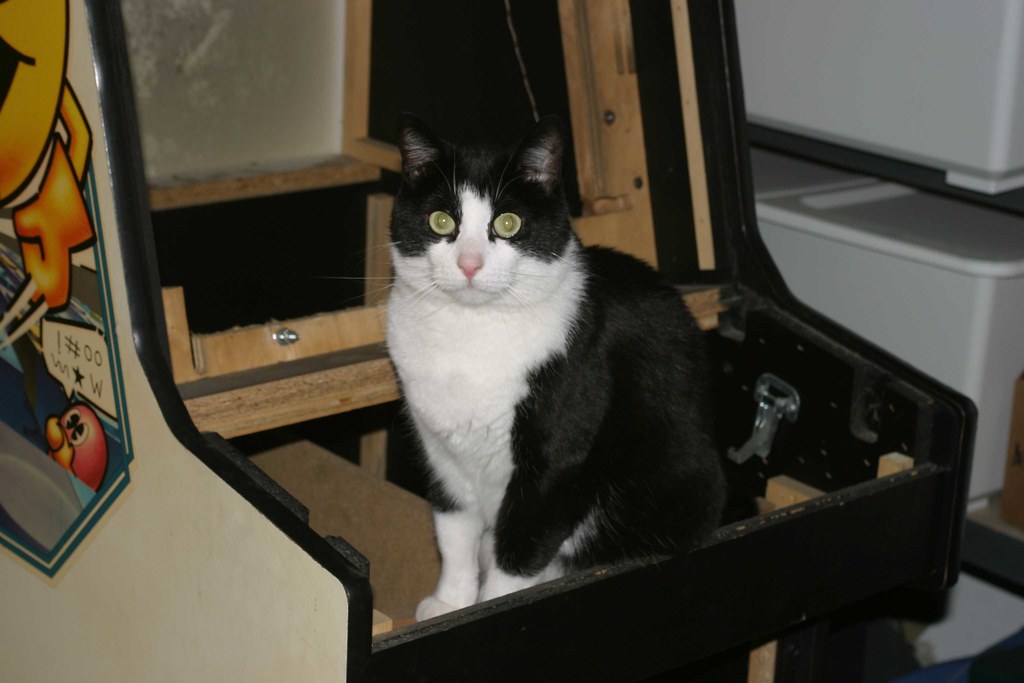
even my blind cat pesto can't resist!

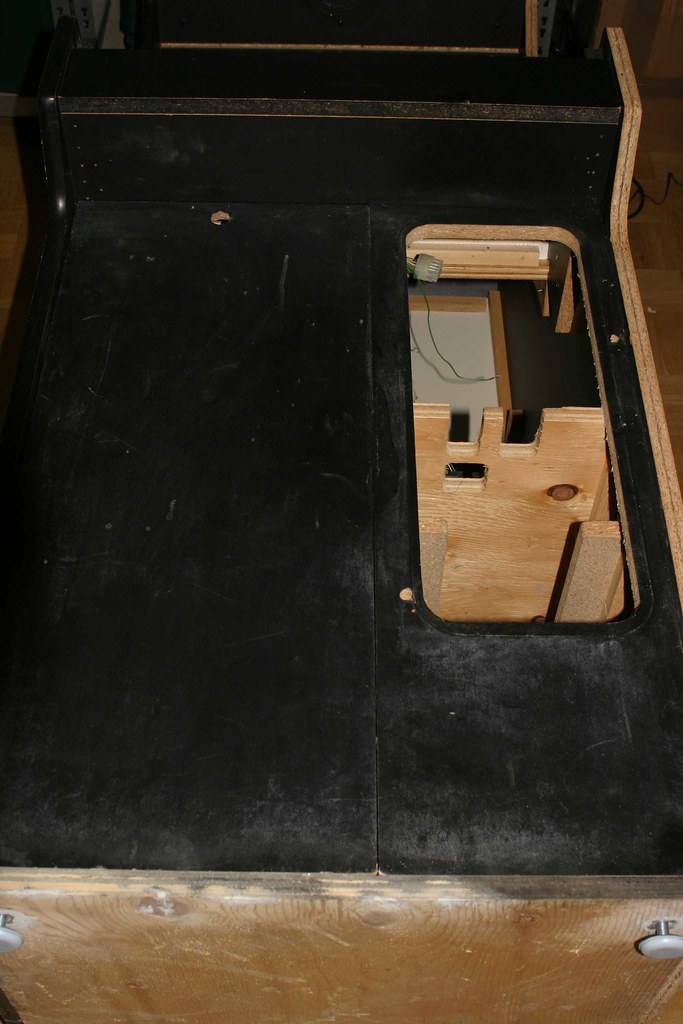
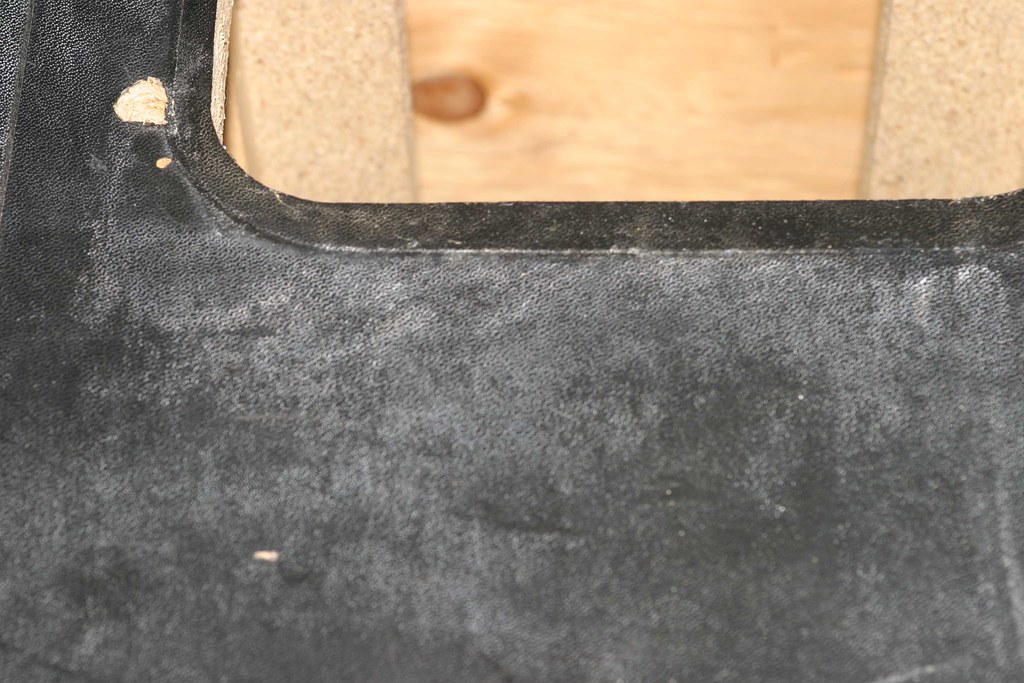
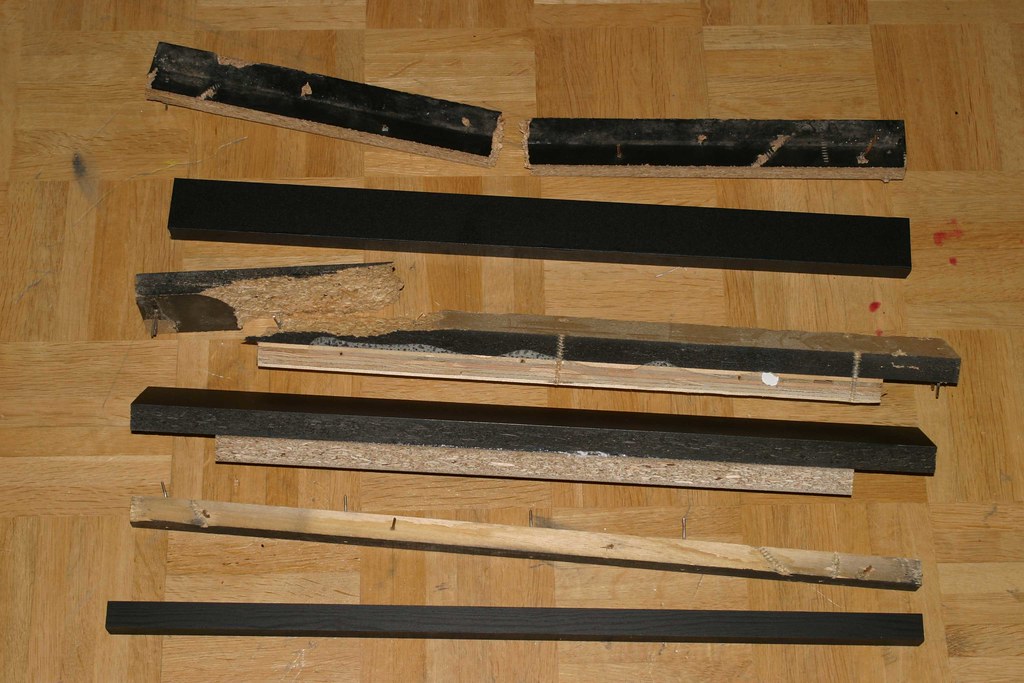
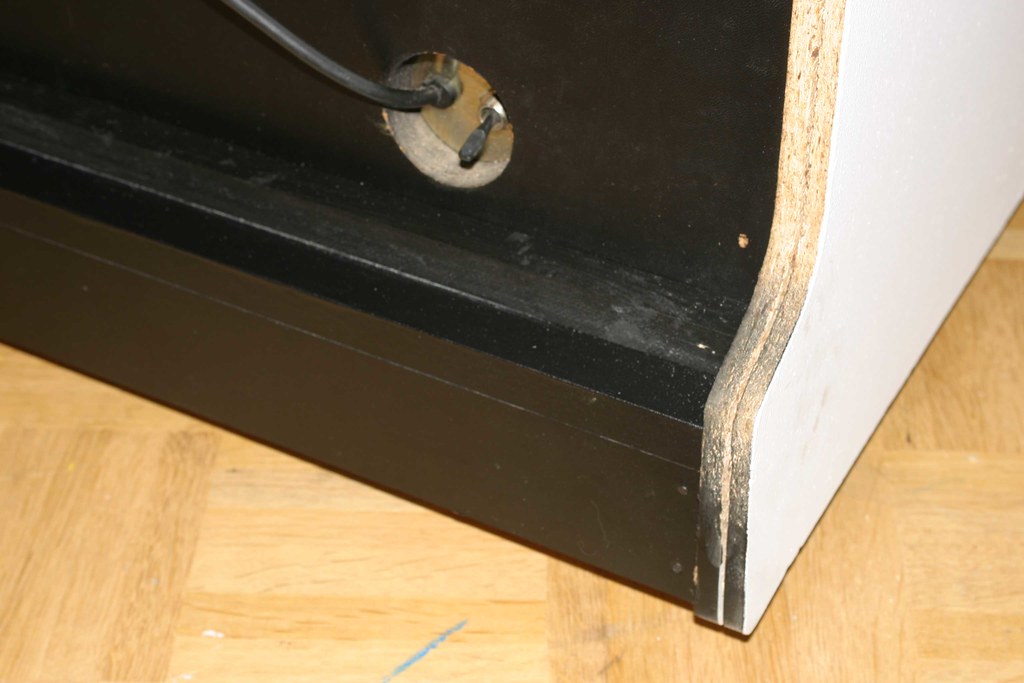
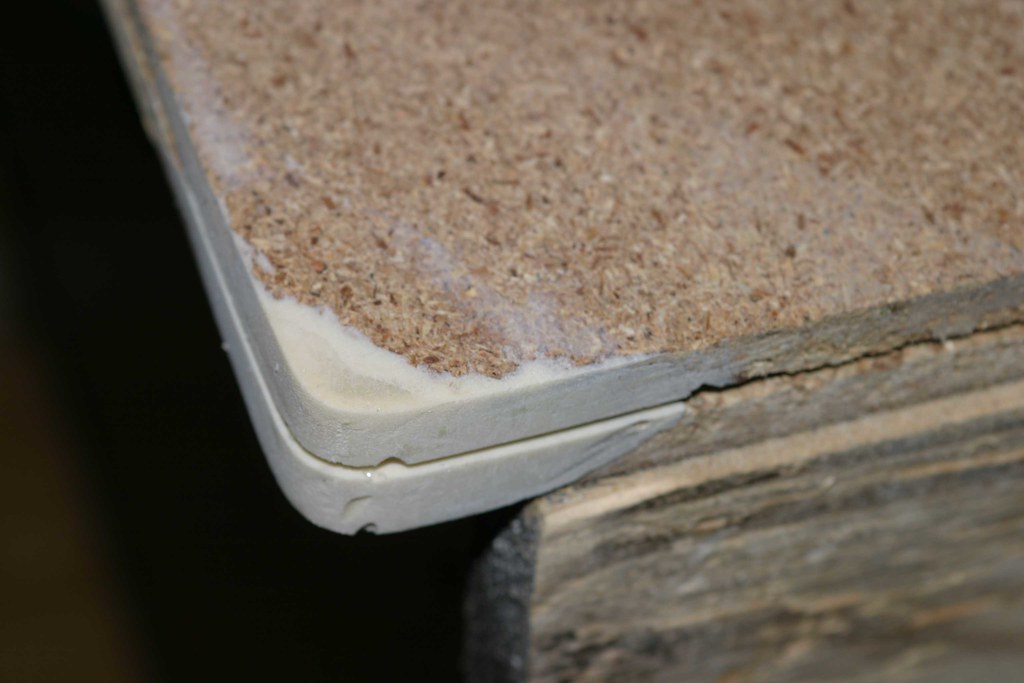
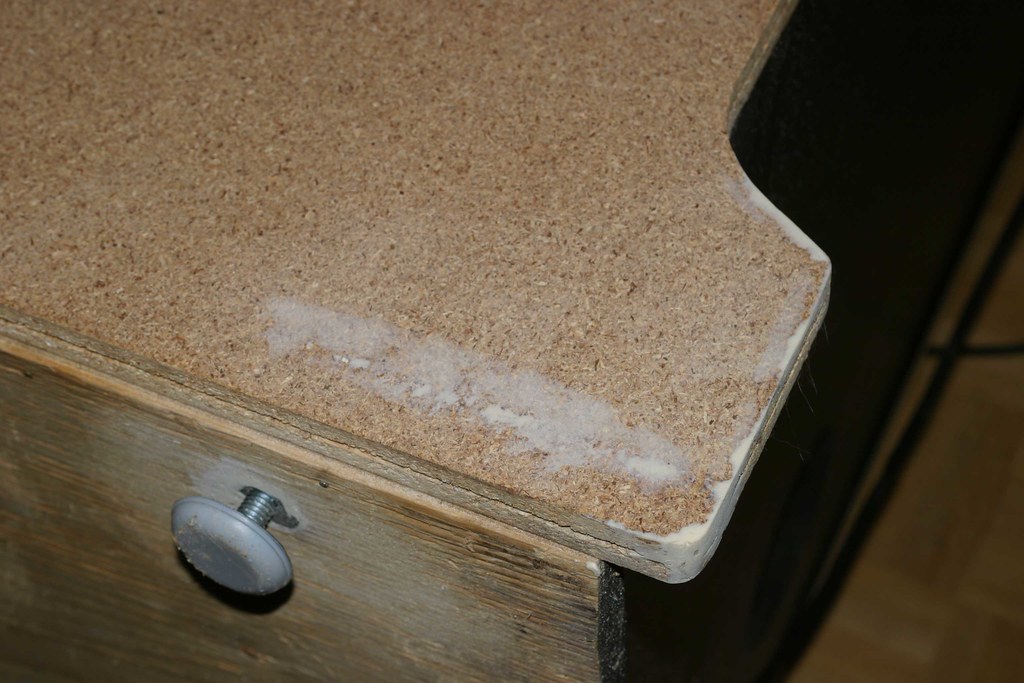
when i want to fix the bottom back of the cab, i realize that the wood is broken
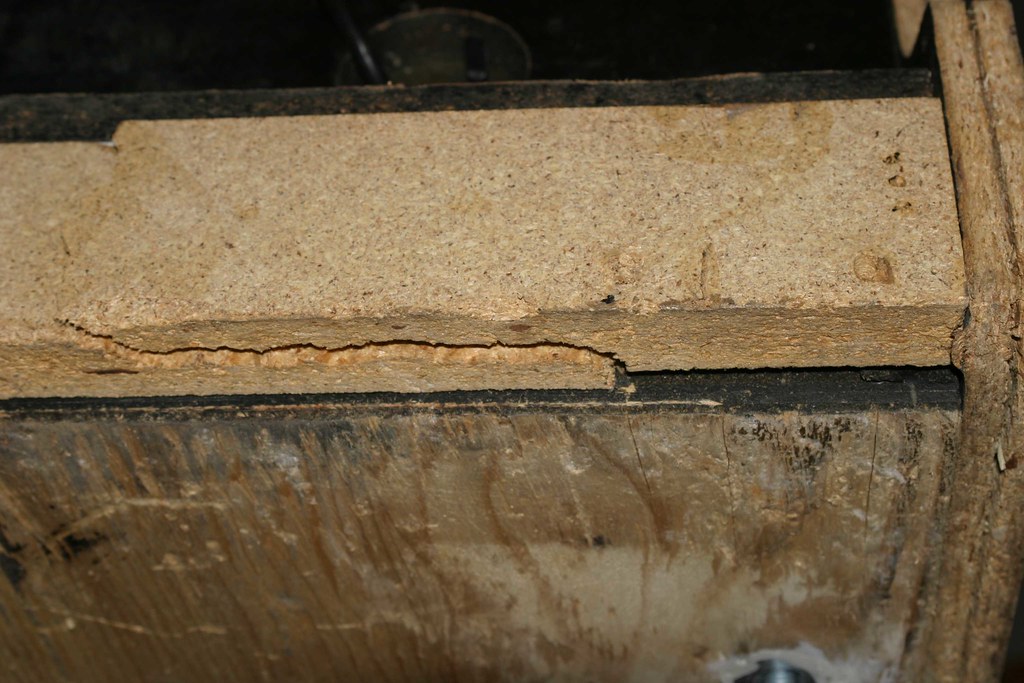
i carefully remove all the old damaged parts and replace them by freshly vinyled / painted ones
during re-assembly
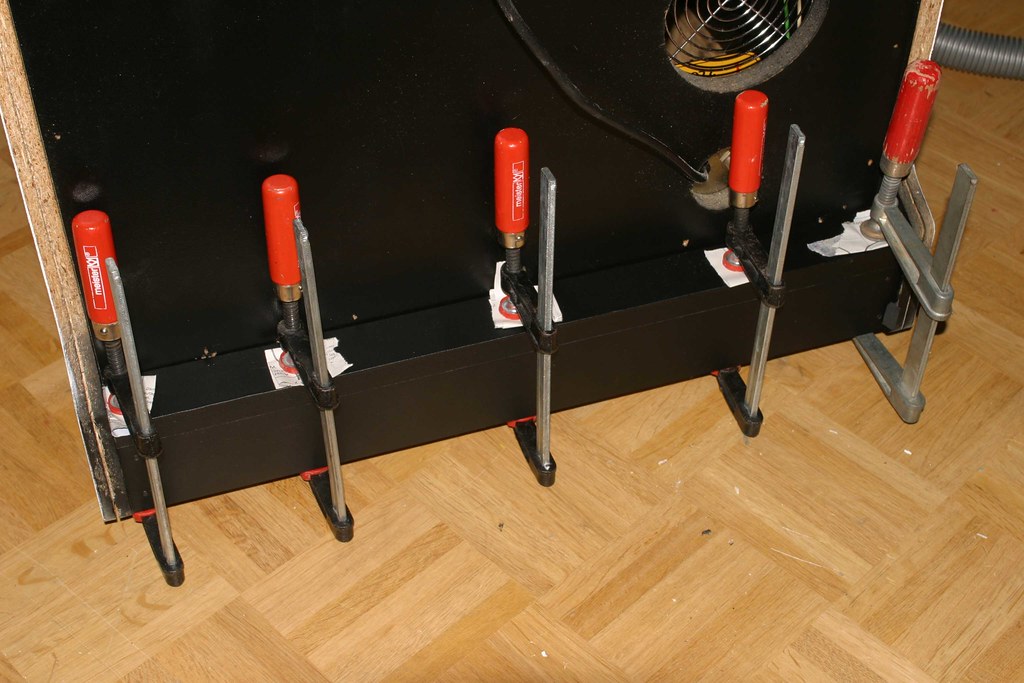
the finished "product" - should have removed the dust before taking the picture. in reality it looks totally fresh!
now on to the sides! before i hear someone shout out loud "what the heck is he doing?" or "how can you remove those sidearts?", let me tell you this: i wouldn't remove the art if there were no reproductions available, but why would i need reproductions if something much better is around? three letters: N-O-S
NEW OLD STOCK!!! i managed to find a set of NOS sideart, which is already on its way to germany as we speak - should arrive within the next week!
so with that said, let's remove the old worn stuff (vinyl plus sideart)! still hurts to do so

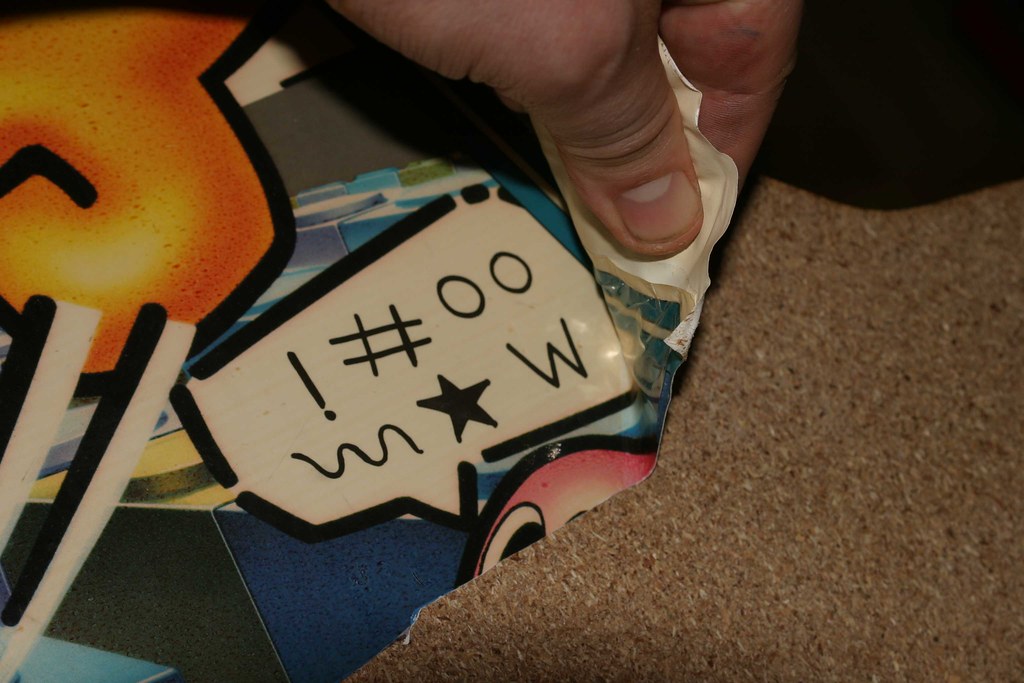
ouch!


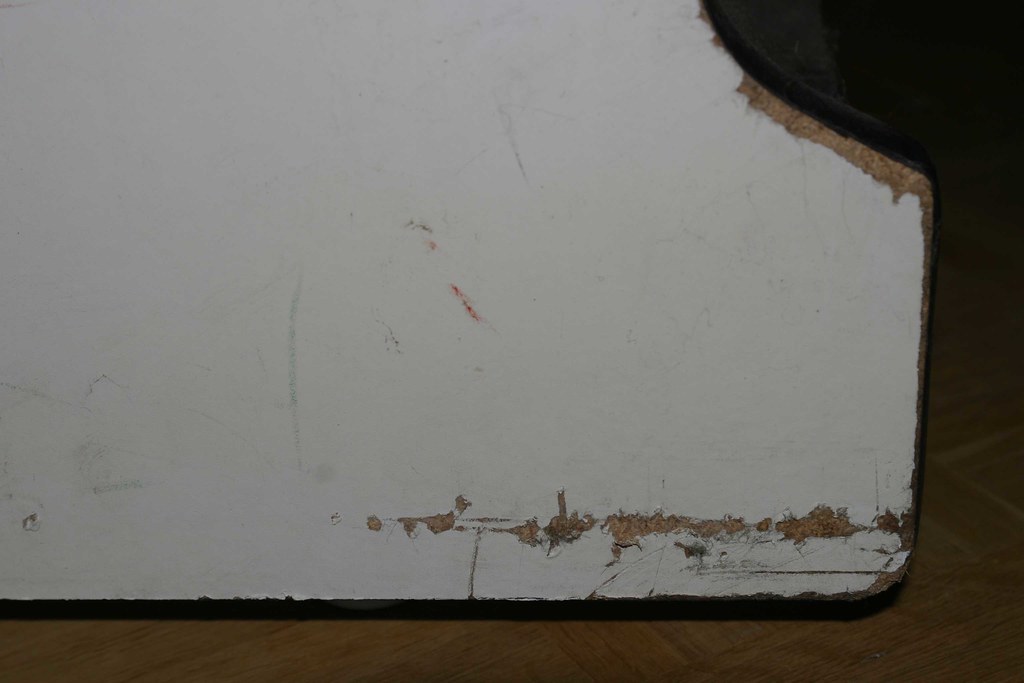
with everything removed, i can fix the edges and all the other small dents!
bare bones

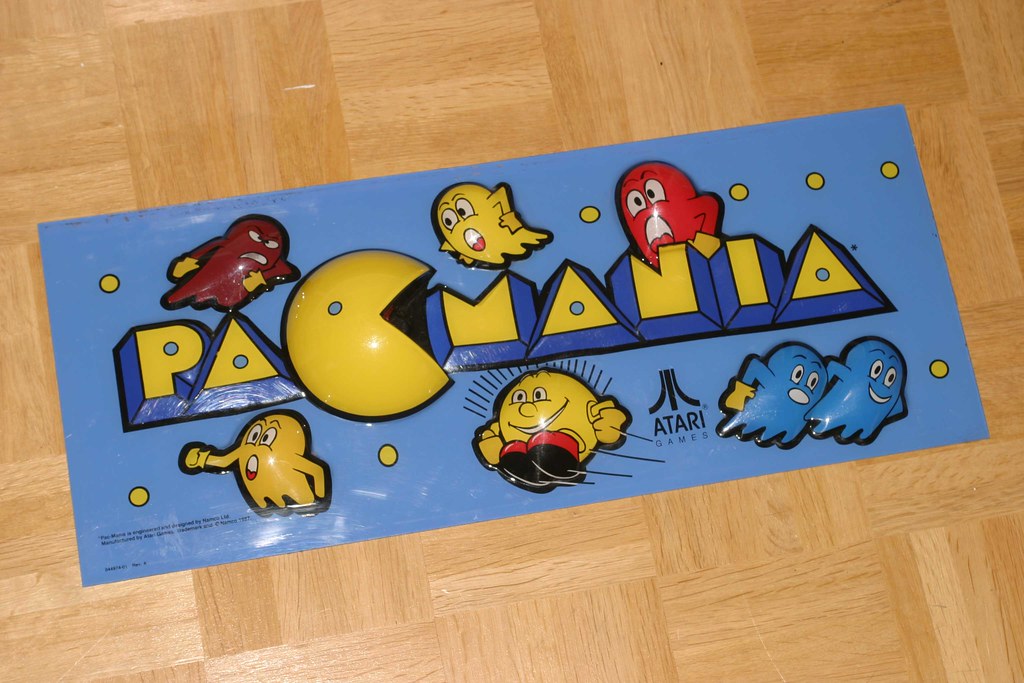
one of the best features of the pac-mania cabinet is that unbelievable three-dimensional marquee
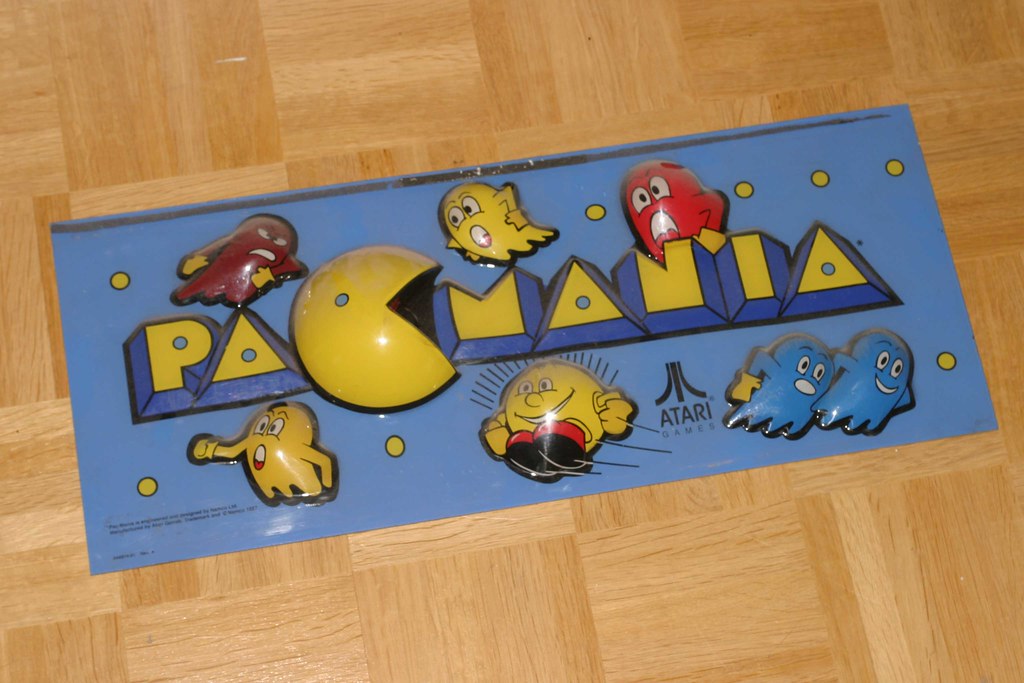
joda-talk: very dirty this marquee is!
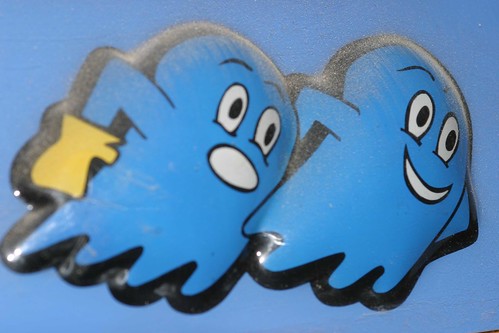
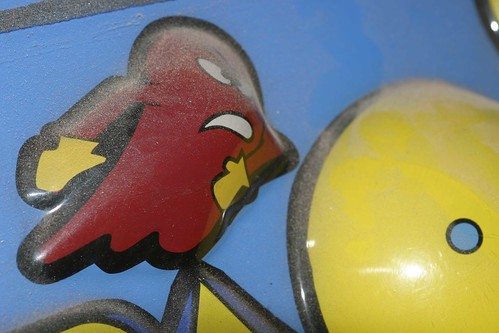
the condition is good, just a little flaking going on
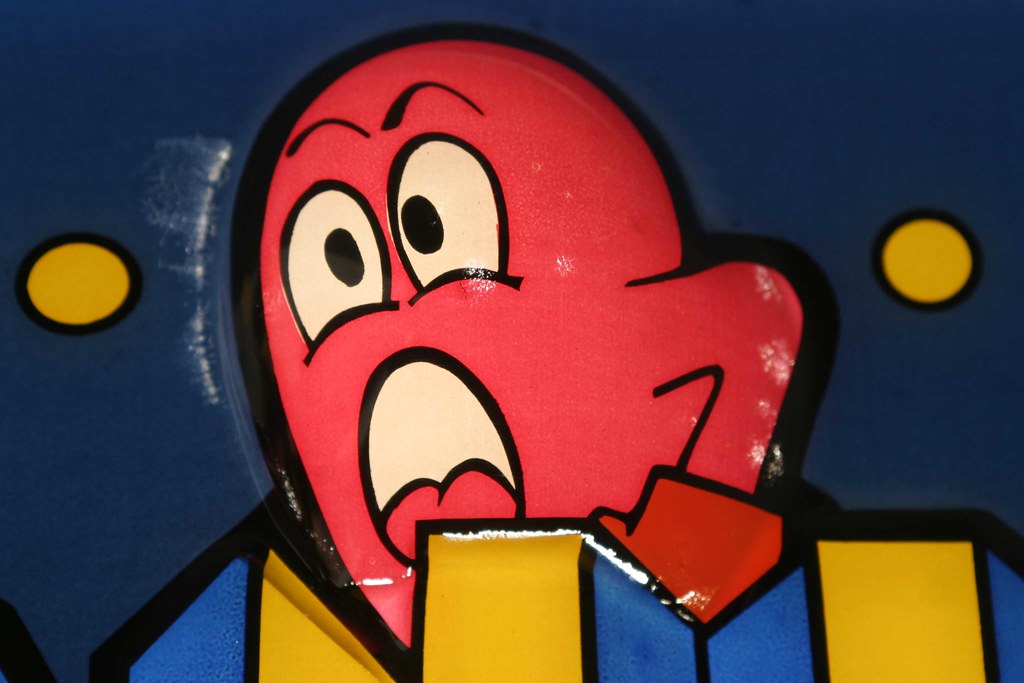
nice and shiny after some careful cleaning
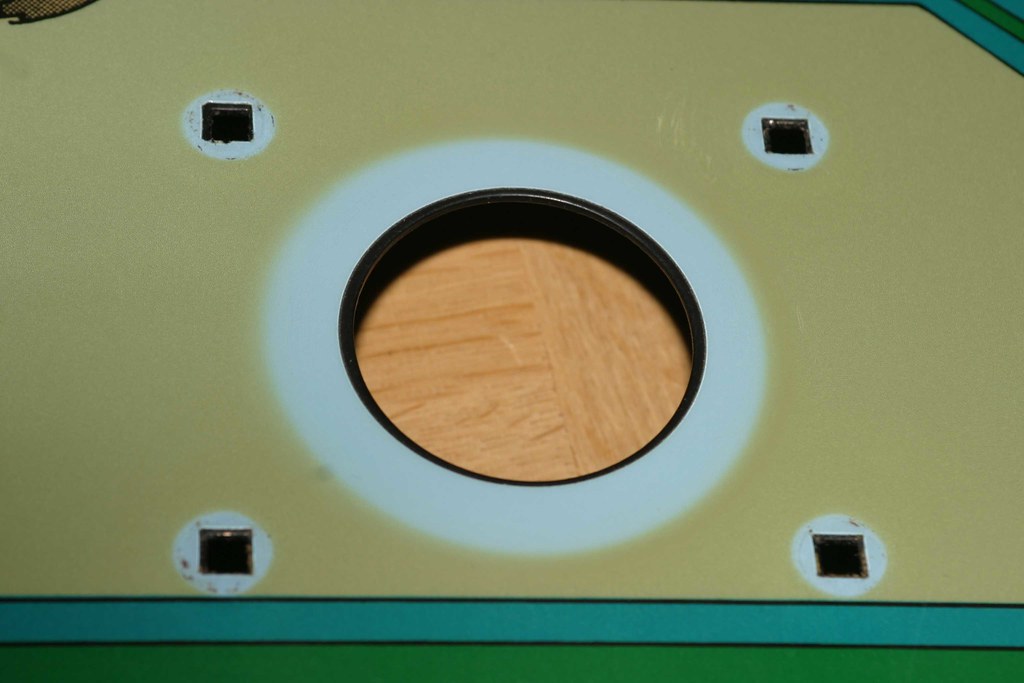
let's examine the control panel! not too bad either, but two things are obvious: this is NOT an original atari logo joystick and it is installed incorrectly: those plastic washers have to go
underneath the panel!
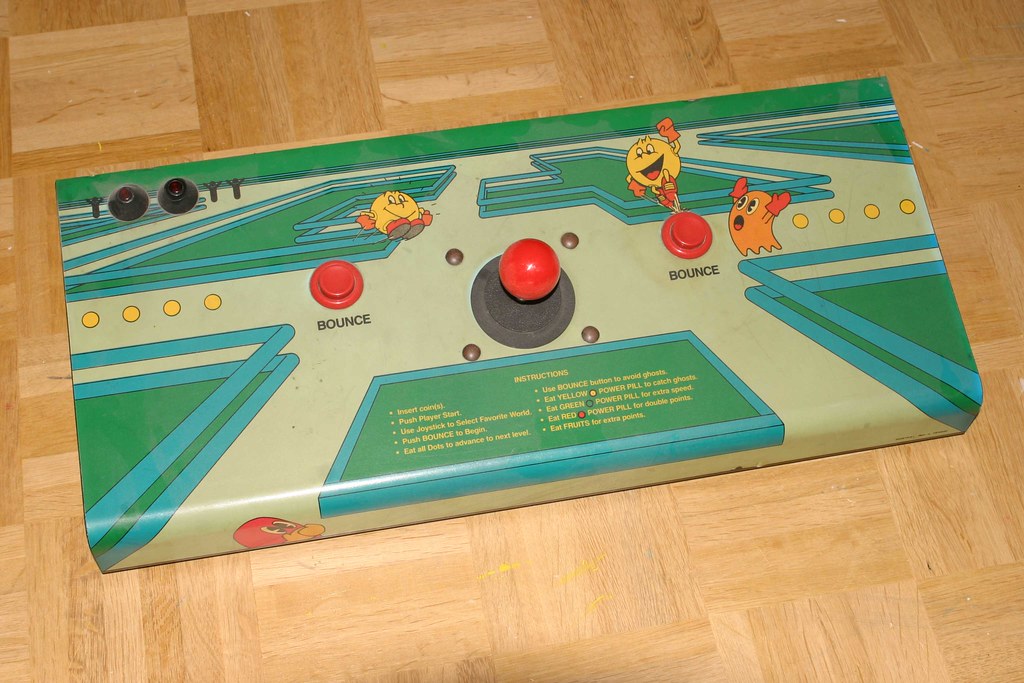
in order to clean the panel up, i have to remove everything. btw, a replacement logo joystick is being "flown in" from the usa!
this is the only annoying defect on the overlay
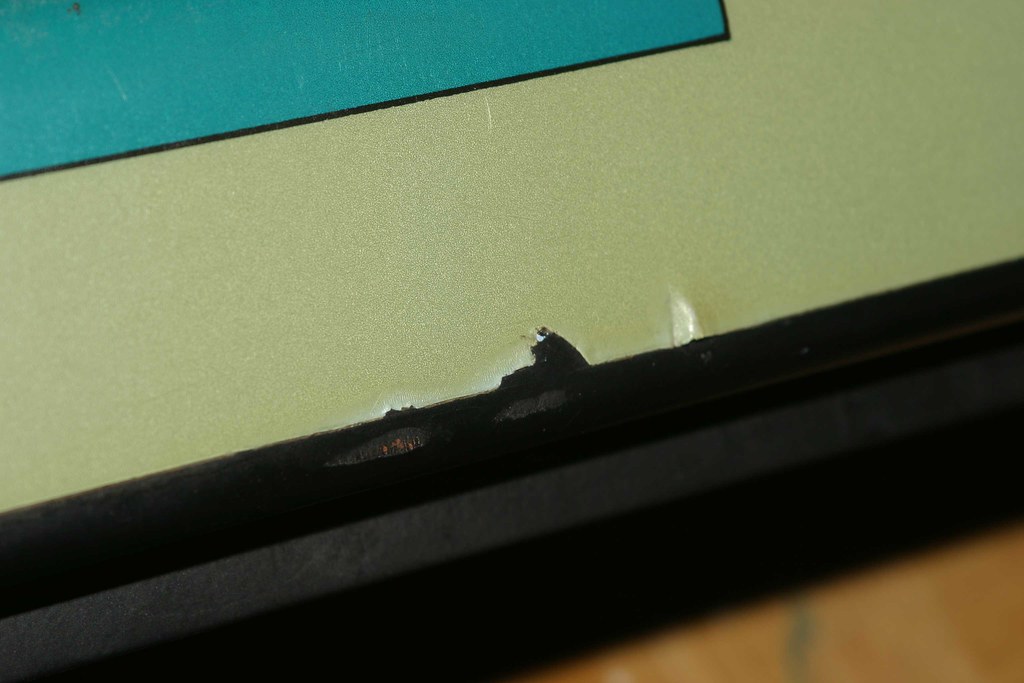
the overlay has changed its color drastically

! you can clearly see the original color where the screws and the plastic washer was. unfortunately, i haven't been able to find a replacement overlay yet and i don't want to spend almost 70 bucks on a reproduction from twobits at the moment!
the same discoloration where the buttons were
the cleaned control panel - magic eraser couldn't do its magic this time
!

finally on to the vinyl. i'm trying a different method this time - have a look (i picked this up on an american website)! the first thing to do is apply the vinyl to the cabinet, but don't cut it to fit, leave a couple of centimeters on each side
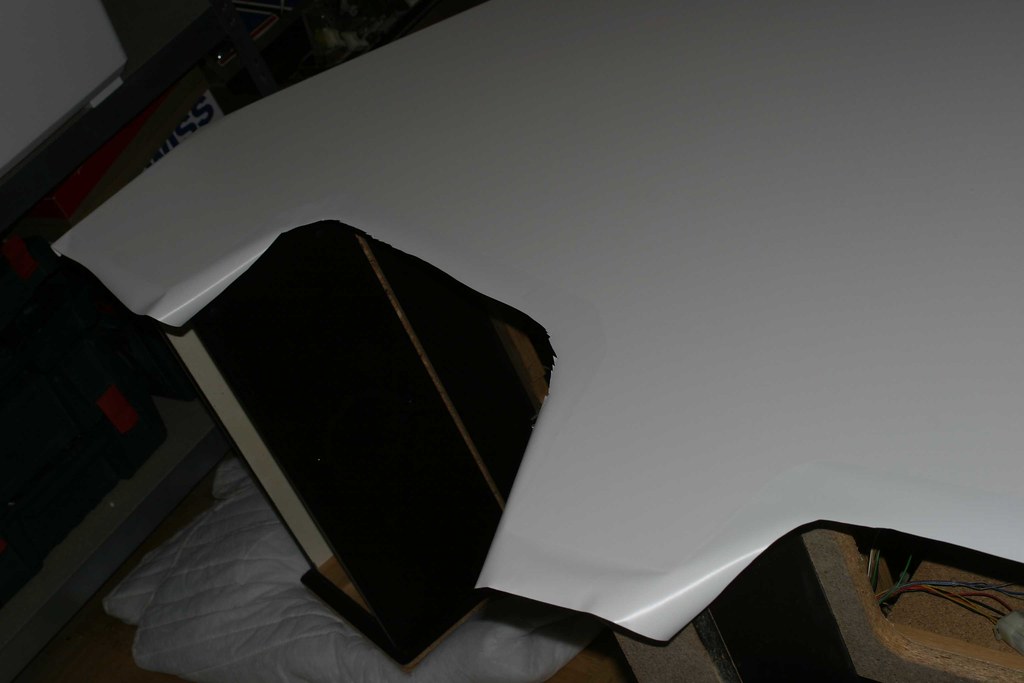
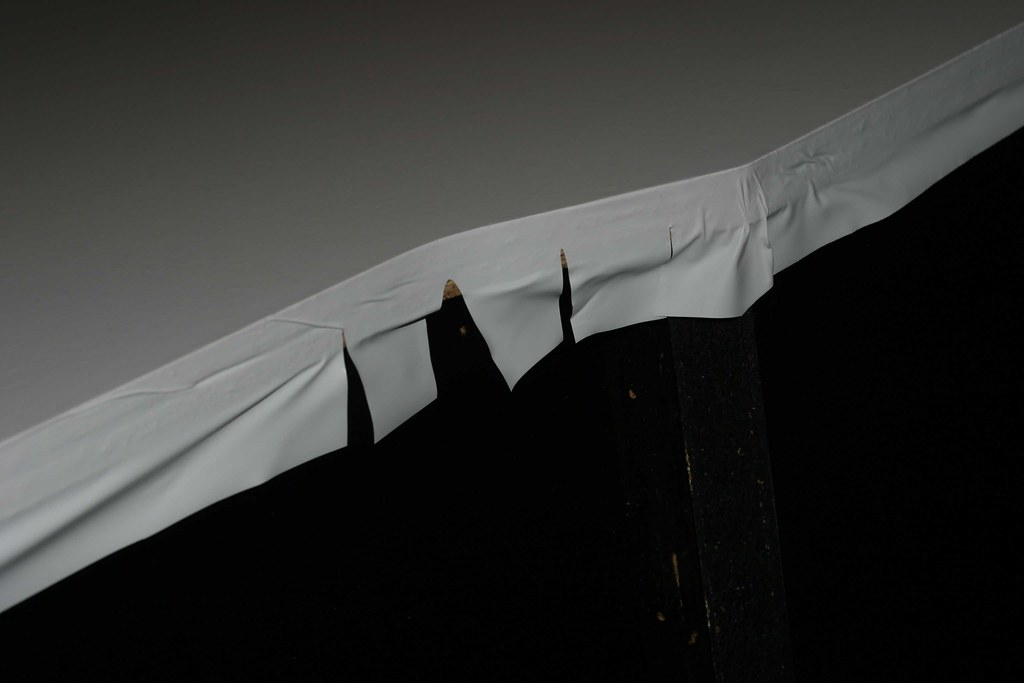
then take a heat gun and add a little heat to the top edge all around the cab. the vinyl will "relax" and start to lay over the edge and not stick straight out!
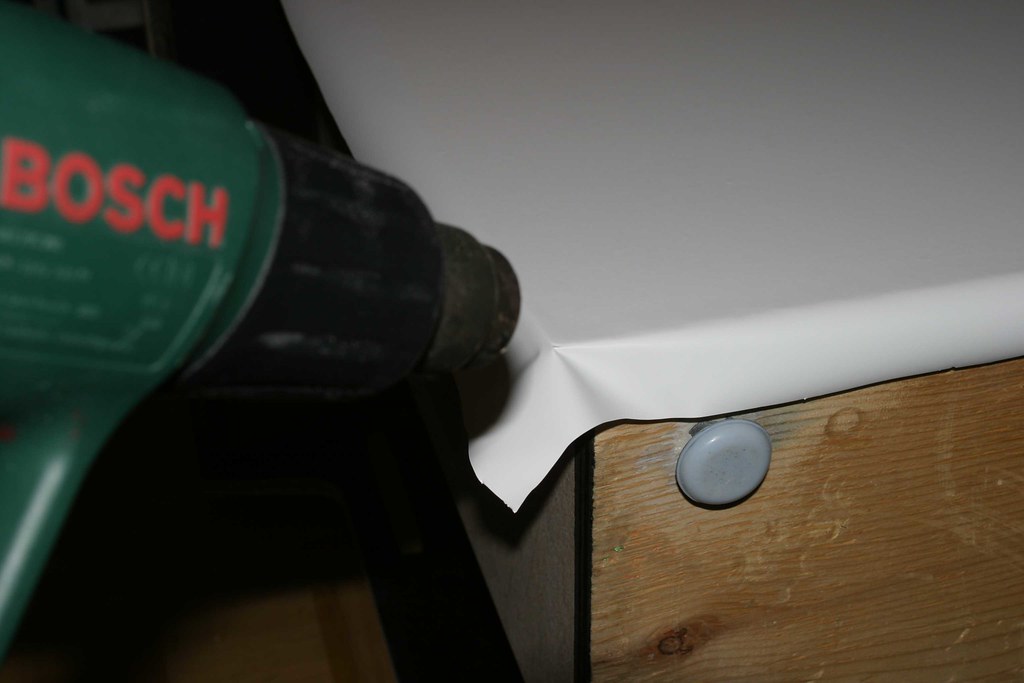
continue to heat the flap while pulling and stretching a little at a time until it's all laying flat. be careful: do not add too much heat or too much pressure, otherwise you will tear the vinyl! the corners are difficult to do, but you'll get the hang of it after a while. i did some testing on a spare board first.
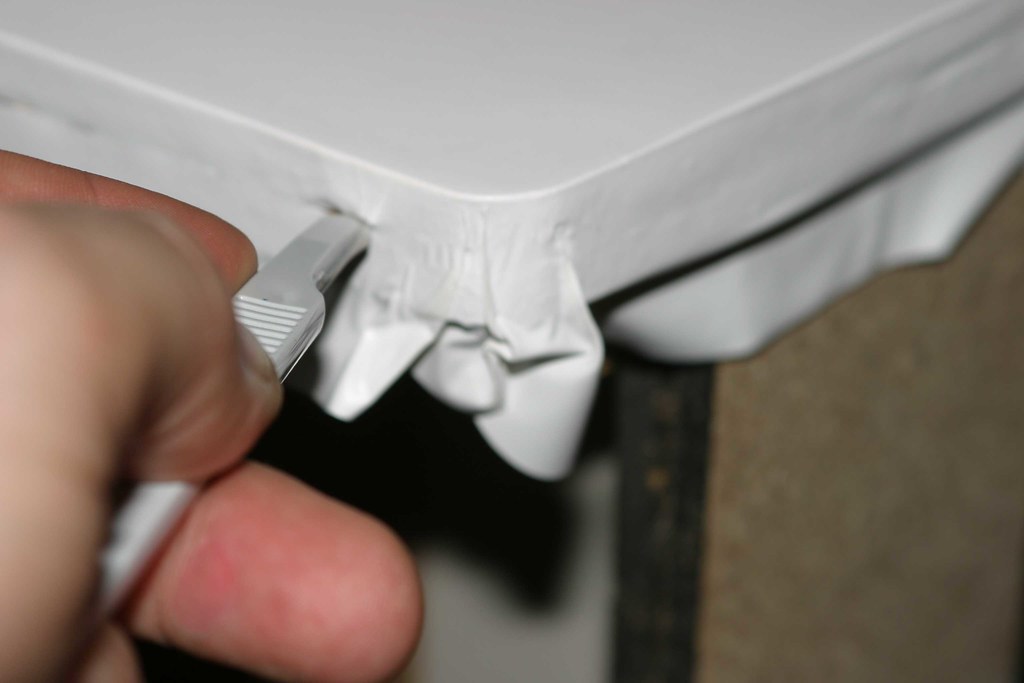
after a while, you can press the vinyl "into the wood", where it will slightly settle into the t-molding slot. once you're done, take an exacto knife and cut off the excess vinyl!
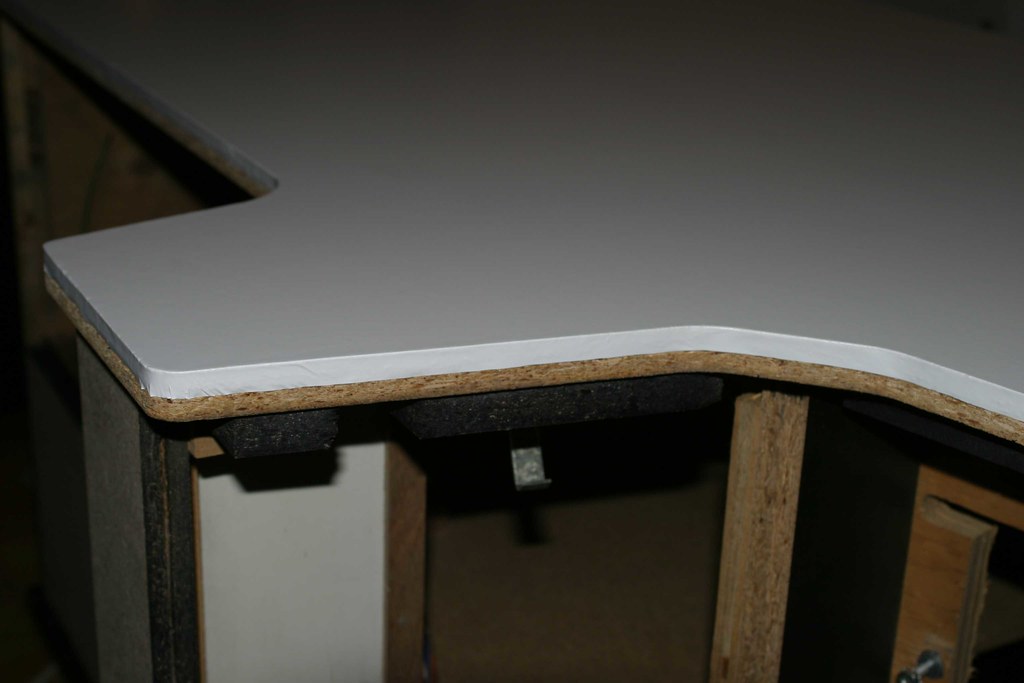
looking perfect

! although it takes much more time and isn't the easiest / funniest thing to do, the advantages of this method are obvious: the corners of the cab are well protected PLUS when you install the t-molding, it won't push the vinyl up in various places!
bring on those sidearts, post office!!!
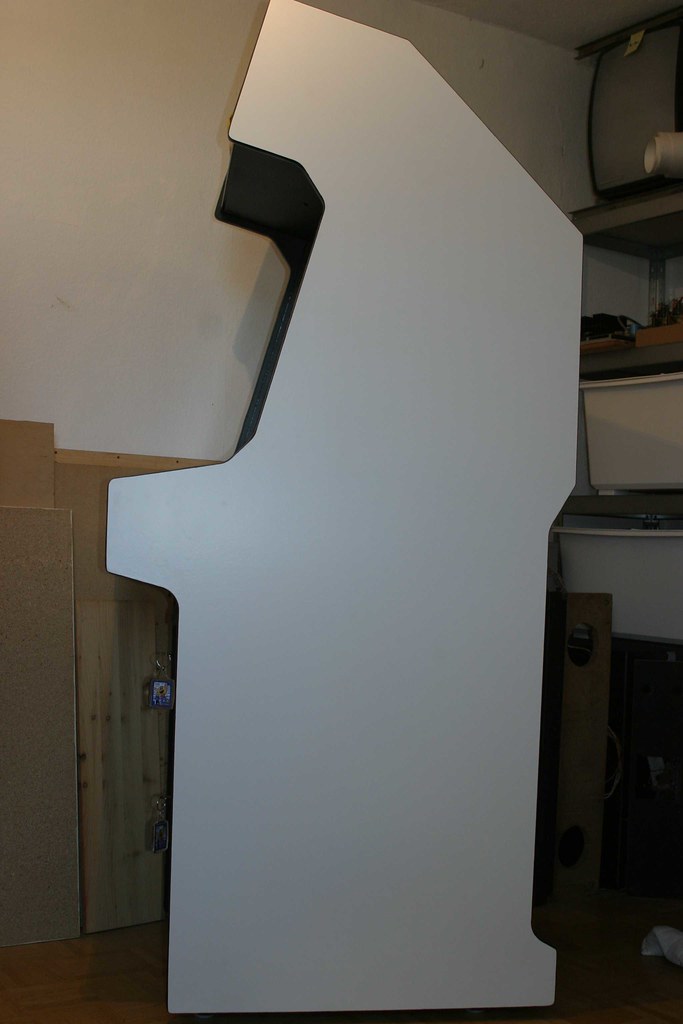
the entire front has also received its share of new vinyl ...
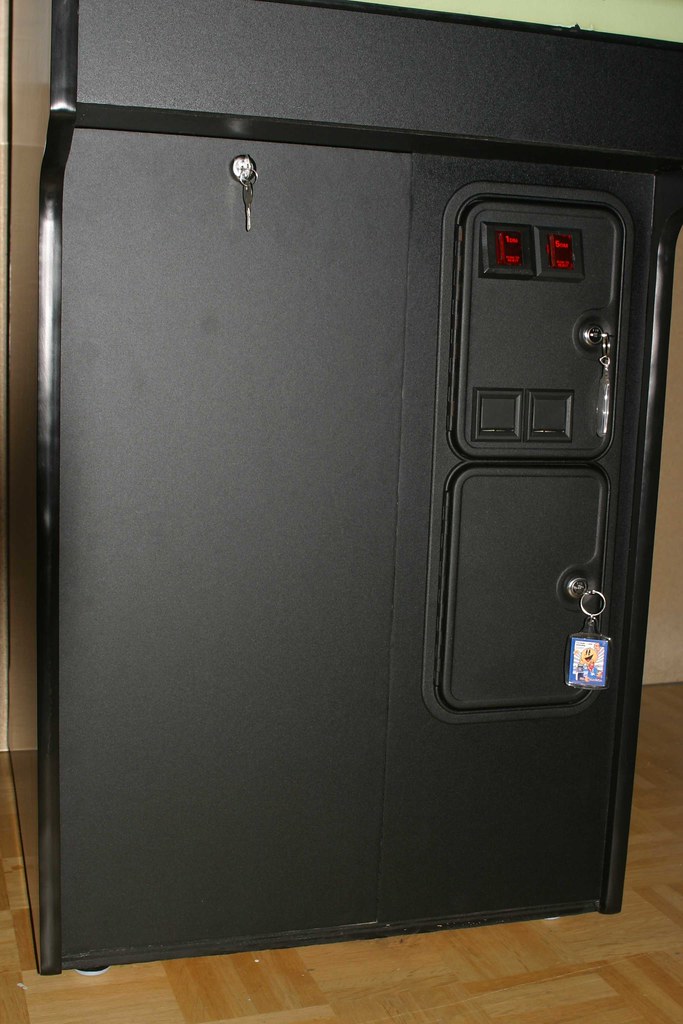
... and the newly powdercoated coin doors installed
not much left to do: install the logo joystick and apply the sideart upon arrival - then
PLAY  to be continued ...


