before i start re-painting the
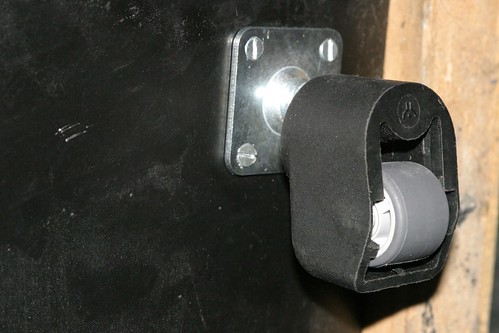
BLUE part of the cabinet, i'm going to put some wheels underneath in order to make that "wooden giant" moveable.
four wheels - each supporting up to 50 kg - that should do the trick!
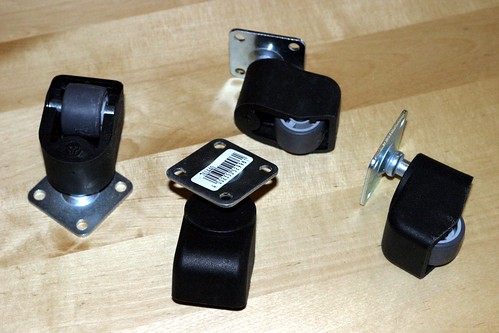
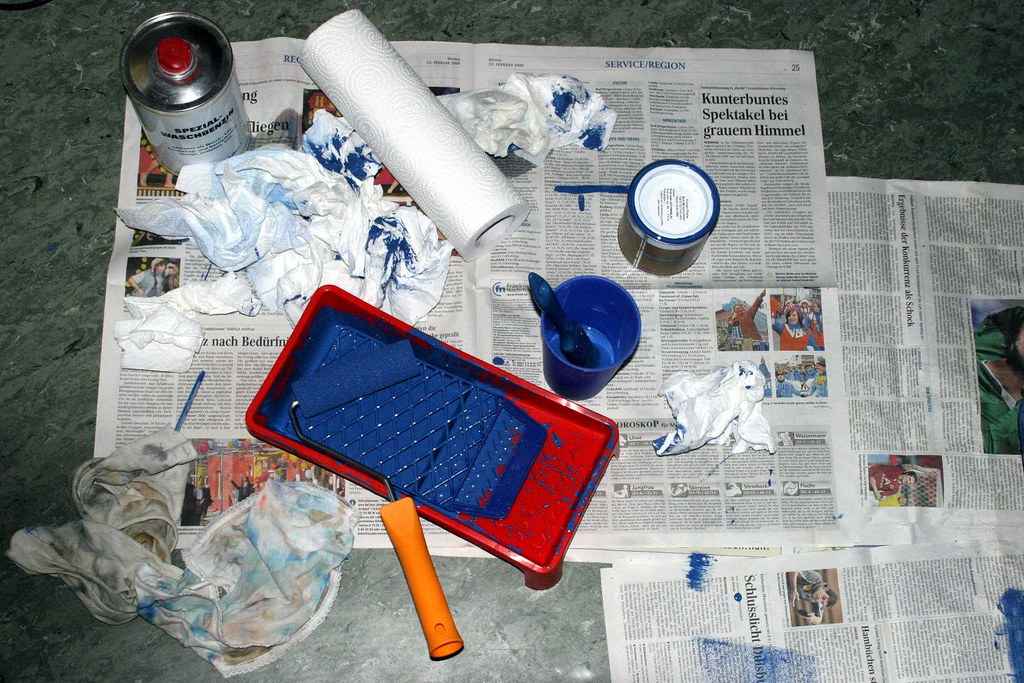
well then, let's get started. here's what i will be using today:
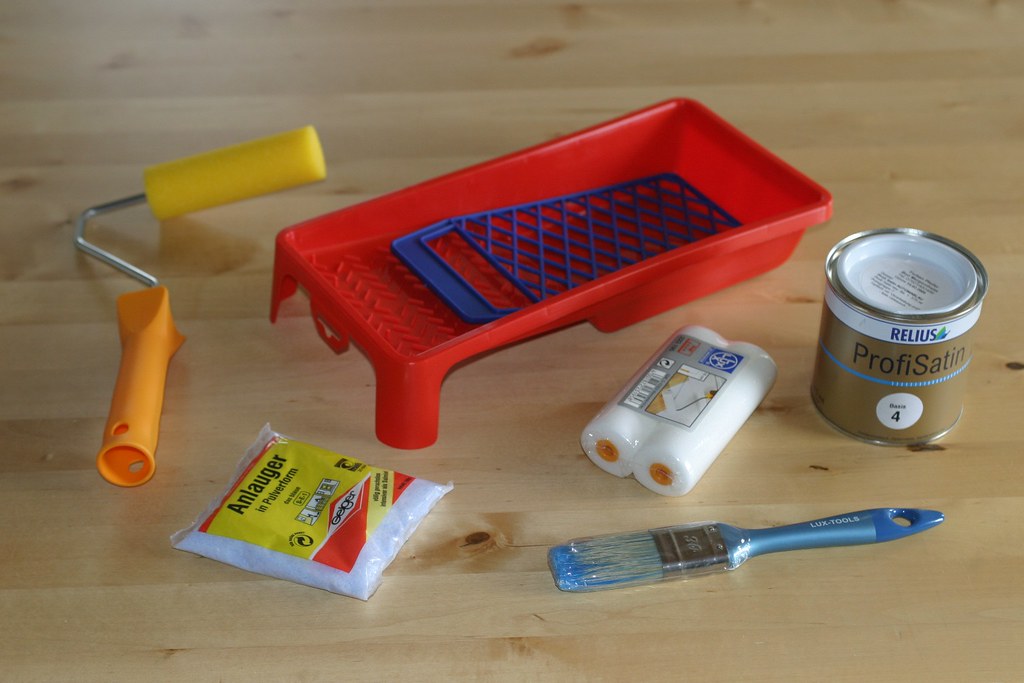
before starting the actual painting process, i'm appyling some base (it comes in powder form, but has to be dissolved in water). with the help of a sponge (have you noticed my "arcade sponge" marked with a big A?

), i'm distributing the liquid equally across the cabinet. the function of this base is to prepare the cabinet's blue surface for the painting job (making it handy and non-slippery).
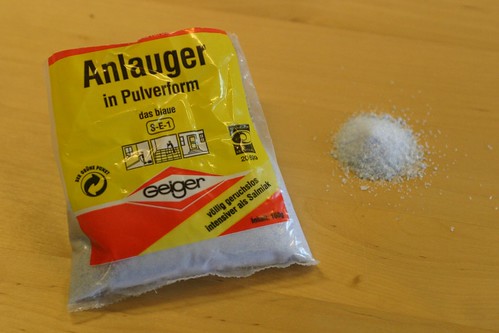

after leaving it on for 10 to 15 minutes, you can wash the liquid off with clear water. the cabinet's surface is now well-prepared.
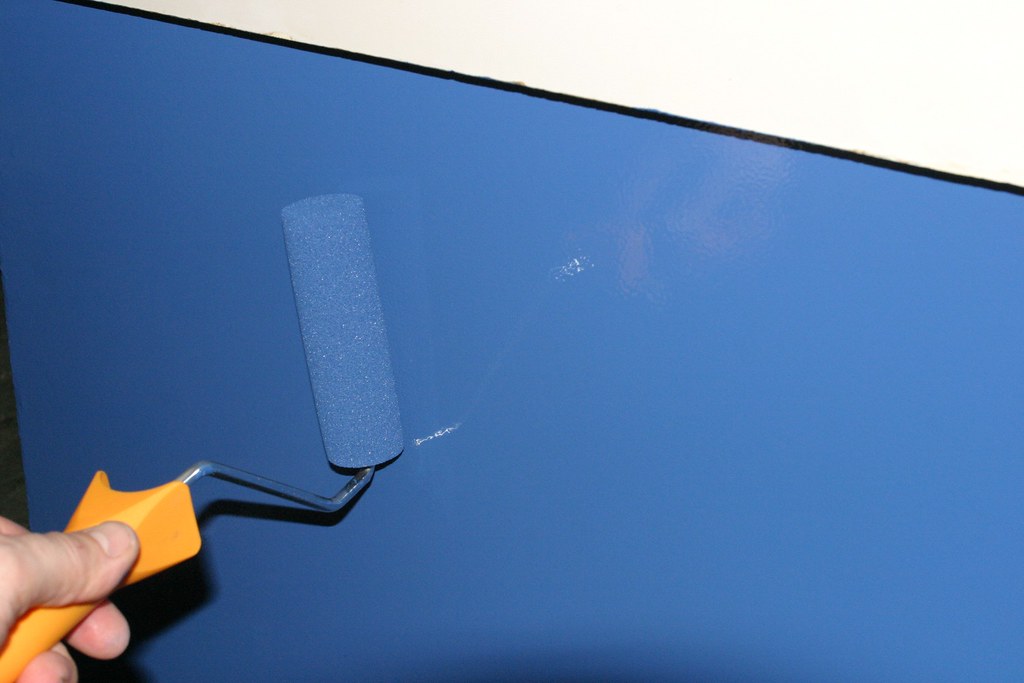
TIME TO PAINT!!!
the remains of a day ...
now on to the part which i hate the most:
WAITING.
..
...
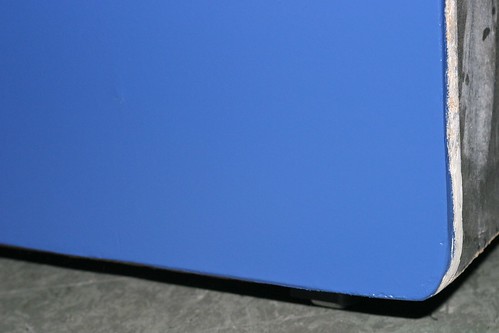
after two days in "dry storage" the paint has dried almost completely and the results are in:

looking at it closely, one can see the spots where i reconstructed the wood with the woodfiller (and somehow a cat's hair managed to squeeze itself into the room and onto the cabinet), but overall i'm extremely happy with the results and the way this turned out. there are - of course - some minor imperfections, however, one must keep in mind, that these are only the sides of the cabinet and - after all - this was done by an amateur with amateurish methods / resources. what do you think?

@bruno: look what i've just found

this will be mailed to you (along with the marble madness marquee) pretty soon