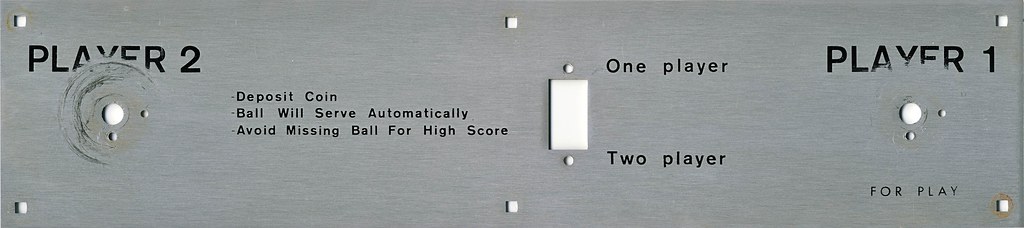
the restoration continues ...time to tackle the control panel - here's a shot of it in its rough original form

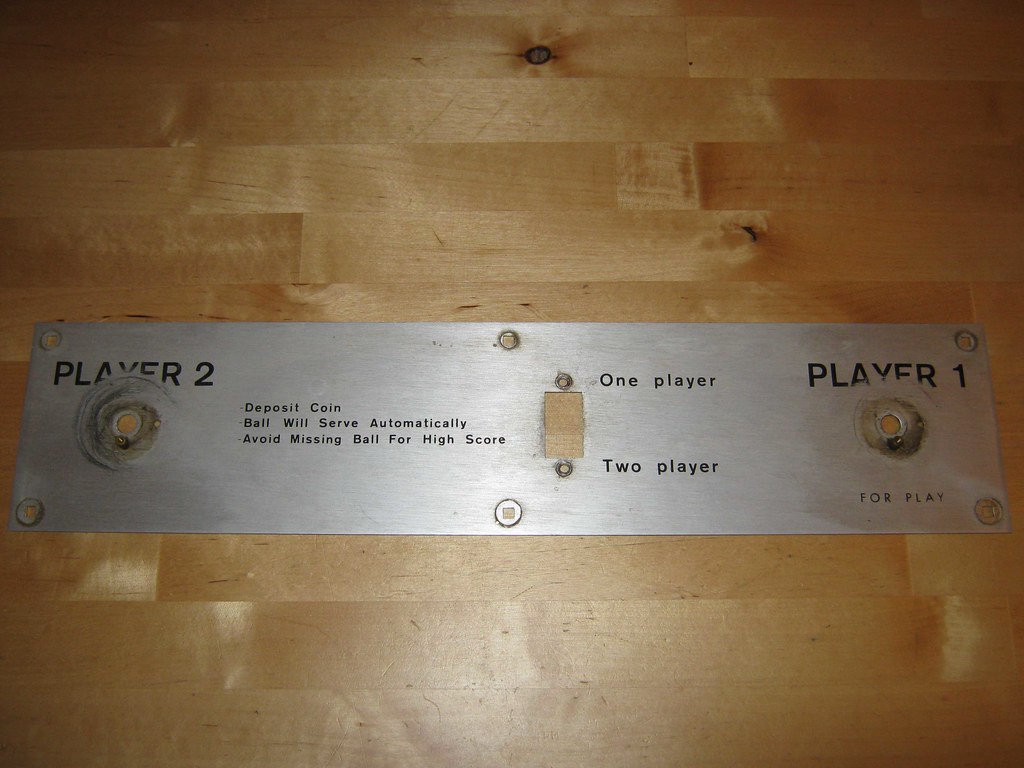
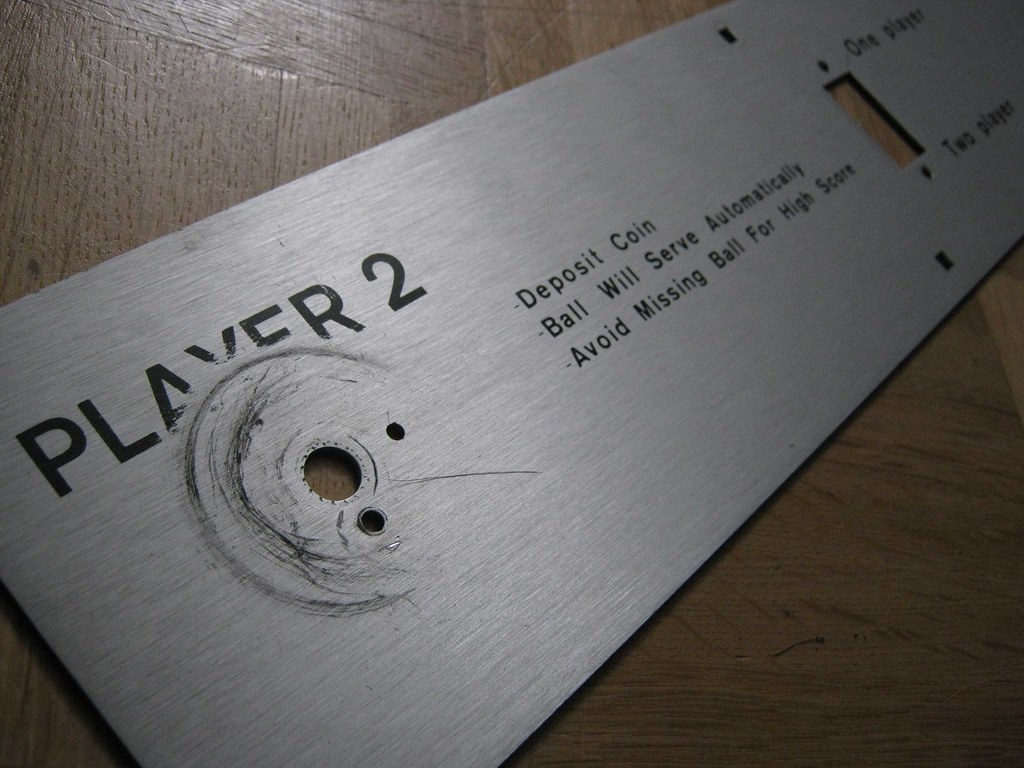
as you can see, the writing in the center is still nice, but the areas around the player controls are not only dirty, but deeply scratched!
there's a metal shaft (which blocks the knobs during gameplay) which prevents me from cleaning the control panel perfectly (and which hinders the continuing restoration process). for that reason, this shaft has to go! the question is: HOW?

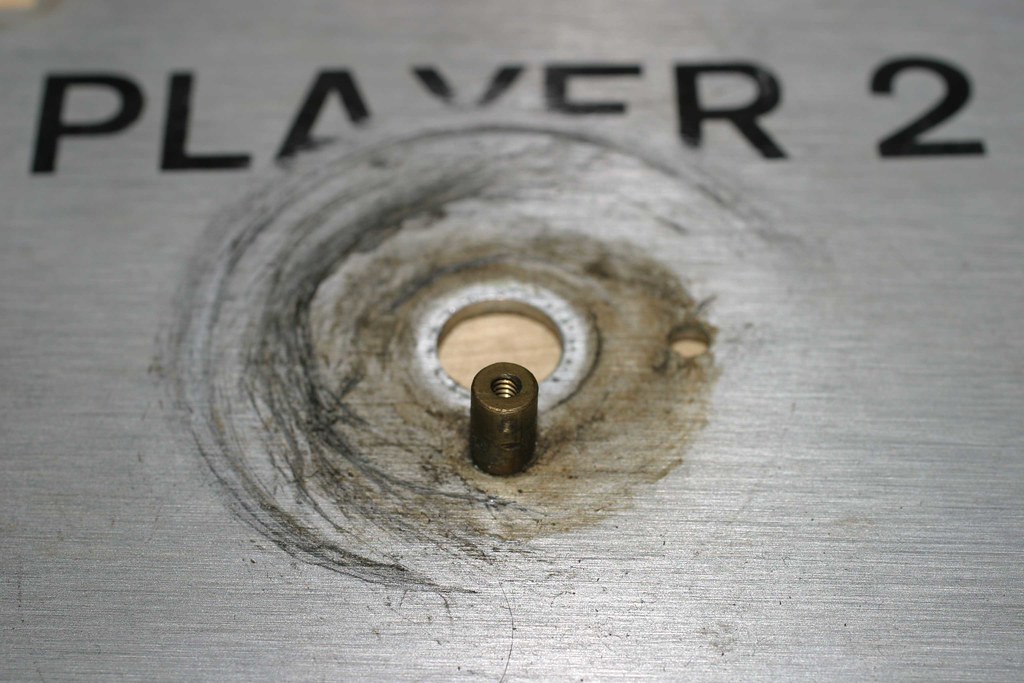
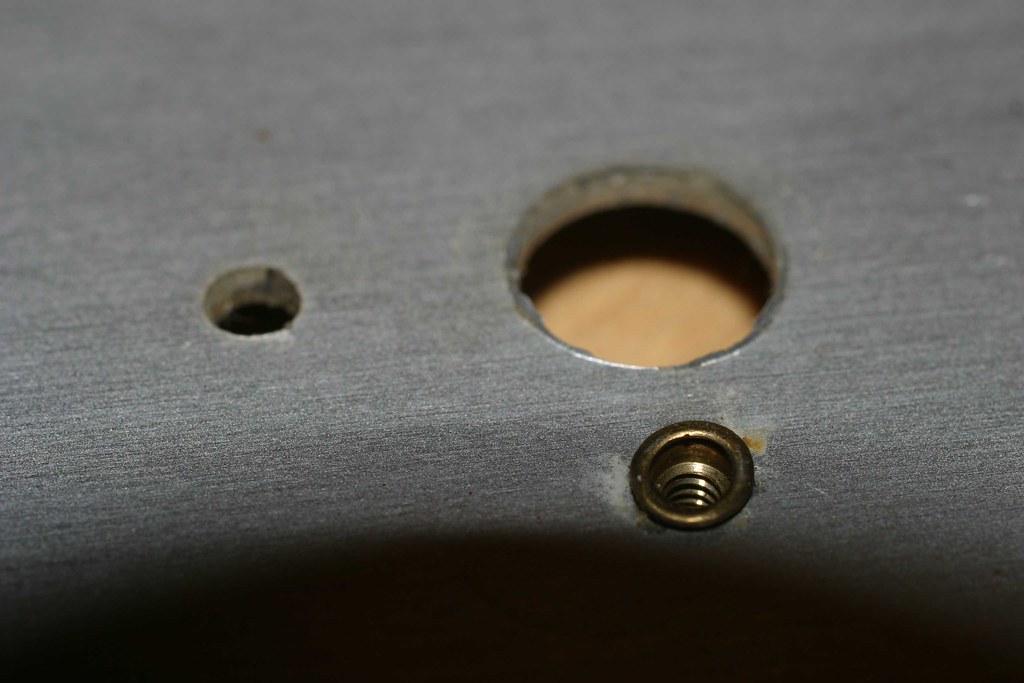
let's have a lok at the back of the panel! you can see that the shaft is somehow bolted in, but it also has a thread inside, which means all i need to do is get it off and find a small enough screw to attach it again later ... piece of cake

bring out the heavy tools!

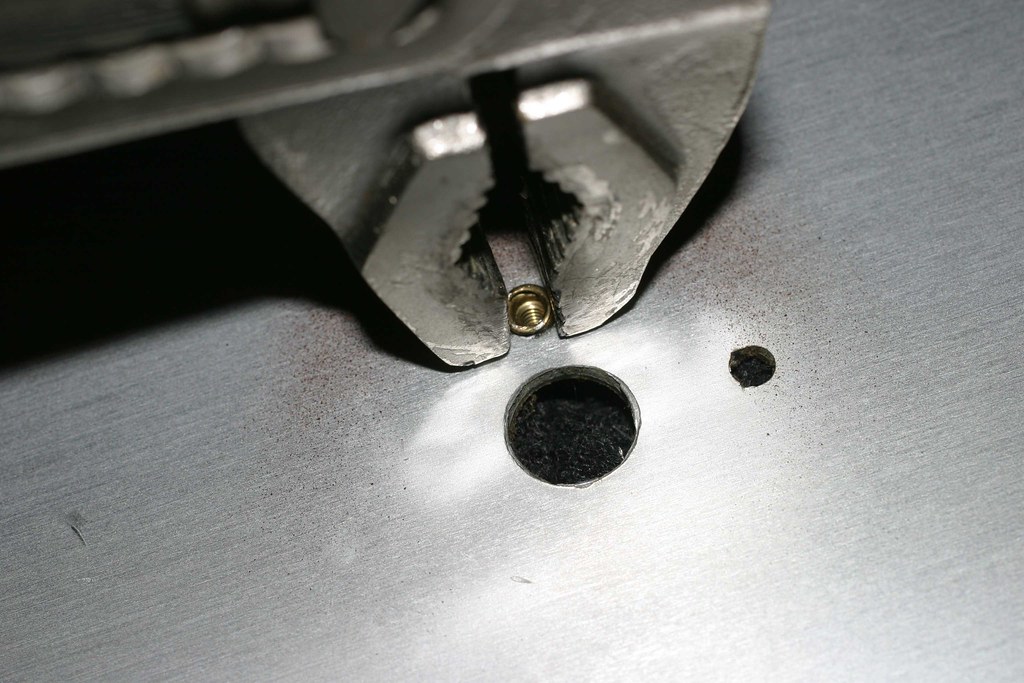
those should do the trick!
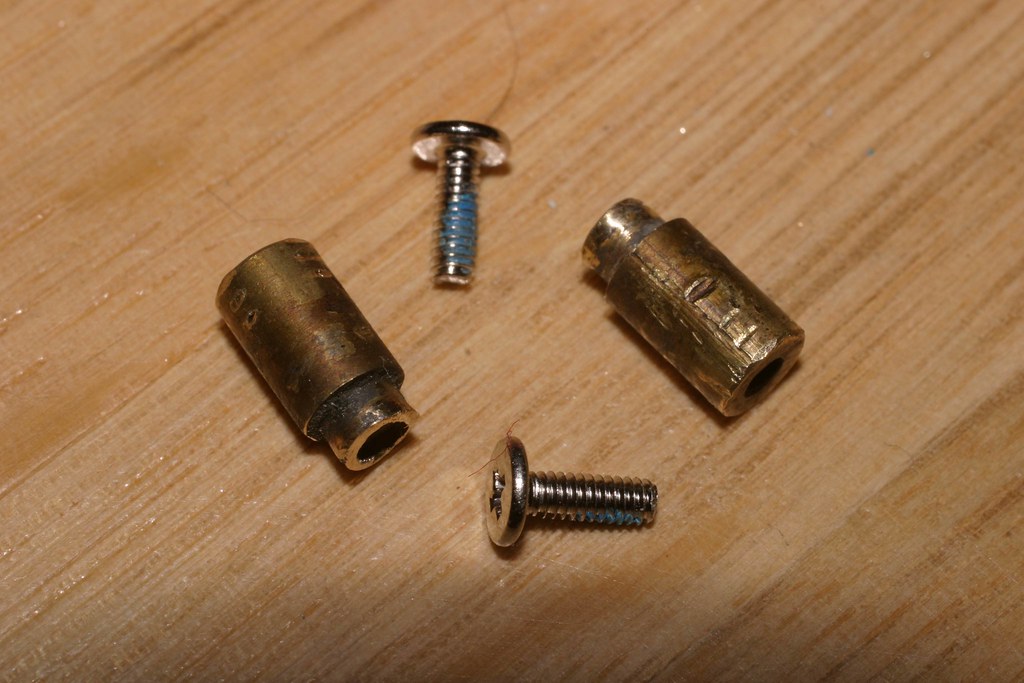
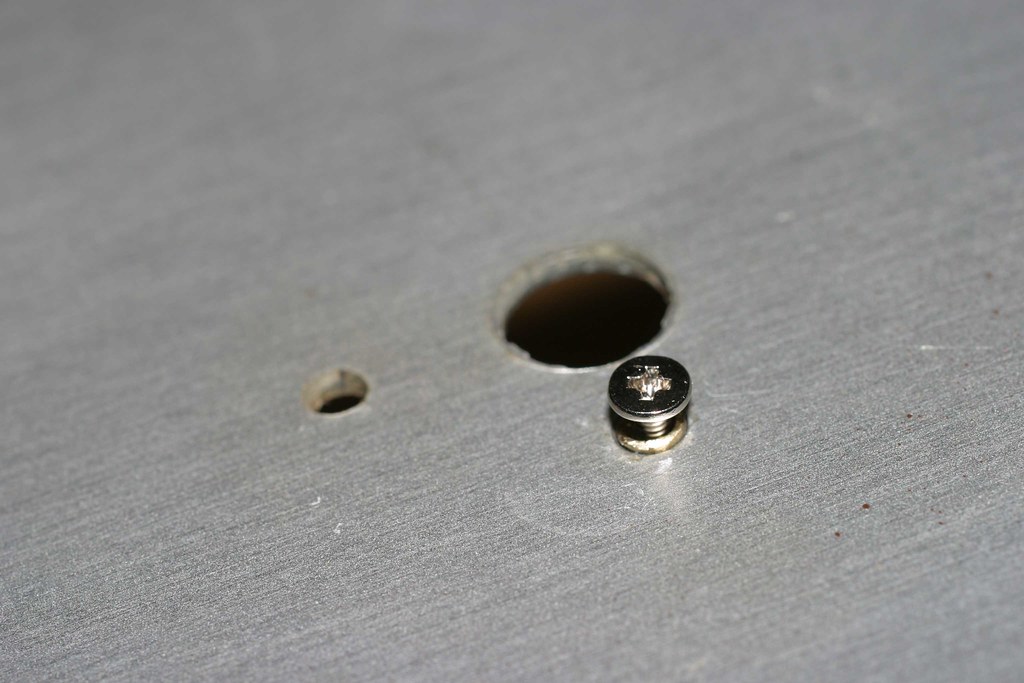
yepp, works like a charm (for your info, the screw isn't screwed in 100% on that photo; when it is, it holds the shaft firmly in place)

here we go, a flat control panel! now the big question: how do we continue from here? well, i've done a lot of digging and asking around before continuing and here's where we stand: the panel needs to be cleaned thoroughly, the old paint / writing has to be removed, the control panel has to be anodized afterwards and once all that is done, rich from thisoldgame.com has agreed to silkscreen the entire panel for me (and it won't cost a lot because it's just one color). this is going to look brand new afterwards and it will be very durable

all i have to do is provide rich with a hi-res scan of the panel, he can get all the information he needs out of it! off to the scanner it goes ...
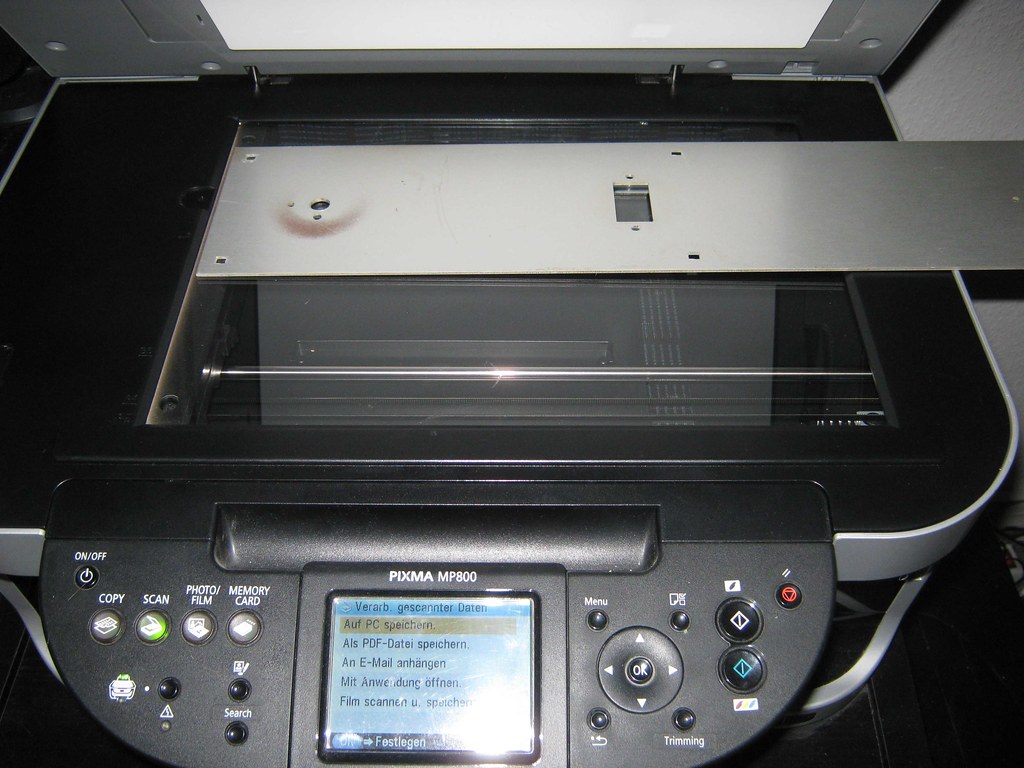
because the panel didn't fit on my scanner completely, i had to do it in two passes and stitch the two pieces together afterwards - it worked extremely well!
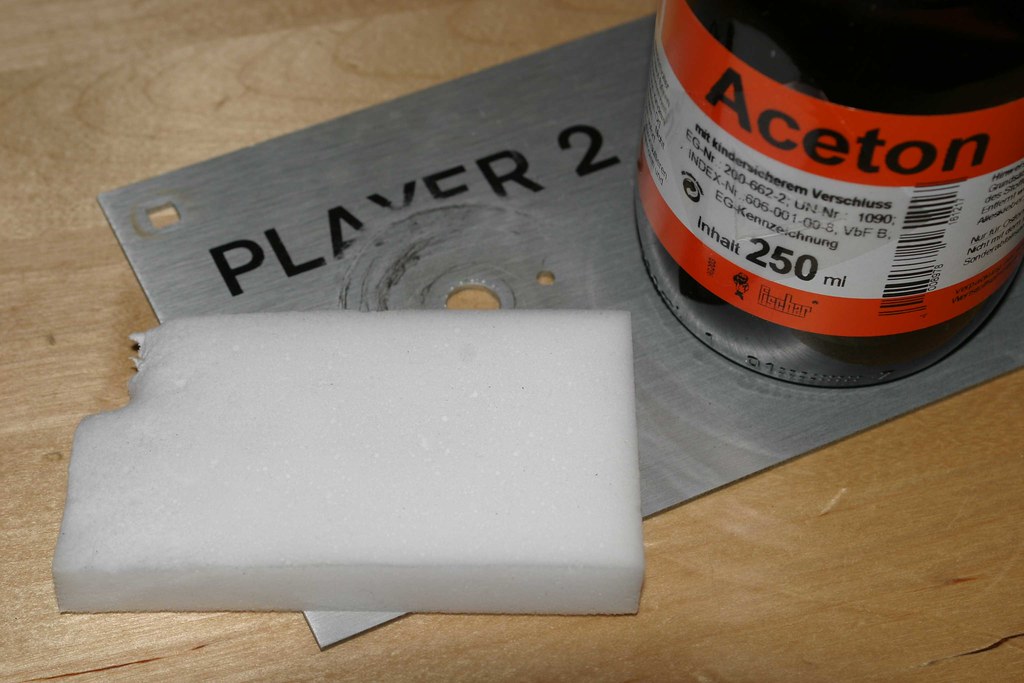
after i had rich's ok that he can work with that file, i started removing the old ink. i got a tip from the italian collector alessio who re-did his panel as well (with printed transparencies) that i should use aceton for the job. this stuff doesn't smell healthy, so always wear a mask and protective gloves and open the windows

you need a lot of elbow grease, but the ink comes off eventually
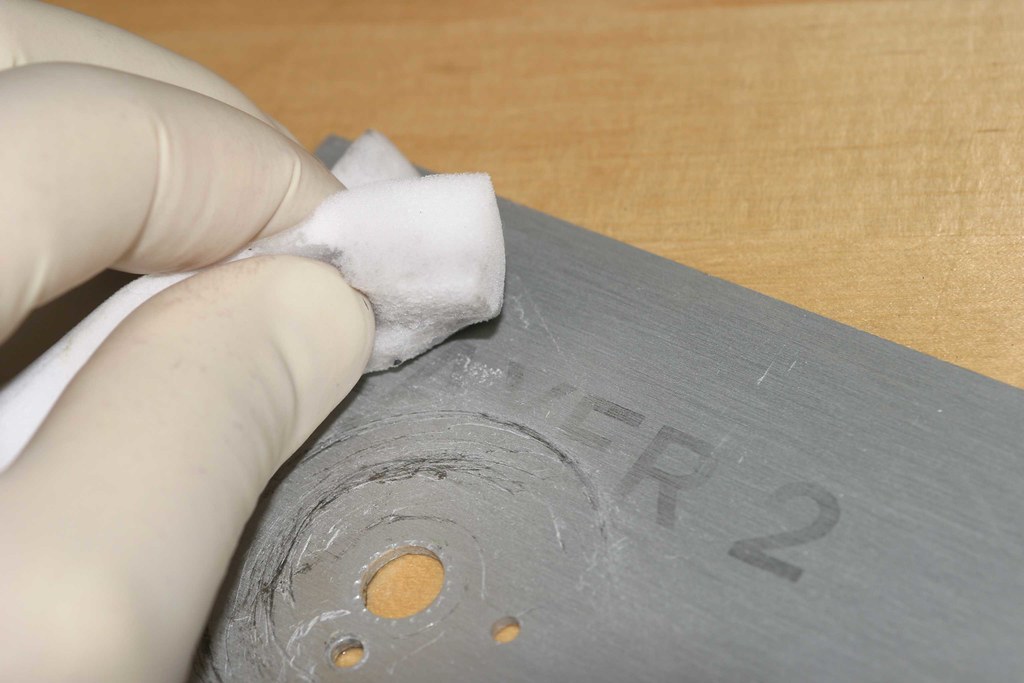
after using up a couple of those cheap chinese magic sponges ...

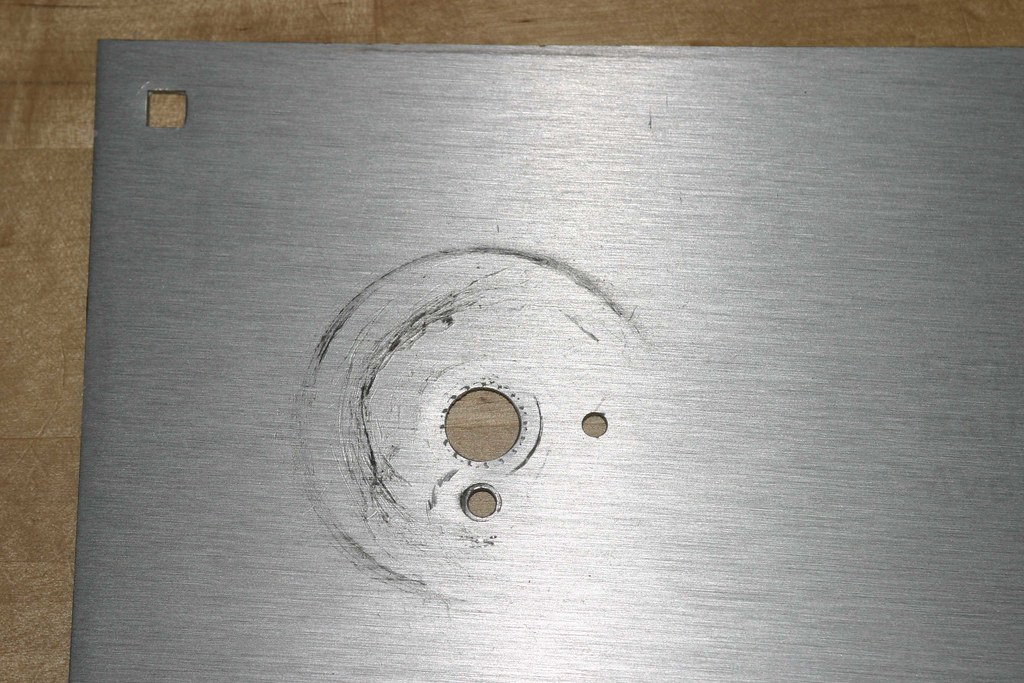
... here's where we stand! as you can see, the heavy scratches still remain (wasn't expecting anything else), but they will be covered for the most part by the players' knobs
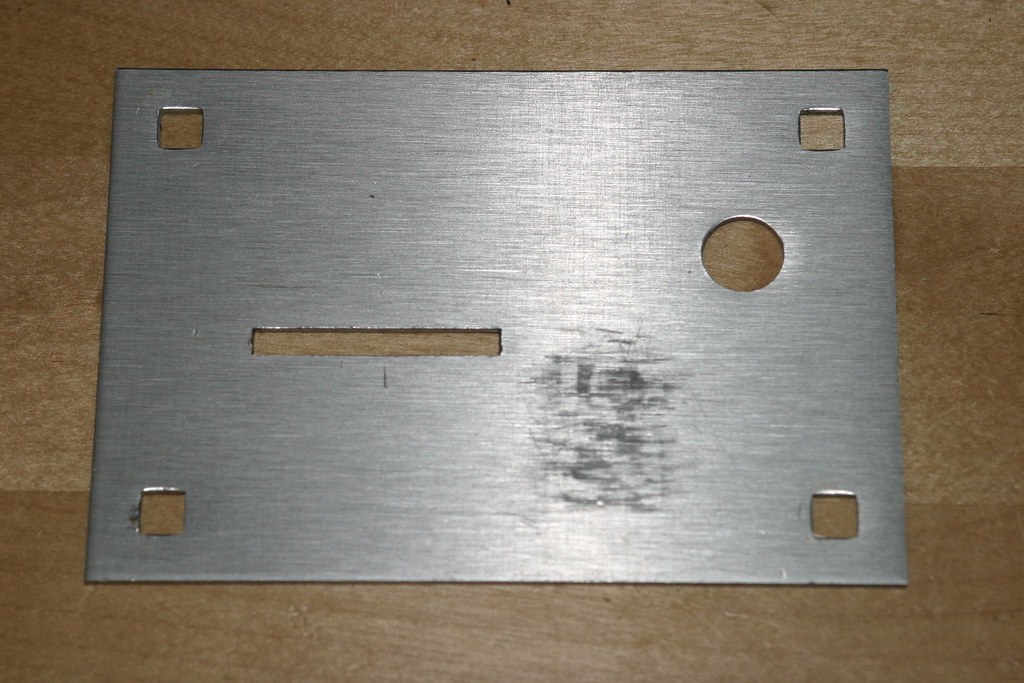
same problem with the coin insert plate where someone scratched off the 25c lettering. unfortunately, this won't be covered by anything and if i sand it down i'll remove the aluminum structure. i haven't been able to find a convincing solution yet, but i'm working on it as we speak

this is where i stand with the control panel, let's see what the cabinet has to offer!
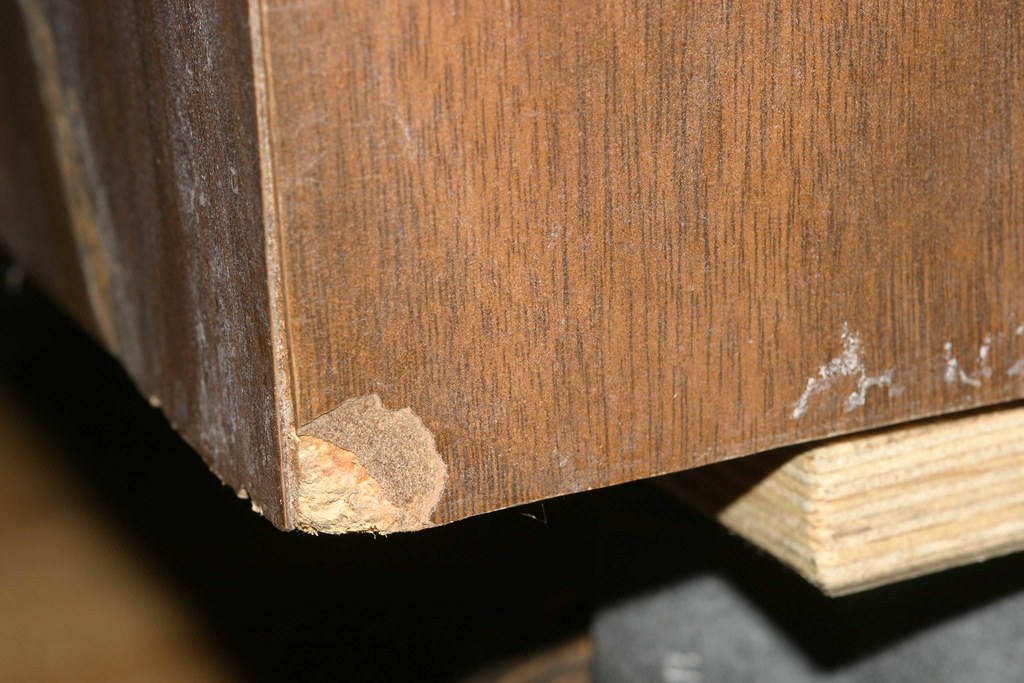
because it's completely empty, i'm seizing the opportunity to repair the damages to the cabinet. fortunately, it is in nice shape, only two spots on the front which need fixing: right above the coin door ...
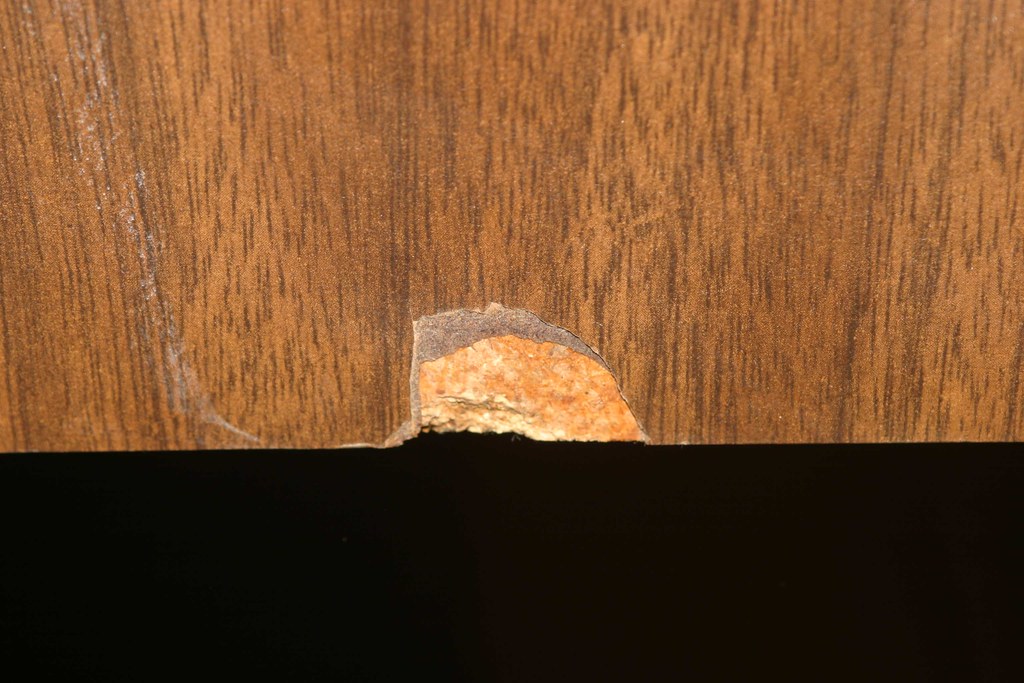
... and on the lower left corner
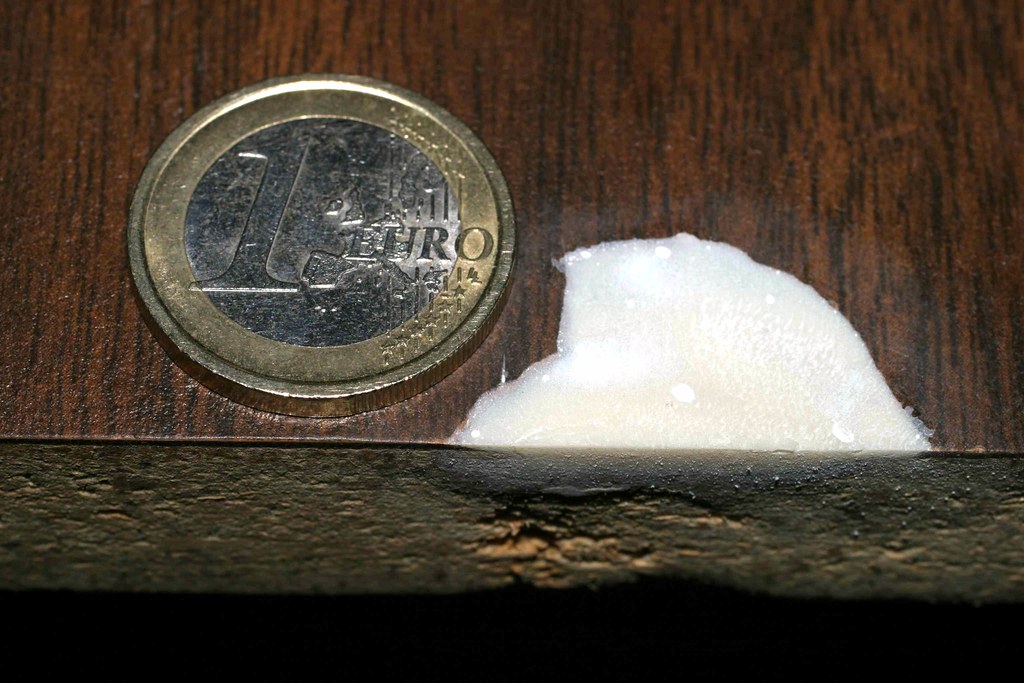
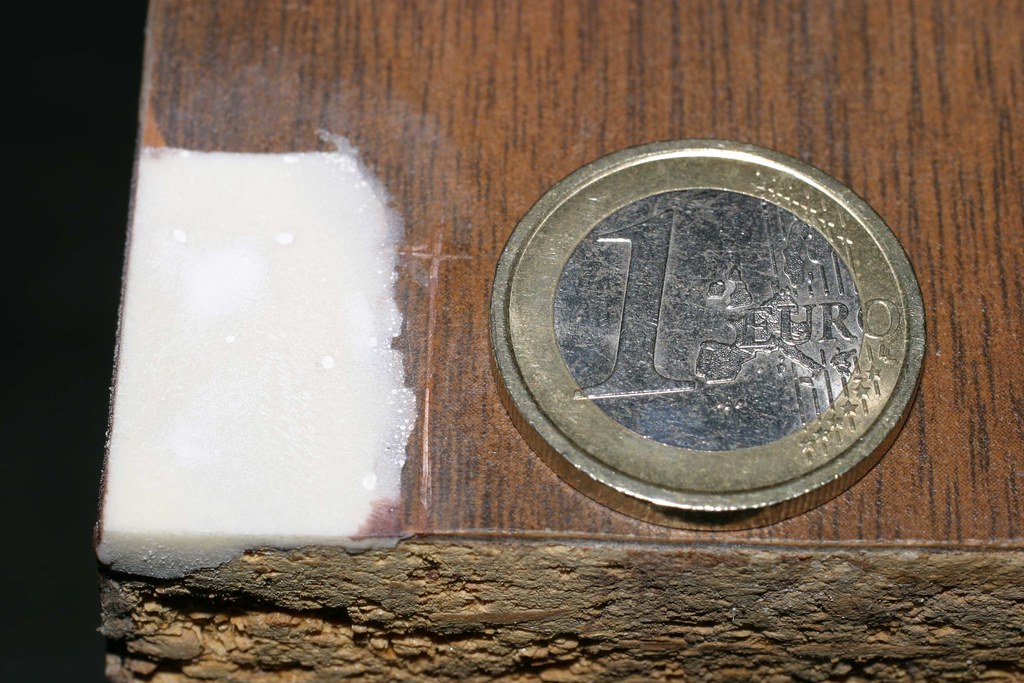
the usual "after the filling / sanding job" pictures (i've added a one euro coin to demonstrate the size of the damages)
now, what to do with those spots? my first idea was to use different shades of brown pens to simply color the woodfiller ...
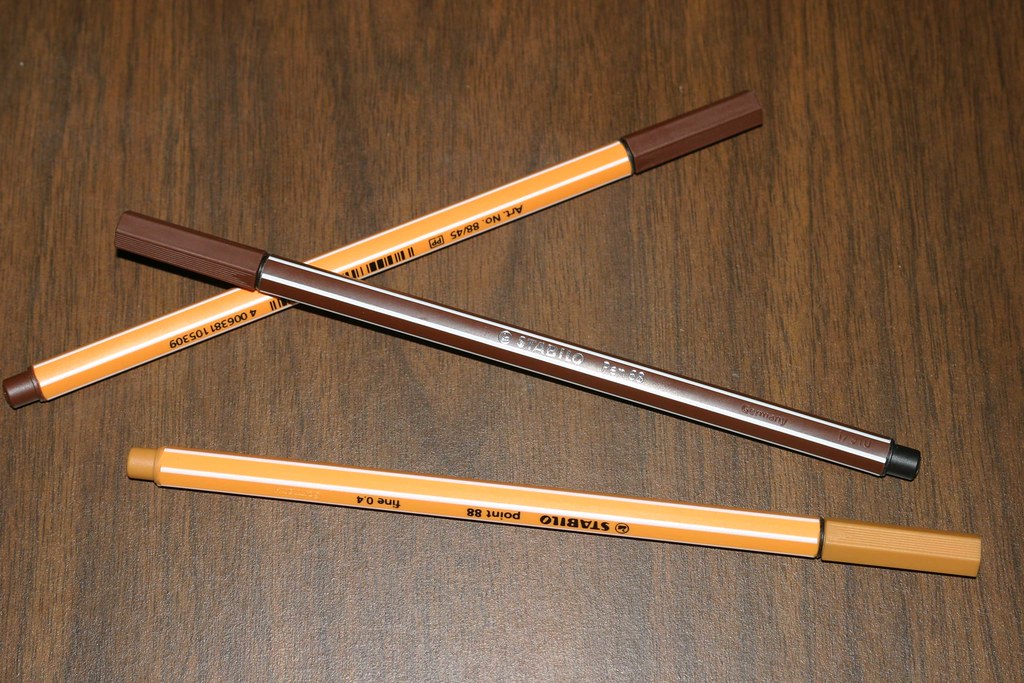
... but that didn't produce the desired result


so i did what i always do
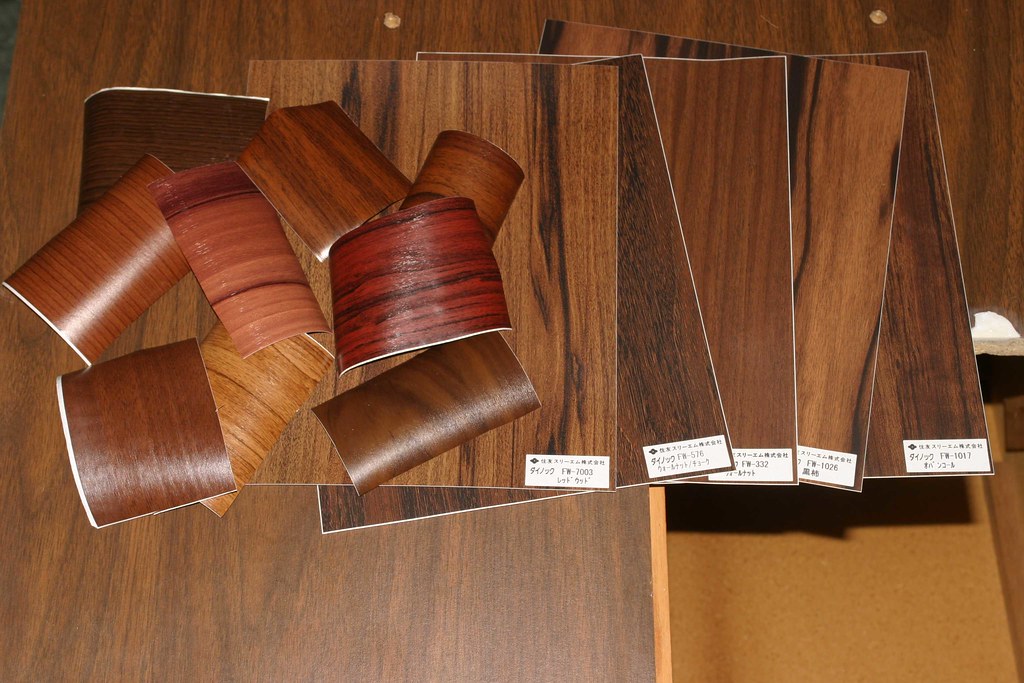
: i ordered a couple of woodgrain vinyl samples (which looked like they could be a nice match judging from internet pictures - well, some are a little bit off

)
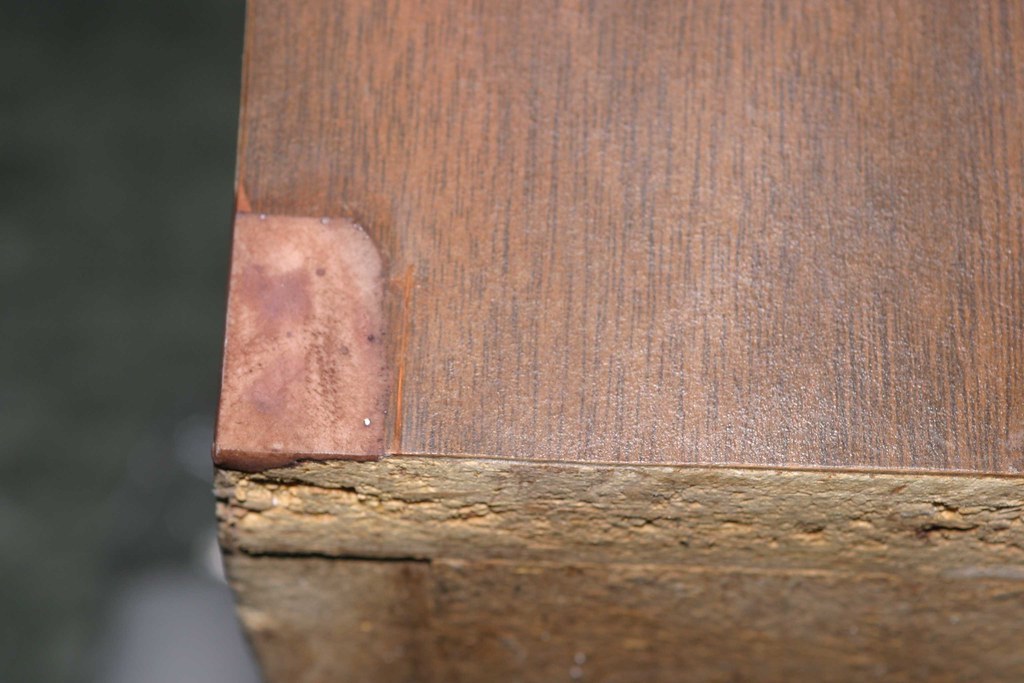
i found one which was pretty close to the original - which left me with two choices:
(a) order a full sheet (1 square meter) of the stuff and re-do the entire front (which would have cost me around 50 euros because it's high-quality 3m stuff)
(b) try to find a piece within the sample which would fit in nicely with the surroundings (color and shapewise)
i opted for choice (b) because this doesn't cost me anything and i can always switch to option (a) afterwards if it fails! so what i did was draw a template with sandwich paper and copy it onto the 3m stuff (which i had cut into pieces so that the cut-out piece would eventually (hopefully) match the original vinyl best!
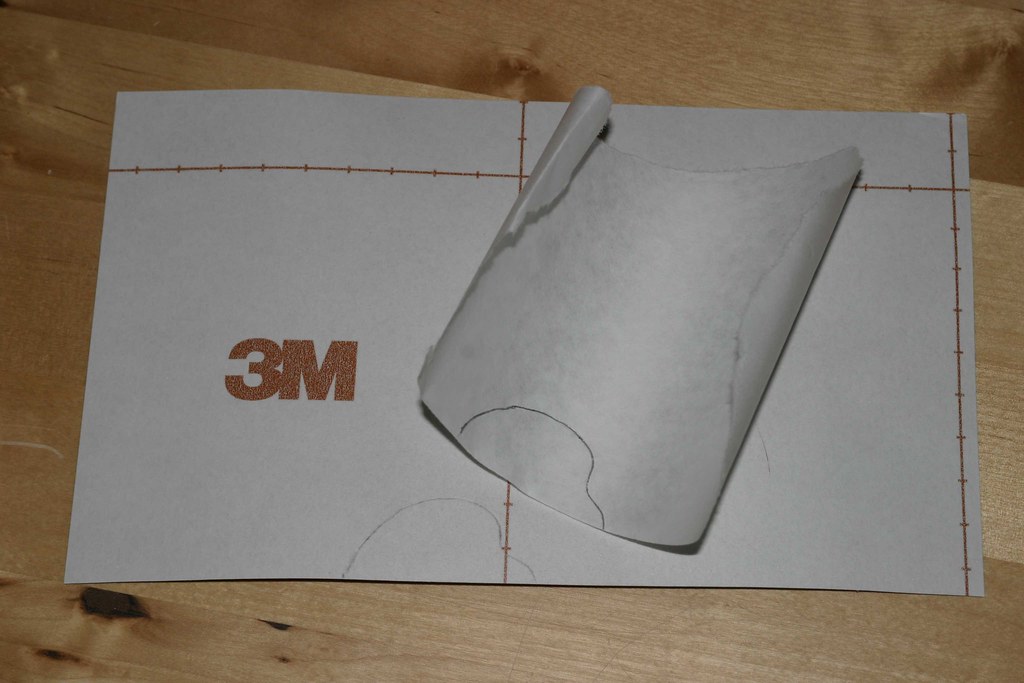
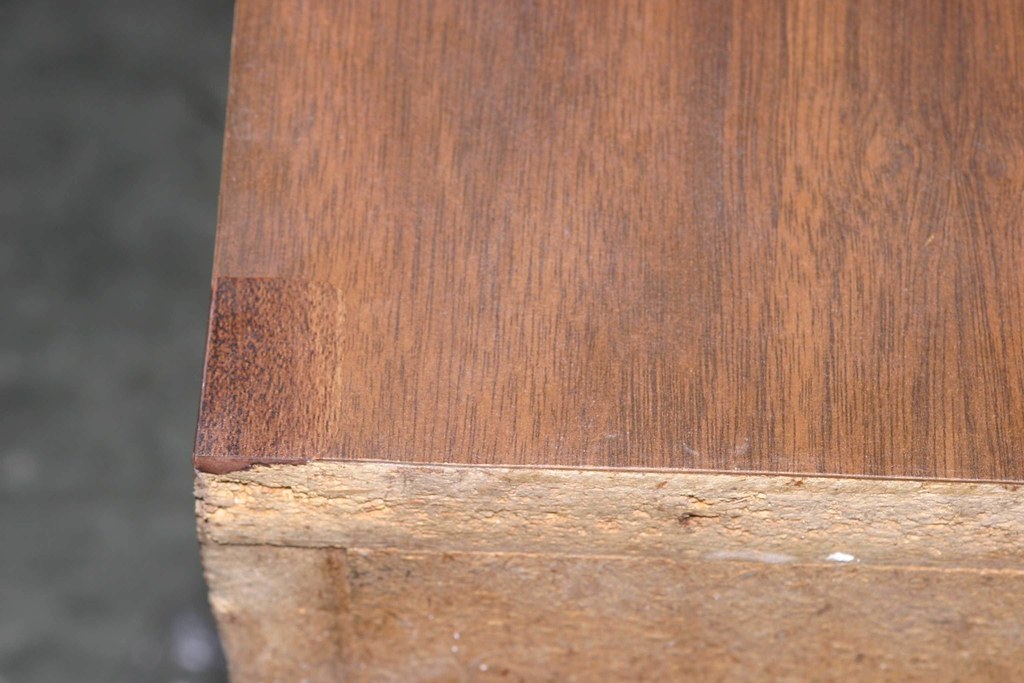
and the result was
absolutely convincing!!!


well, at least for the coin door area. it doesn't look as good in the lower right corner (because the brown on the left is too dark), so i will try to find some other woodgrain samples hoping to get a better match. but for now, i'm happy with that solution and you mustn't forget: this spot is in the lower left corner at the bottom of the cab, probably noone is going to notice anyway, but you should know me by now ...
 to be continued ...


