while waiting for the "tech stuff" to arrive, i'm concentrating on another aspect of the artwork: the monitor bezel! in case you don't remember, i wasn't able to find a nice glass bezel for my cab (most of them are badly flaking), so i grabbed an art file from joemonkey and had it printed


while it looked ok at first, there was some stuff which didn't make me happy, for example the masks and the tarzans at the top not "reaching" into the visible area. have a look at an original bezel to get an idea what i'm talking about

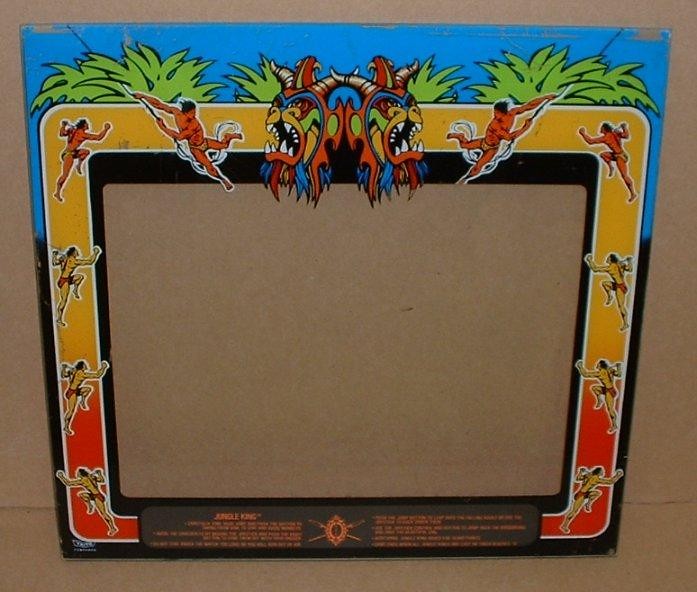
additionally, the colors were off (too dark) and it had the instruction card "included" in the artwork, the original bezel came with a seperate card which was fixed to the bezel from the back - have a look

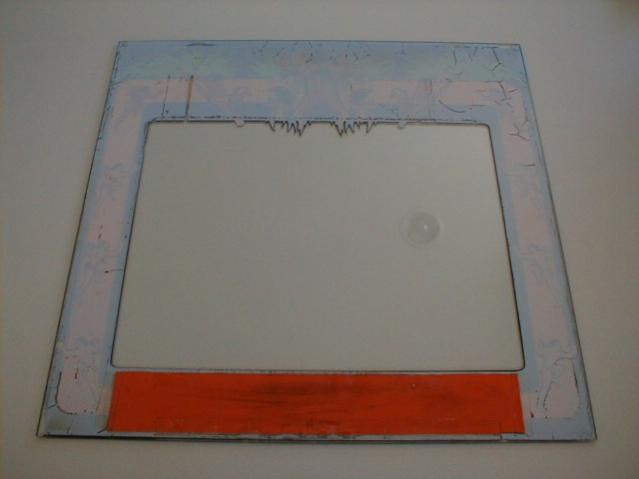
because of that, i got together with our vector king etienne who kindly agreed to take on the task of vectoring the entire bezel for later reproductions. there's nothing available in the usa, although a jungle king bezel is probably one of the most desired pieces of art out there. so for a couple of weeks / months, etienne and i exchanged tons of emails about the progress he made and some corrections from my side. here's what such a file looked like after etienne had sent it to me and i had added my remarks


etienne was almost done with the bezel (and the instruction card) when i was contacted by a guy from KLOV about an original jungle king bezel in ok condition. i was totally torn about what to do, because etienne had spent endless hours on this and now that the end was near an original piece came along. so i contacted etienne and asked him what to do and without any hesitation he told me to go for it! i was still hesitant because i somehow felt i betrayed the vector king, but of course an original bezel is somewhat nicer than a reproduction PLUS it was much cheaper than having etienne's version printed, so i decided to get it. who knows, perhaps etienne will finish the art and make it available for possible reproductions later!
enough said, a huge box arrived through "personal delivery"

at my doorstep one day

good news: everything seems to be in one piece!
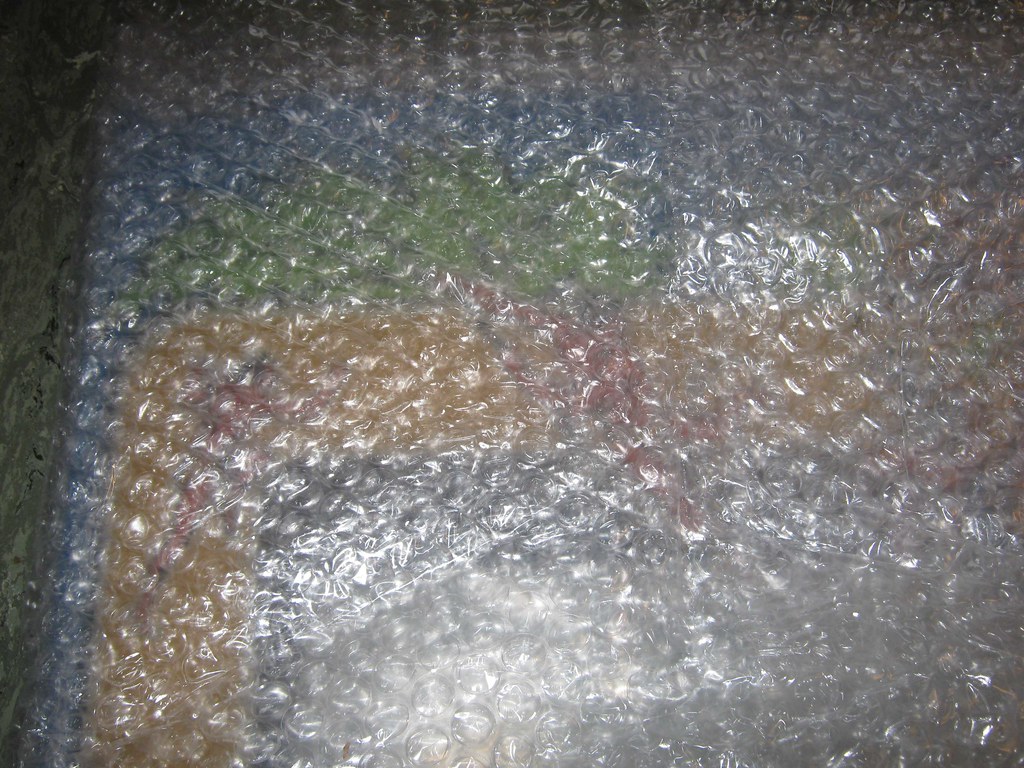
a first careful peek inside already reveals some flaking art

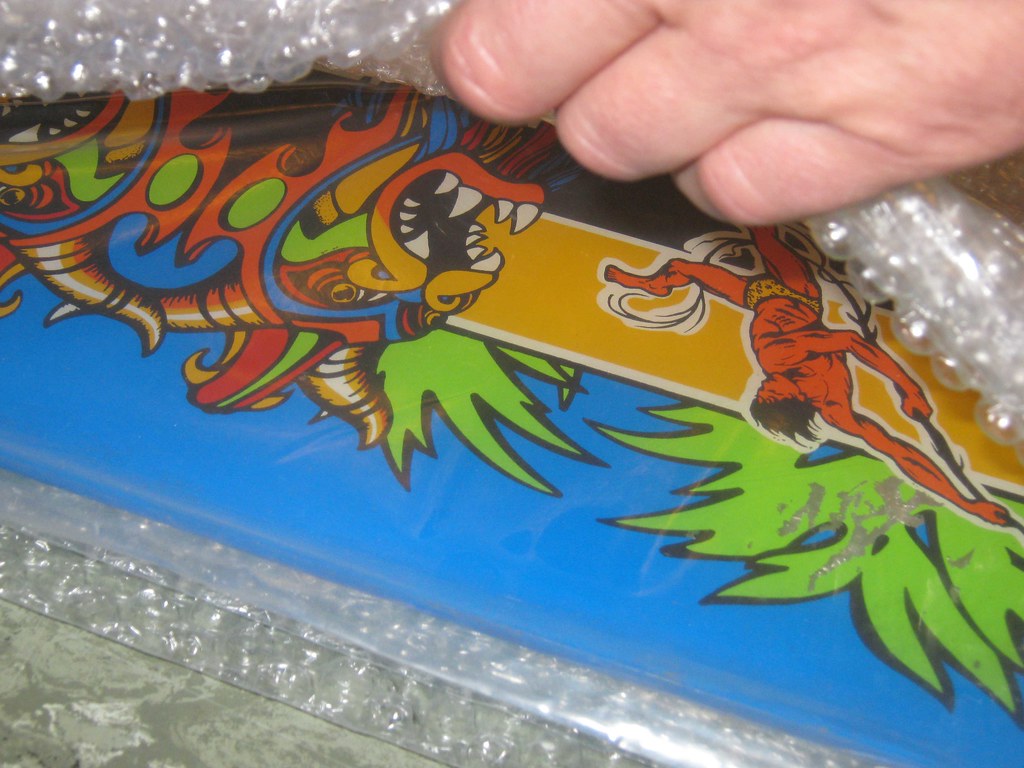
let's inspect the worst spots a little bit closer


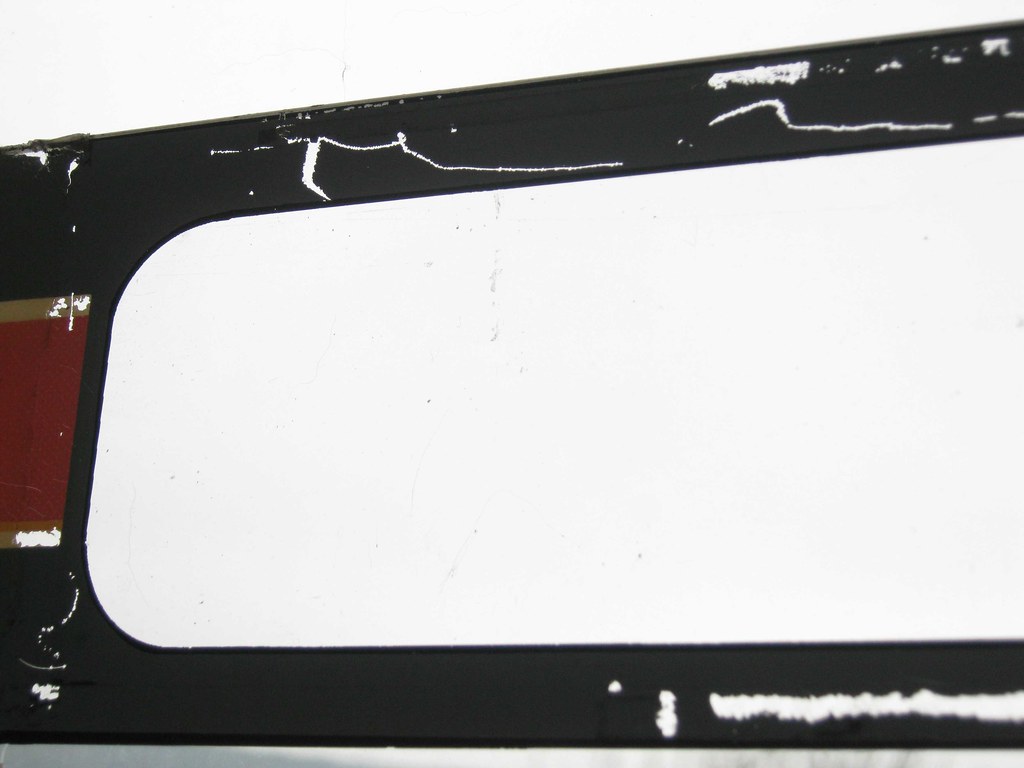

as you can see, some serious flaking going on - and of course i can't leave it like that, so first of all i'm taking out my black "glass pens" ...

... for some first minor corrections!
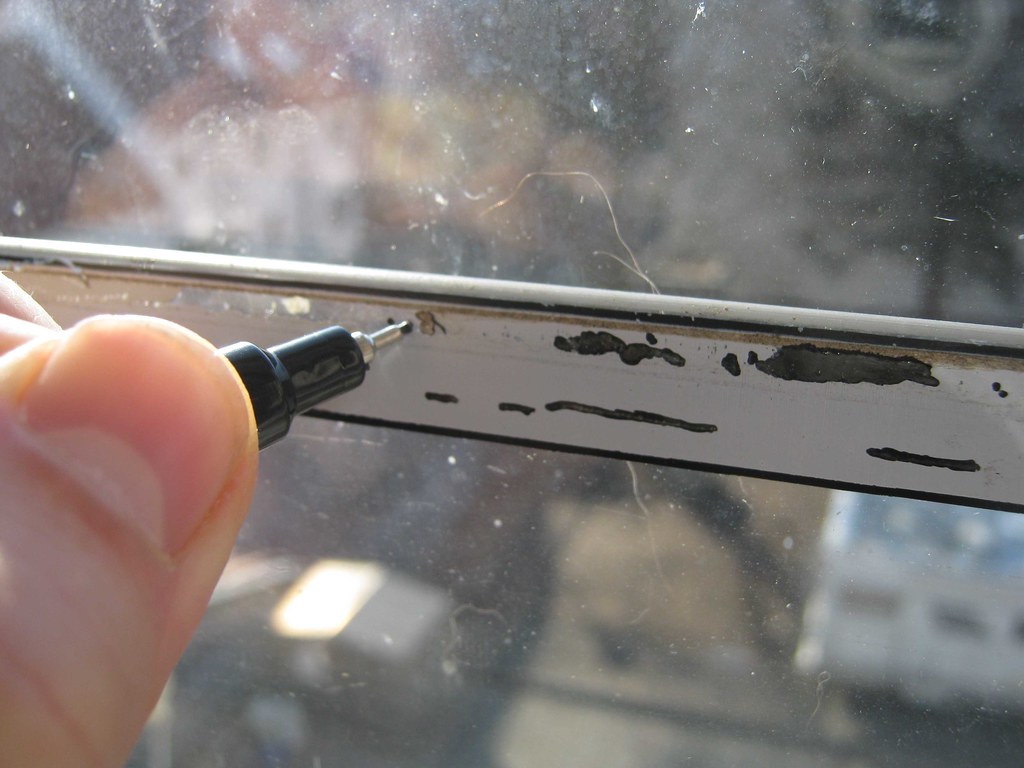

after that, i'm bringing out the heavy artillery: my touch-up colors!

which shade of blue fits the best?

here's the bezel after touching up the art, first two photos are against-the-light shots, last two bezel lying flat on the table. doesn't look too nice, does it?
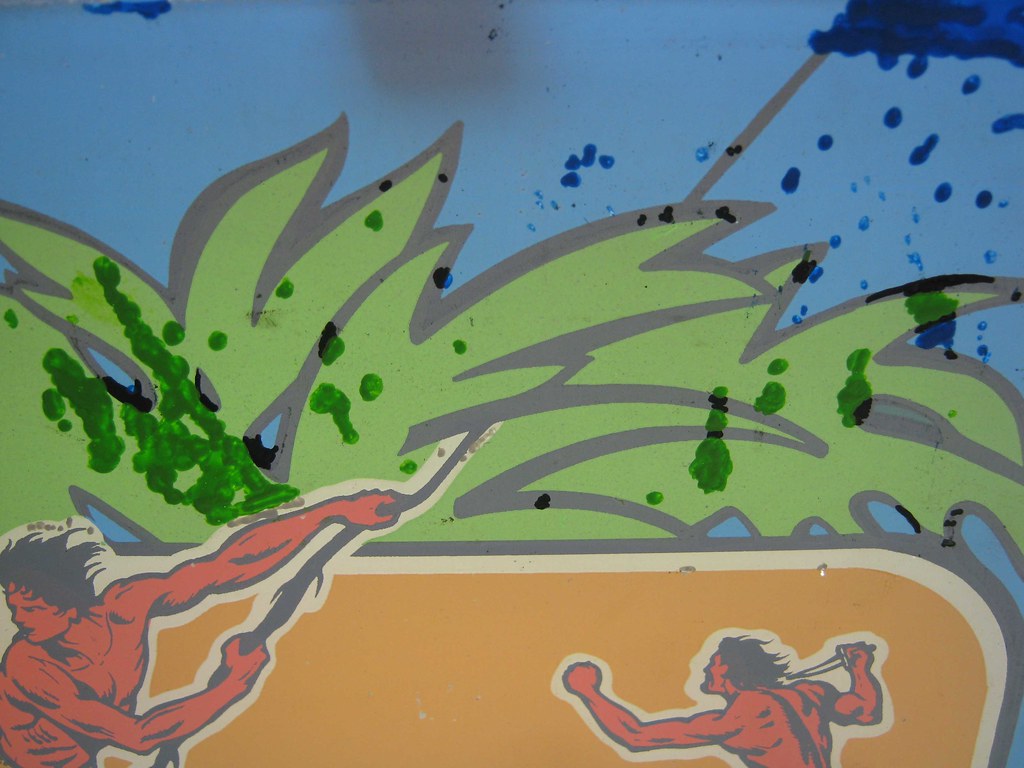


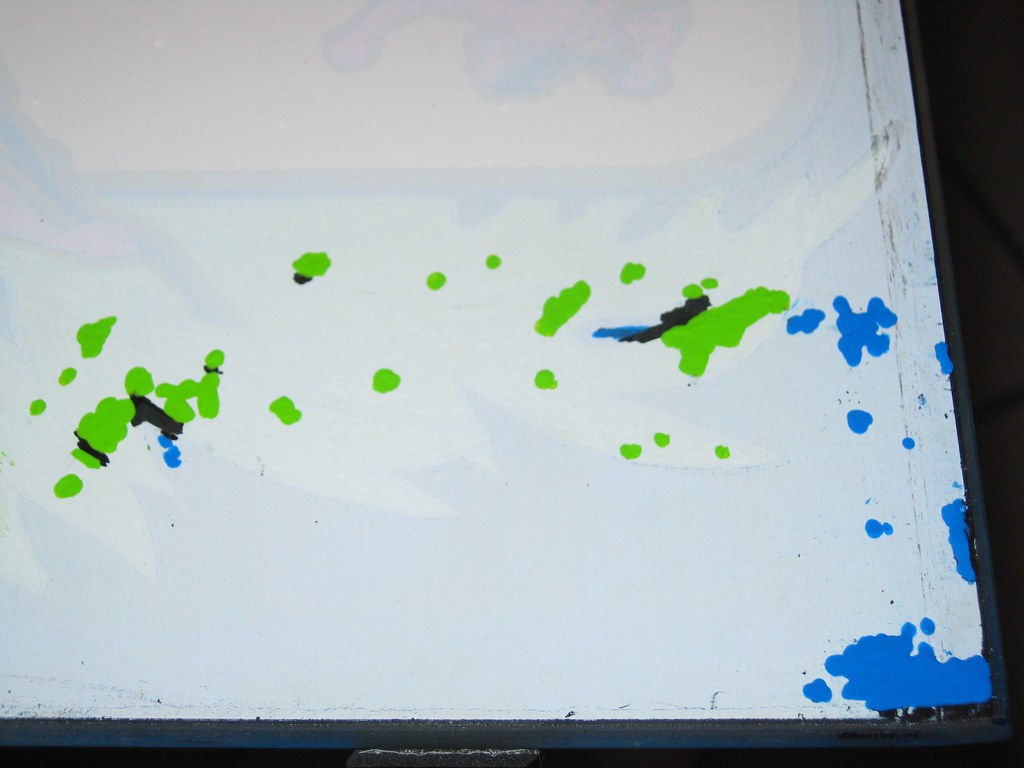
let's see how this "nastiness" turned out on the visible side
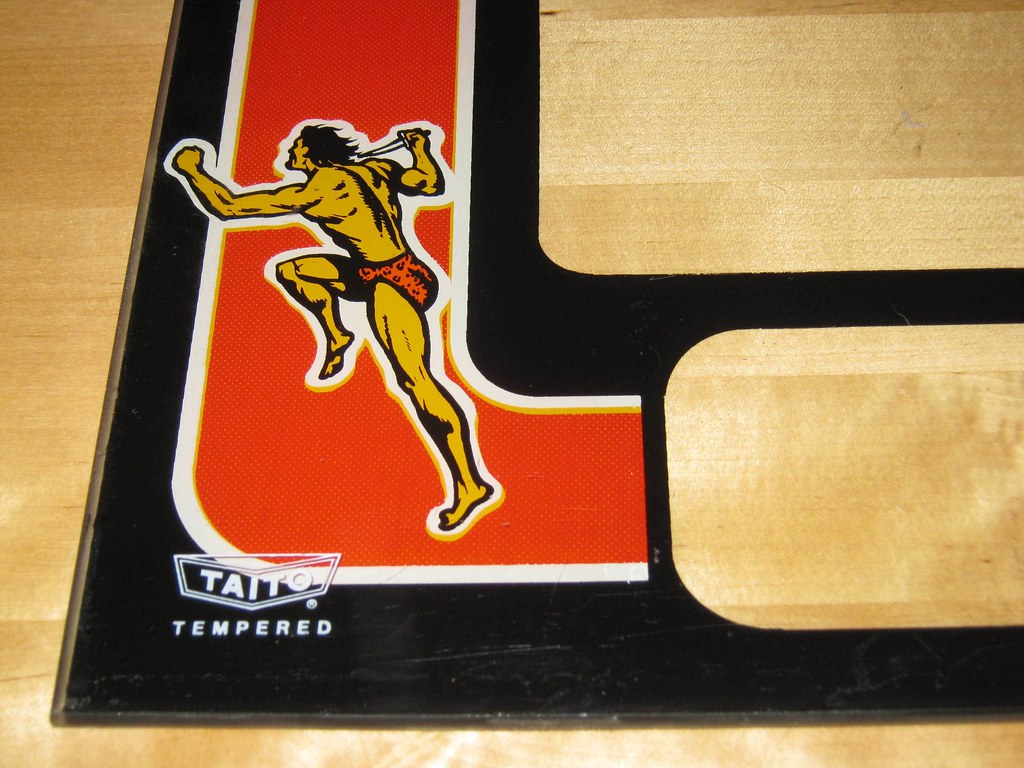

as you can see, close to perfection in the lower section, in the upper section the blue came out perfectly, but unfortunately the green color - which was an almost perfect match when applying - darkened after drying and so you can clearly see the spots where i touched up the art. however, this is going to be almost invisible once the bezel is installed and it looks so much better than when i got it, so i'm really happy with the results!

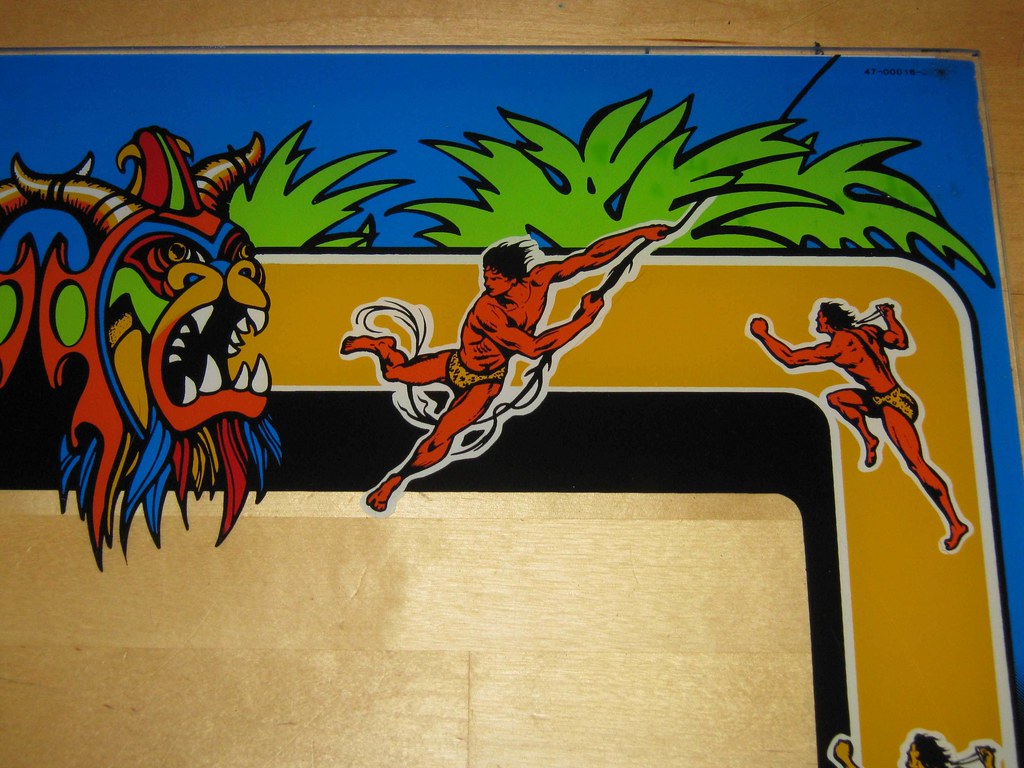
it's not perfect, but good
and original! note that the flash increases the color differences

now that i'm done with touching up the art, i want to seal it to prevent the bezel from flaking any further. here's what i'm using

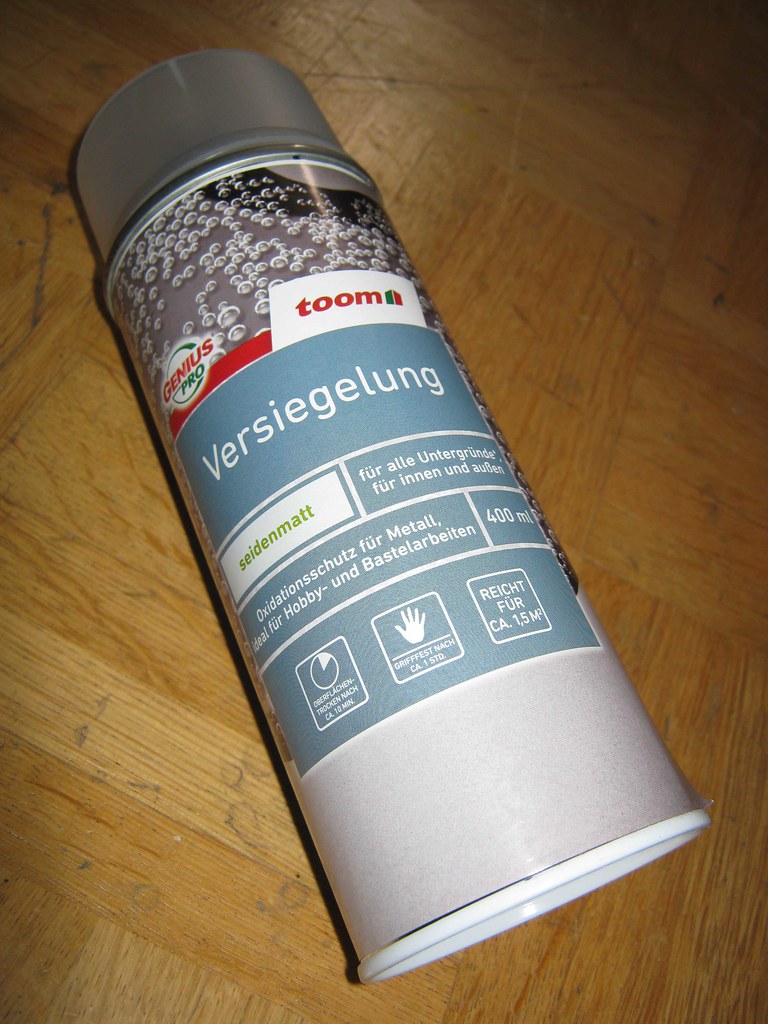
setting up my personal "paint booth"

while "shooting", i'm protecting the visible glass areas with cardboard

still missing: the instruction card!!! stay tuned ...
