the restoration continues (i need to get this finished for my birthday - two weeks and counting ...)a couple of days ago, i received a package from belgium
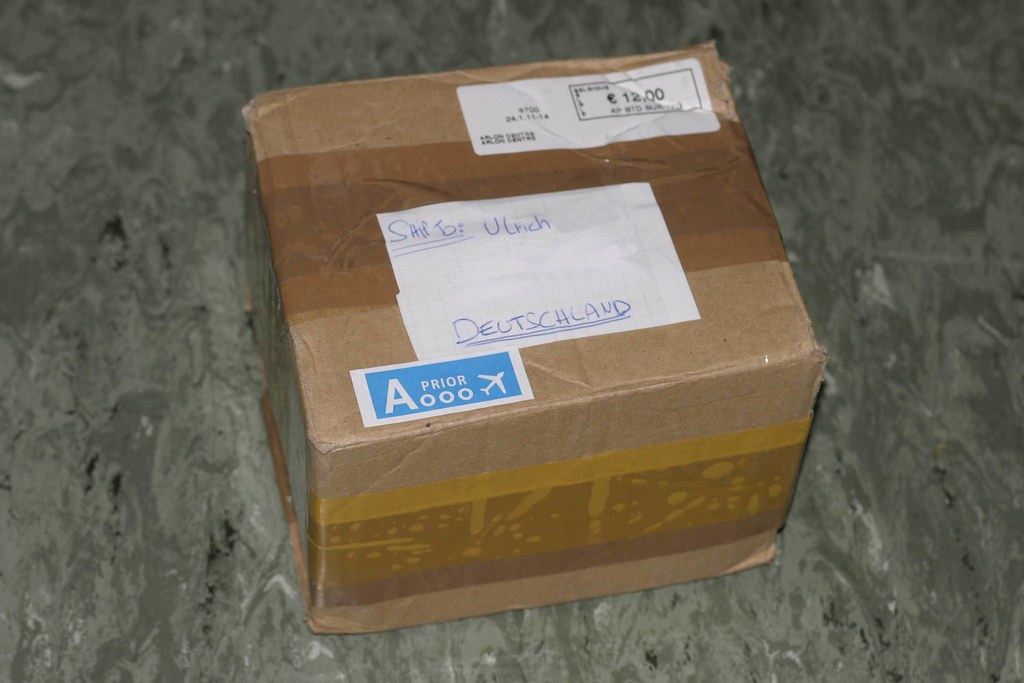
inside, two missing puzzle pieces: the sample sheet i had cut out of the cabinet and a big can of paint which bruno had scanned for me from the sample
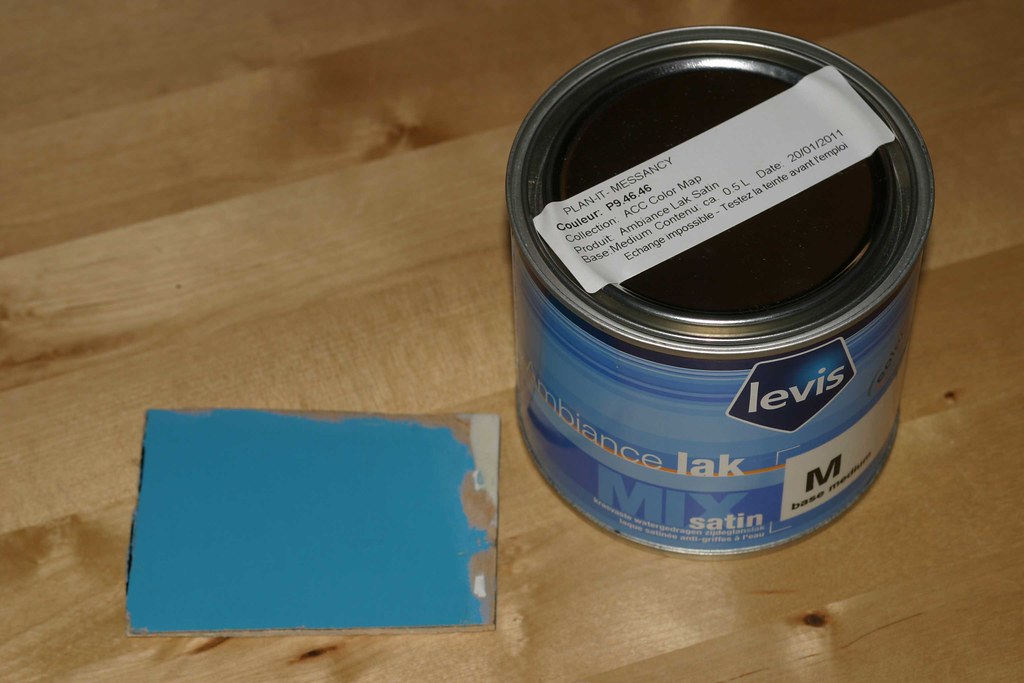
i can't resist, i have to compare the two puzzle pieces immediately if there is a match between them - and at first glance there definitely is

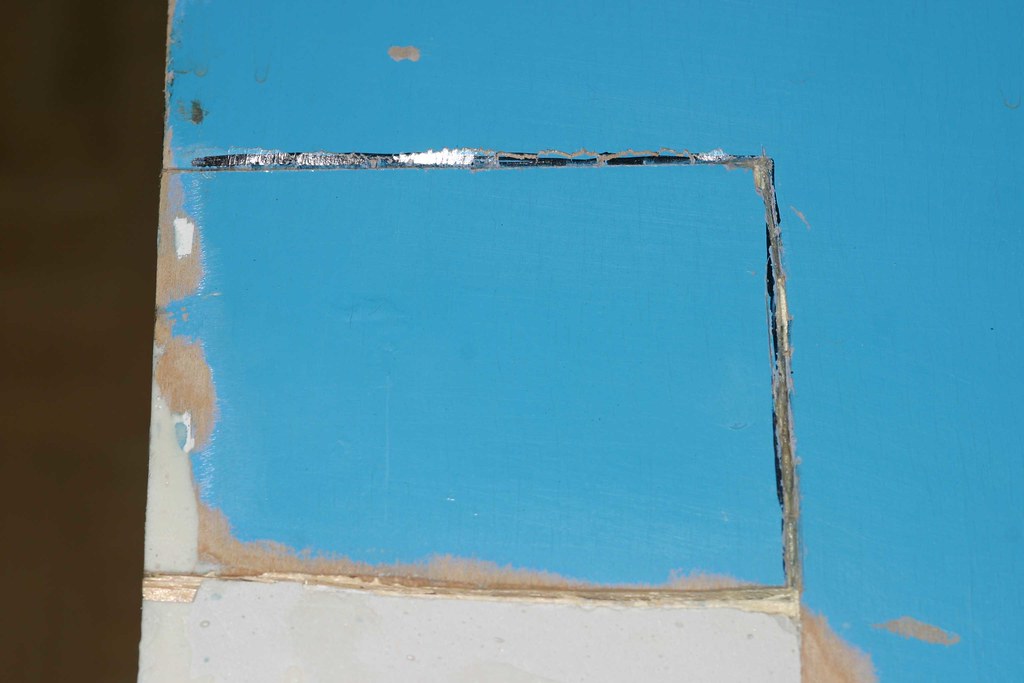
but before trying out the paint directly on the cabinet, i need to close up the wound which had been left by the operation earlier
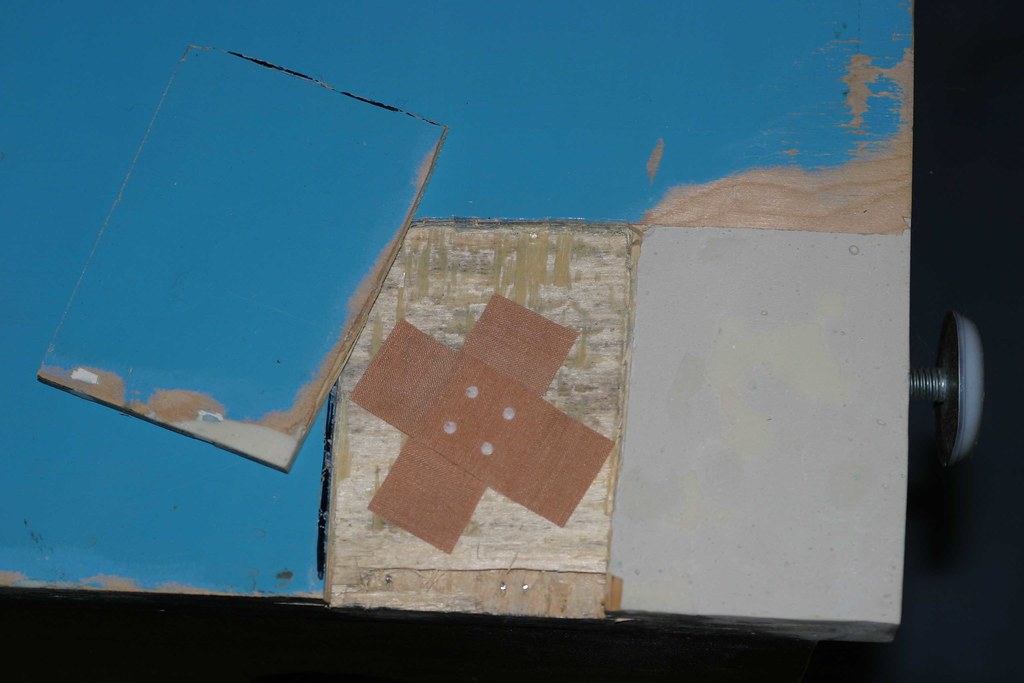
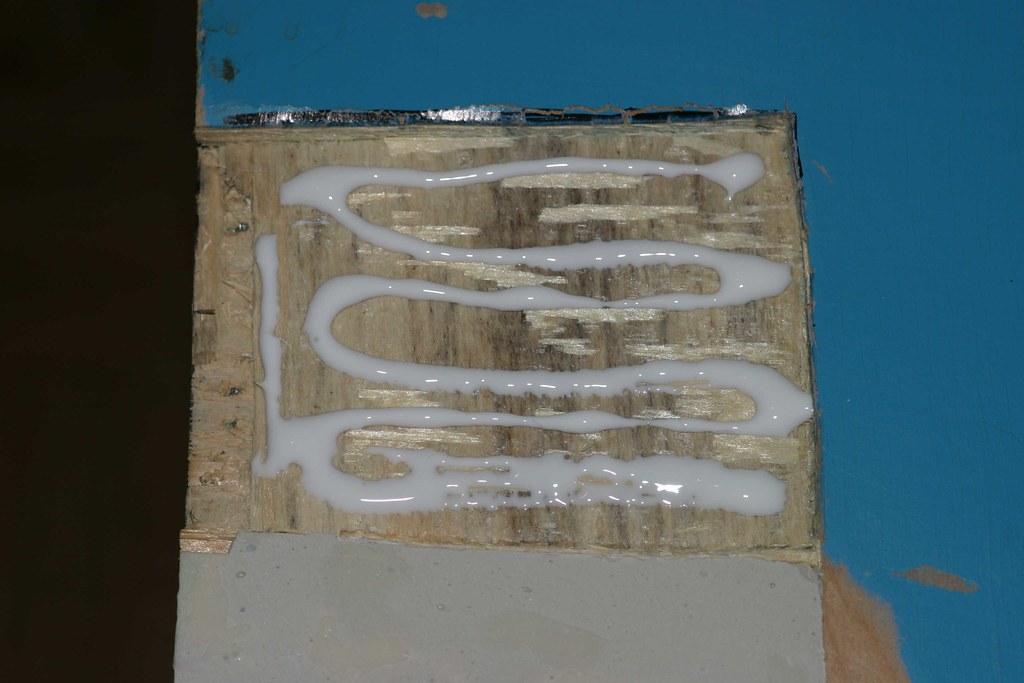
adding some glue for the "healing process" ...
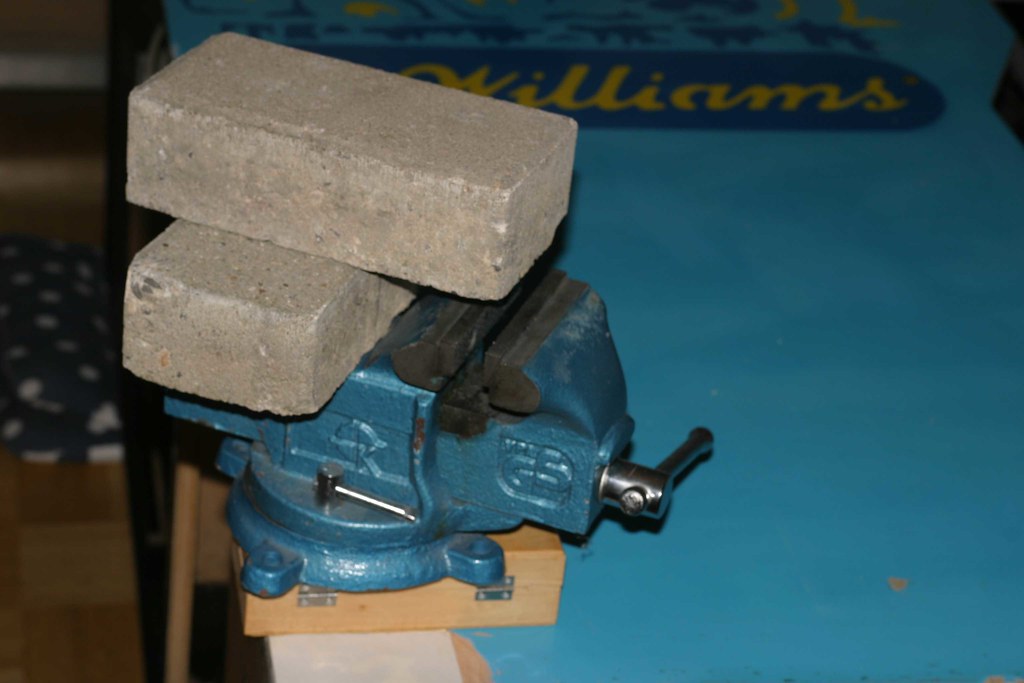
... and some weight to keep it firmly in place!
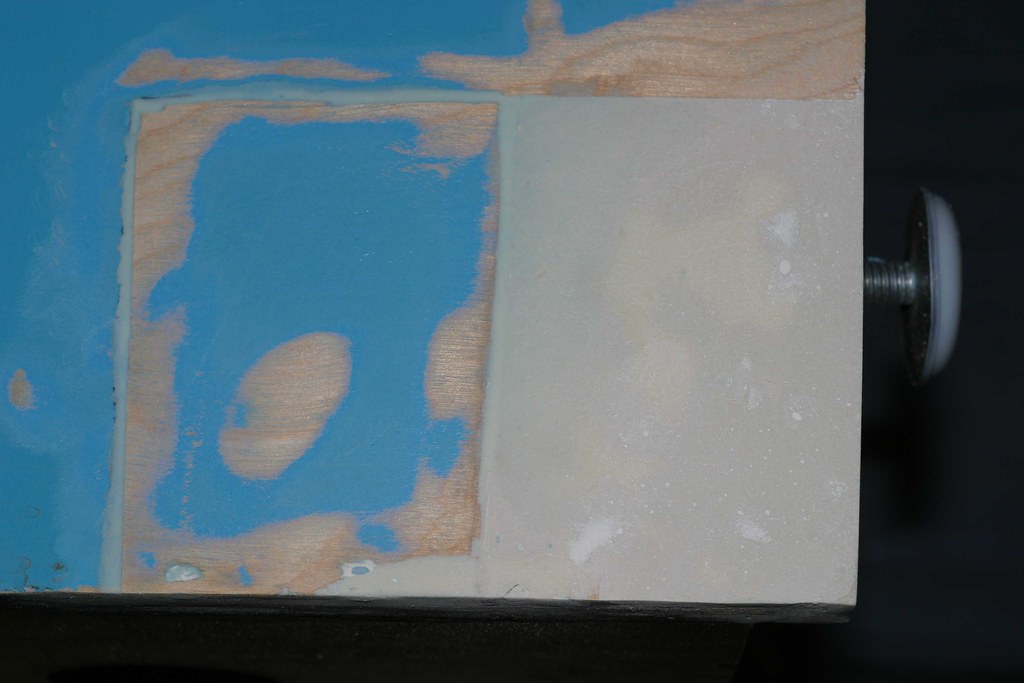
back in place, but still not finished - more cosmetic surgery to be performed
filling the cuts with woodfiller (and evening out some imperfections of the "first patient" on the right)
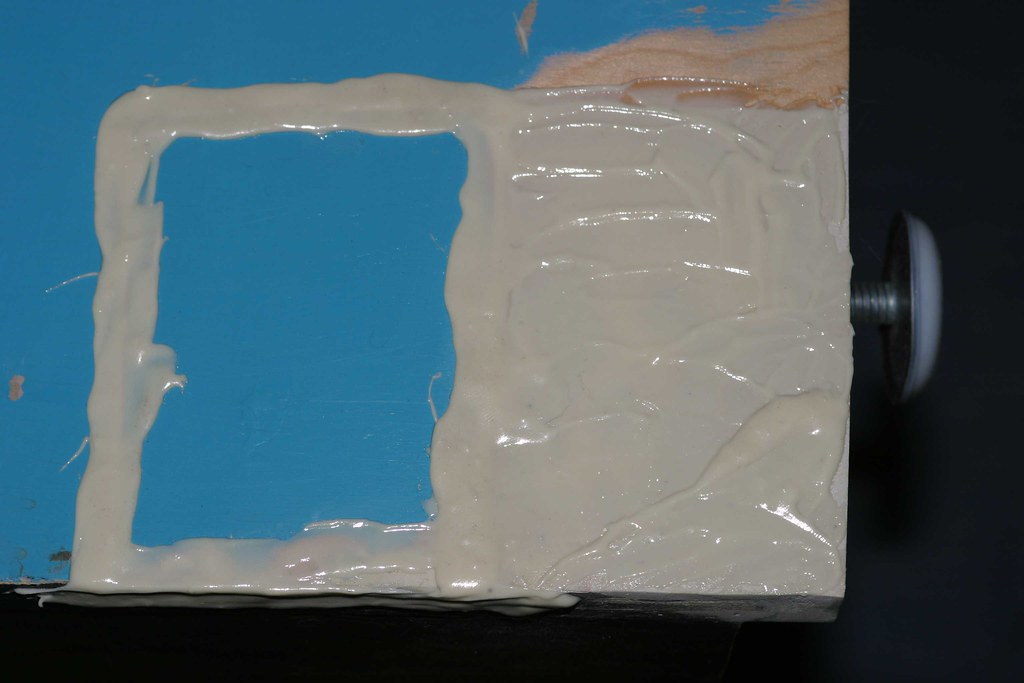
here we go, the patient after making a full recovery!

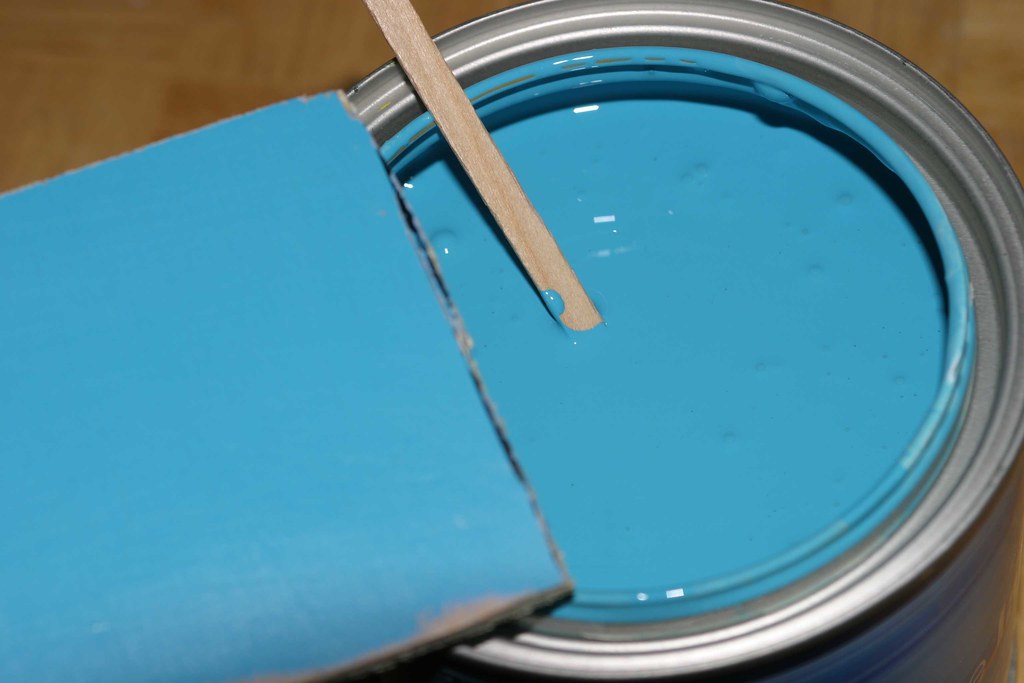
now i can finally try bruno's paint on the real deal: my beloved moon patrol cabinet. for testing purposes, i'll by applying some paint in two different spots. directly after painting it on, i'm shocked: the paint is way too bright!

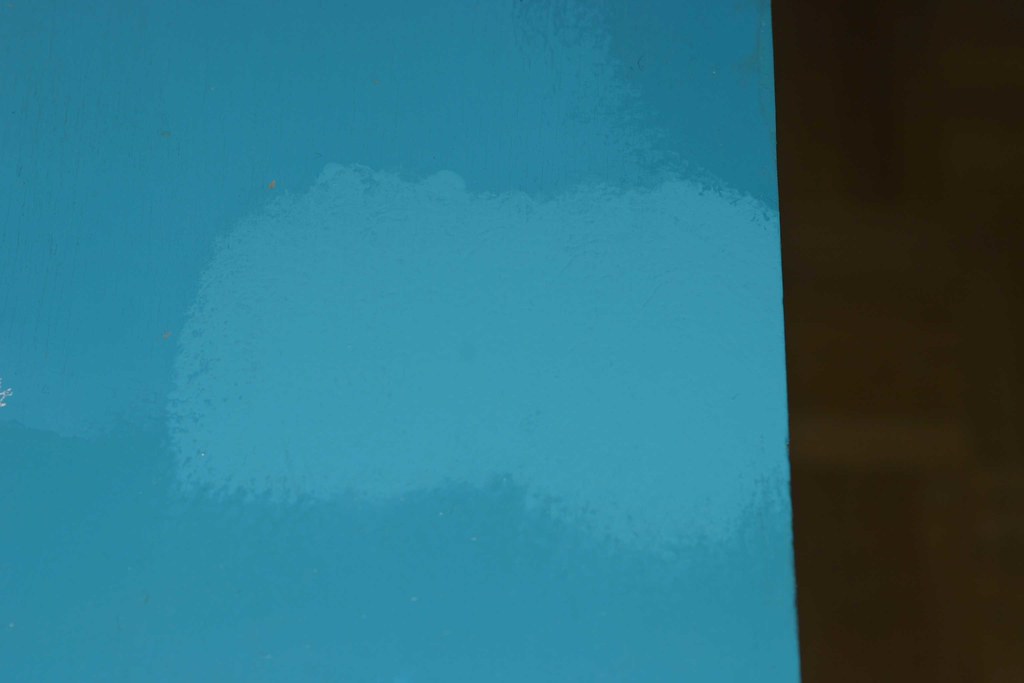
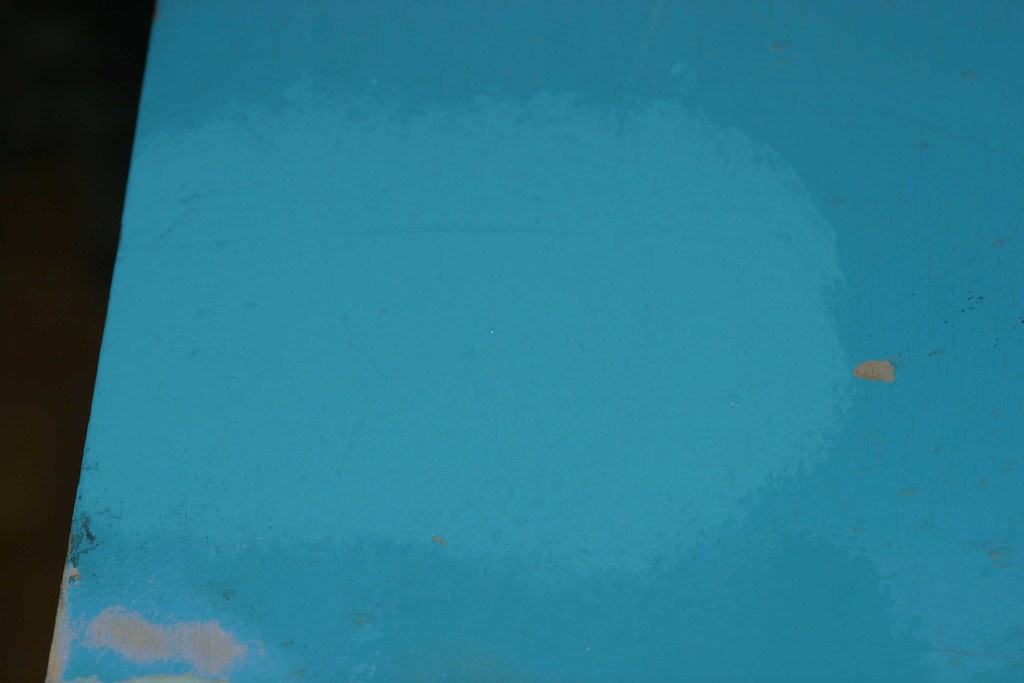
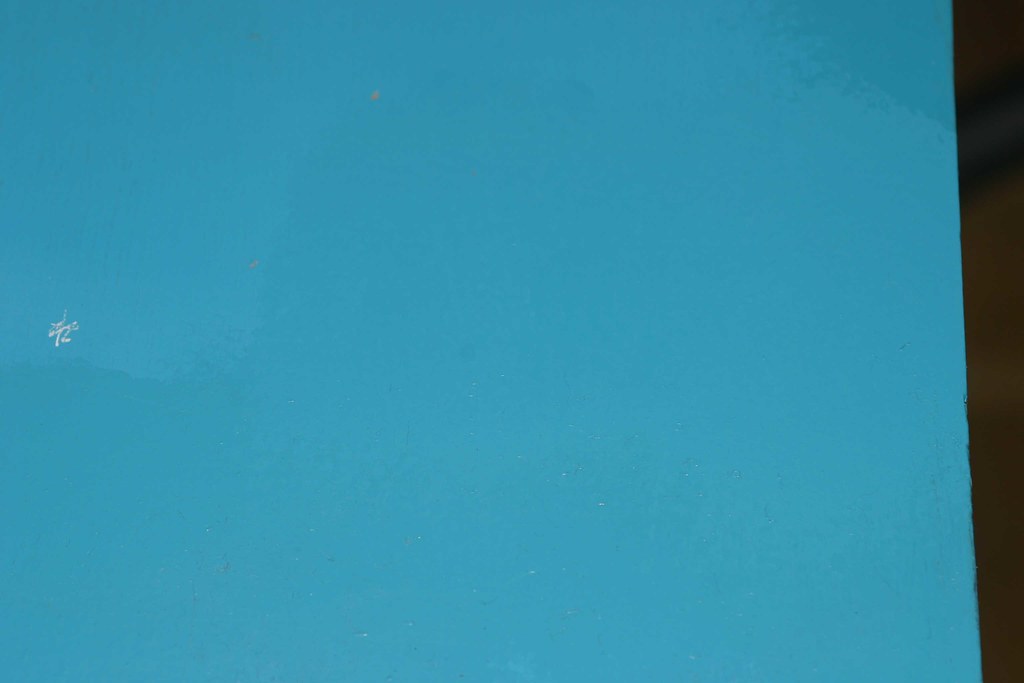
fortunately i soon realize that the paint dries out much darker and after a couple of hours the final results are in - can you spot it (roughly in the middle of the following two pictures, NOT the darker spot in the lower / right edge)? it's not 100 % perfect, it's a little bit too dark, but so much better than what i had before. PLUS i've realized that there are different shades of blue on the cabinet, the upper back part is somewhat darker that the lower part, probably because of different exposures to light. i knew beforehand that touchups will never be a perfect solution, but the cab and the sideart are in such a nice condition that restencilling it would be simply stupid!
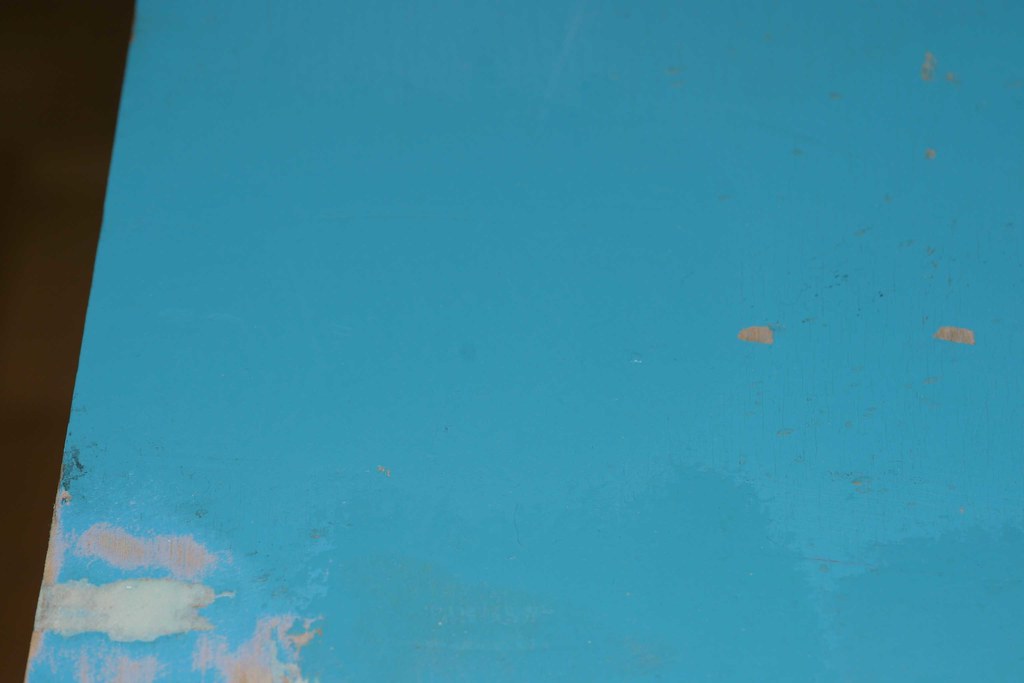
however, i still want it to be a little bit better and because i have so much paint, i can try some variations and i manage to come up with an almost perfect match by adding some drops of white. with that mixture in an extra can, i can finally start repainting the cabinet!
i use a small brush for the tiny imperfections ...
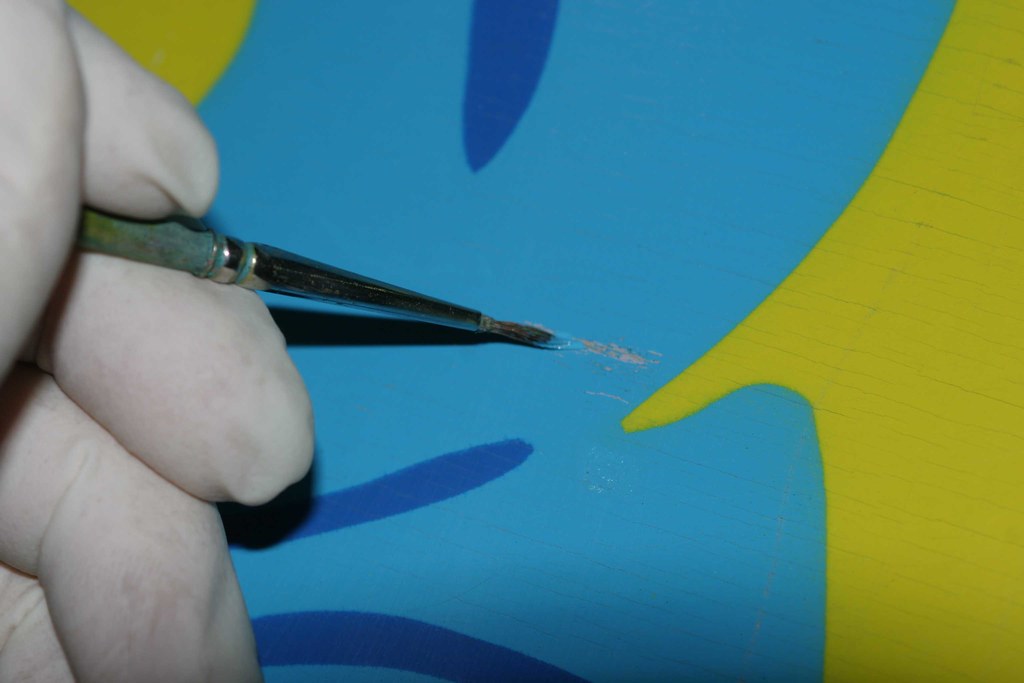
... and a foam roller for larger areas. once again, the paint starts out too bright, but eventually settles to a nice shade of blue!

of course the touchups are visible under certain viewing angles and light conditions, but as i've stated before, i will most likely be applying a protective clear coat which will hopefully even out the differences a little bit more. nevertheless, this result was totally worthwhile all the efforts! thanks again to bruno for the paint, couldn't have done it without your help

two colors left: yellow and dark blue. i'll be doing some window shopping this week trying to find a matching dark blue - which is going to be close to impossible, so i've already prepared myself for another paint mixing session! as for the yellow, i'm taking a different route here, because there aren't many areas in need of touch ups - and those areas are small! so i've ordered something from the uk: a grey plastic bag!

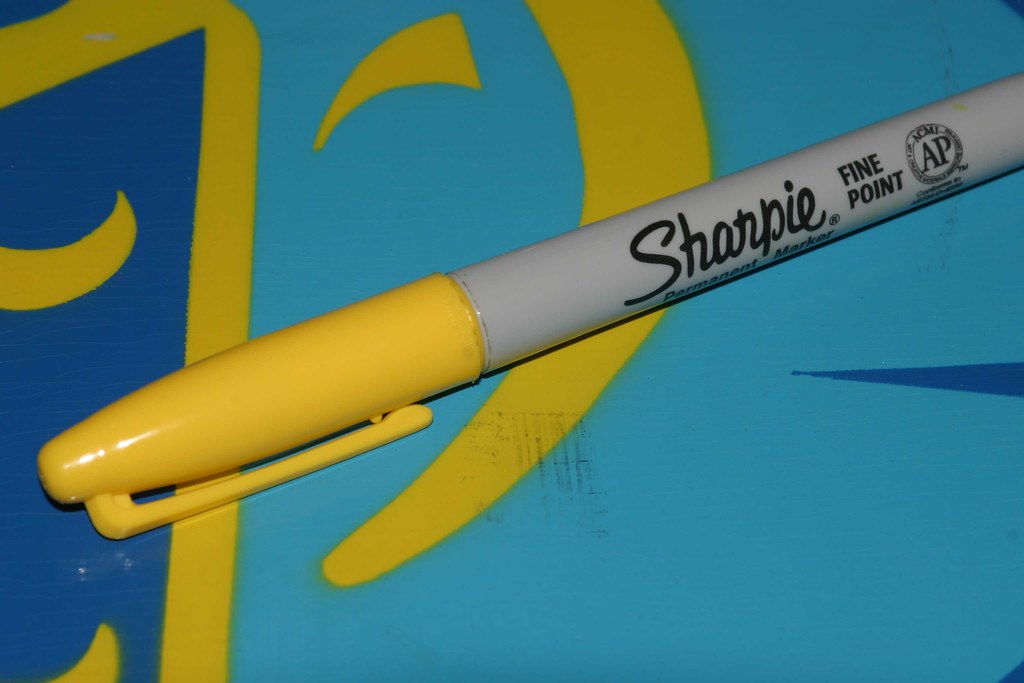
inside, a set of the famous american sharpie pens. i've read on several occasions that these are the pens you should get when it comes to touching up artwork (e.g. the red crystals on crystal castles)!
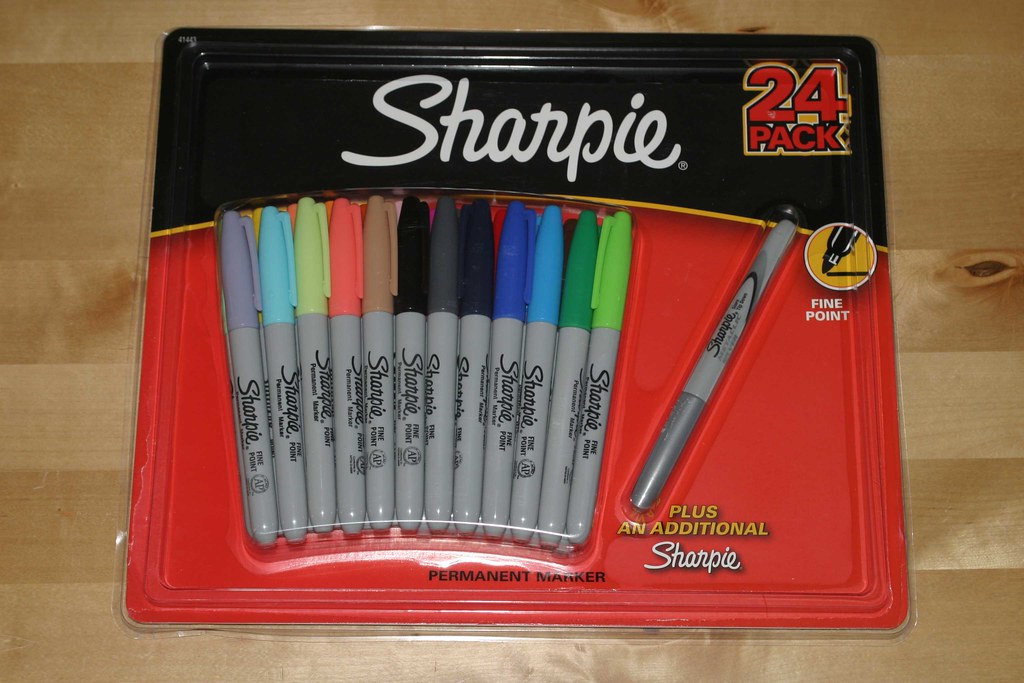
the "blues" don't match at all, but the yellow looks very promising
great, the yellow covers up those black stripes nicely!
(but i've just realized that there's another light blue area which i missed)
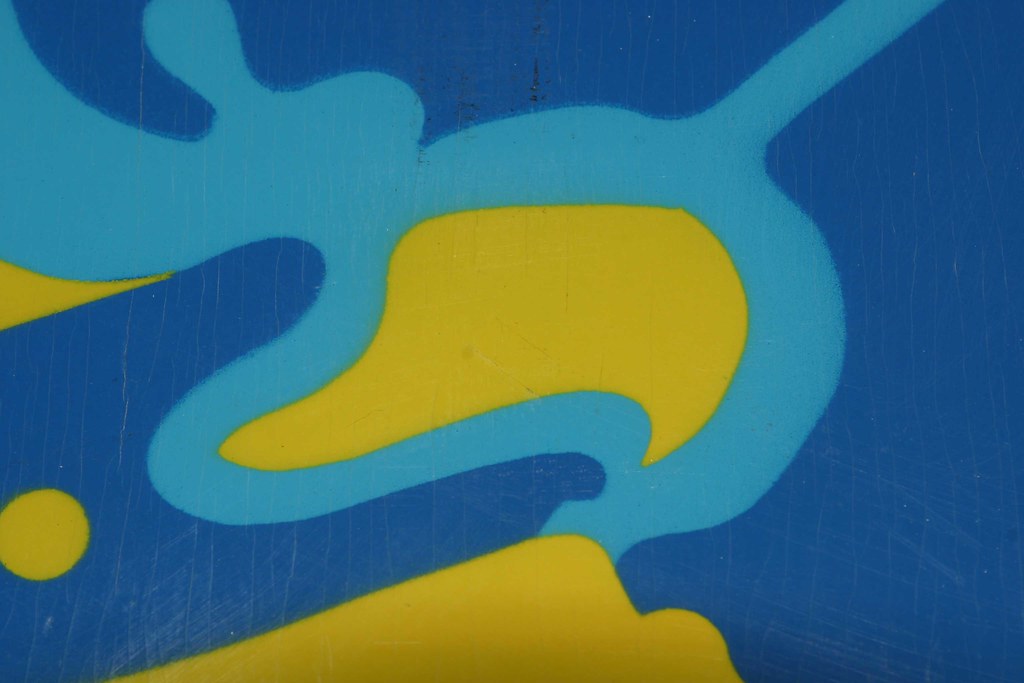
here's another example: BEFORE

AFTER
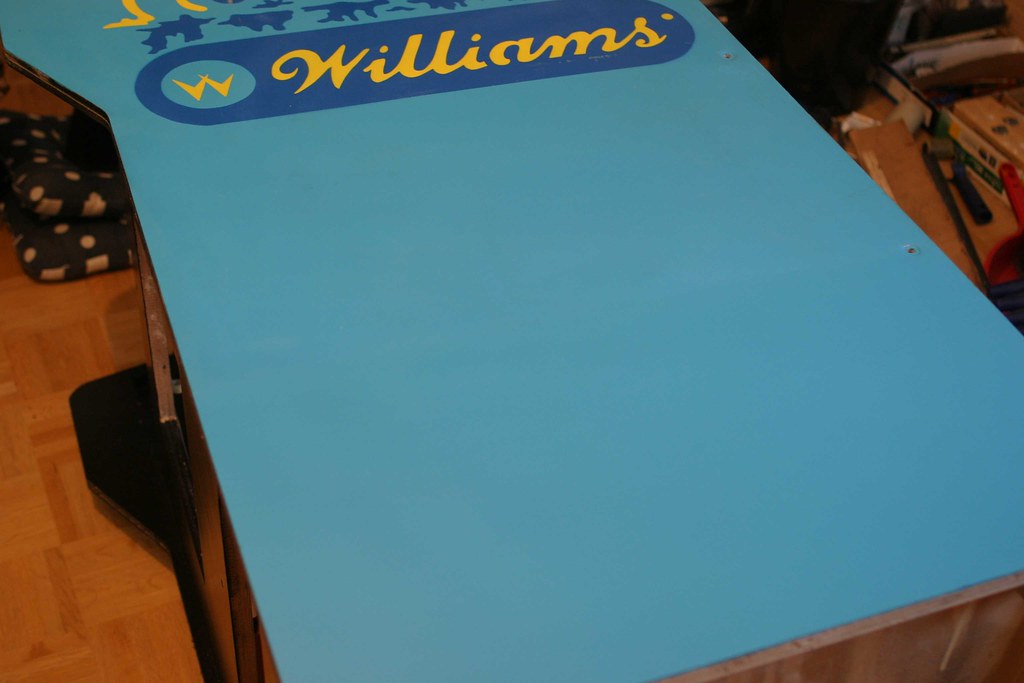
here's where i stand: i've done light blue and yellow on the left side and only yellow on the right side. up next is the missing light blue on the right and then hopefully the final color: dark blue. once this is done, i'll roll on one coat of clear and put the cab back together. all the parts are finished, the game is working - BRING IT ON!!!
 to be continued ...


