the restoration continues ...the monitor area after some layers of fresh paint and a lot of kitchen towels

overall, the bezel itself is in good condition, just some minor flaking on the edges which won't be visible in the dark

gotta love

that artwork

the old dutch instruction card is being replaced by a NOS english one

and the entire setup on location

on to the
coin door . although it looks ok at first glance, this is going to take a while. here's a BEFORE shot of it


like the cabinet itself, the coin door and the coin door frame have a striking structure as well. have a look ...

i've had a talk with "my powdercoater" - he is
not able to reproduce that structure, that's why giving it a new coat of paint there is
not an option

i love details like that

unfortunately, rust is everywhere

i'm using some steel wool first to remove the surface rust

and then i'm using an anti-rust primer which is supposed to work well with the rust still on the metal pieces

after applying some layers of black, here's how the coin door looks

in detail - notice that the structure is still there, but the rust and some scratches are gone


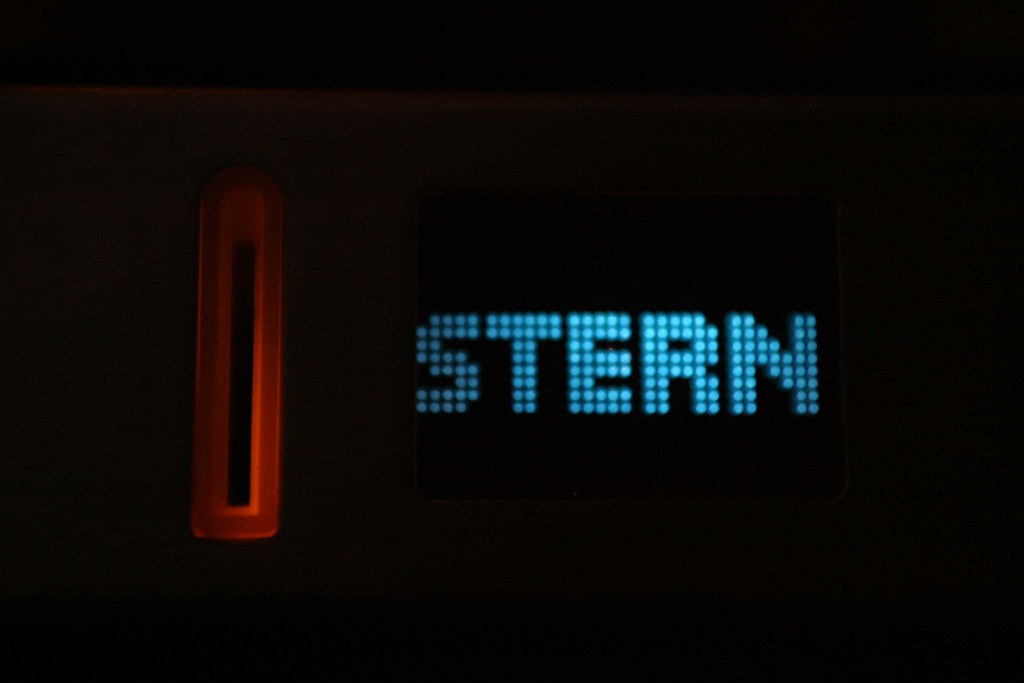
because of the rust i had to remove the old stern sticker from the center of the coin door. in order to get the replacement sticker on flat, the structure on the center plate has to go

here's the replacement sticker that andré found on an american pinball webshop

unfortunately, there's something wrong with the sticker itself, a production error. all the colors are transparent, even the red and the blue (which should not be the case) and because of that the writing in unreadable once the sticker has been applied. check it out for yourself!


there are two options regarding the sticker: andré has sent rich from thisoldgame.com a scan of the sticker to have it reproduced there OR there's another version of the stern coin door stickers available. i have to think about which route to take for a while ...
now on with the "interiors". here are the parts which could use some scrubbing

as always, some BEFORE and AFTER shots


the following piece has already been cleaned on the left side, the right side is still in its original state - what a difference


i wasn't happy with those "2x5 franc 1 play" plastic inserts, because (a) i eventually want to run the game on tokens and (b) they were partially damaged so that the coin door lights shone through. by pure luck, i found some stern replacement plastic inserts on a german pinball webshop

after removing the old plastic inserts and installing the new ones, this is how the illuminated coin door looked - very disappointing


when you have a look at the coin door from the back, it's easy to see why the stern plastic insert is illuminated just partially: the coin door lights are too far away

so let's bring out the saw and use some of my mac guyver skills

much better from the inside ...

... and fan-ta-bulous-stic from the outside! bringing the coin door lights closer to the plastic inserts (unwillingly) also "added" some ambient light to the plastic coin inserts. this looks gorgeous in the dark!

because i love that game so much, i thought "i need to have something else as a keyring pendant than the normal plastic arcade flyer thingy". and believe it or not, three weeks ago a friend of mine was clearing out his cellar and came upon a very nice toy which he gave me as a present (because he knows i love stuff like that). at first i thought about putting it on top of the cabinet, but then my brain cells connected - my berzerk keyring pendant was born. i had to partially disassemble the toy in order to get that hook through the metal head cover, but it worked like a charm. enough written, here it is: mr roboto!

on location


and the entire coin door (minus the coin door sticker): i'm thrilled!!!

 to be continued ...


