the restoration continues ...i have so many projects i can't wait to start working on, but in order to do so i have to finish off some "relics of the past". in case you don't remember (don't worry, i won't blame you if you don't

), i couldn't continue with the toobin resto because i hadn't been able to locate a nice match of the structured white vinyl. a couple of weeks ago, 3m (who produce maaaaany different kinds of vinyl) added some new shades of white to their collection and - once again - i asked for some samples. although the perfect match still wasn't amongst those, there was one which was damn close and so i decided to go with it. to be honest, i don't think that it is possible to find THE perfect match, because after 20 year,s vinyl simply slightly changes its colour and when you look at the toobin vinyl, there are different shades of white on the entire side - probably depending on where it stood and by what it was covered. i now have around 20 different samples of white - so if anyone needs a colourmatch ...

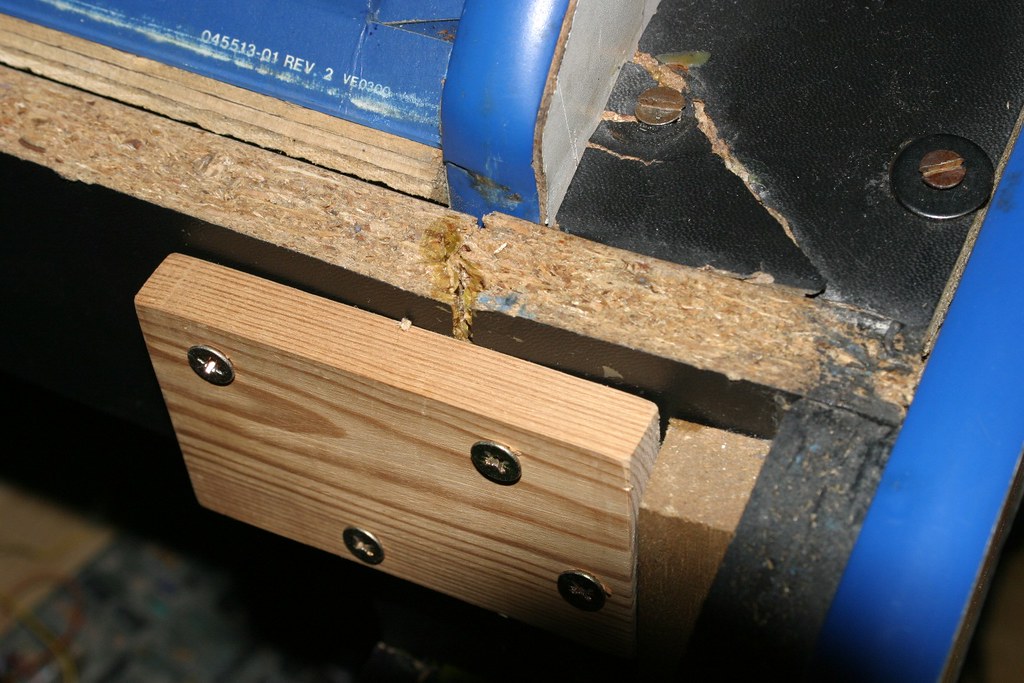
ok, back to the topic: remember: the whole right side of the control panel was broken off and had to be reconstructed. in order to do so, i also had to cut of a big part of the white vinyl. here's where we stood the last time


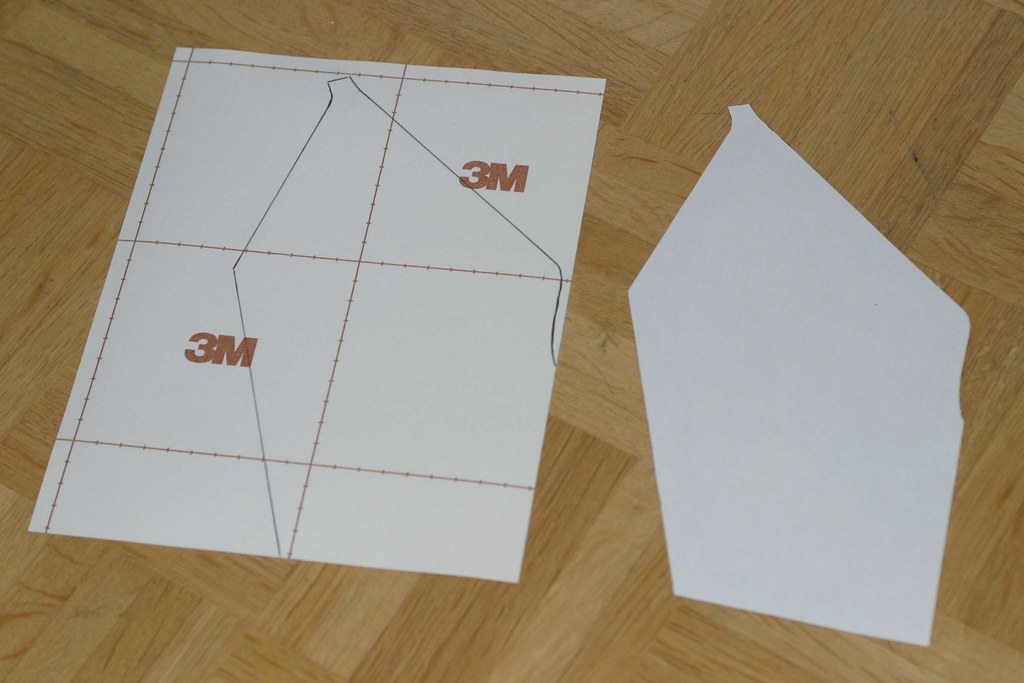
as you can see, this is not a straight shape to cut out, so in order to fit in the new vinyl, i'm making a stencil first. therefore i'm taping a white sheet of paper over the desired area and with the use of a soft pencil i'm tracing the shape of the missing vinyl.

done with the tracing

now i can cut out the result and copy it on the 3m vinyl

and here it is, already applied in the correct position. as you can see and as i've said before, it's not a perfect match, but (a) very close and (b) mostly covered by the control panel itself! for me, this is perfect enough


up next: the sides of the control panel where normally the gators lurk in the water

most of the time those gators are either missing or they are badly damaged. i got the whole package: one missing, one damaged


even worse, the wood itself had already taken a heavy beating. check it out


so i have no choice: the remaining gator has to go!

then i had to face a moral issue (or to be more precise: a monetary issue): quality has its price! the 3m-products are simply top-notch, but they cost an incredible amount of money. you get one square meter for around
50 euros PLUS shipping

- and you can't take less than one square meter. however, all i would need are two pieces for the two control panel sides, around 1 sheet of a3 paper each. unfortunately, the sample sheets 3m sends out are only a4 - and they can't do bigger. so i made a decision: i didn't want to spend 50+ euros just to cover the sides of the control panel. i asked "my friends" at 3m for 5 samples of the same white vinyl i had already used for the cabinet sides and decided to stitch them together - hoping that the gap between the seperate sheets wouldn't be apparent. looking back now, i made the right choice and saved some good money. all the white vinyl used to restore the sides was free


here's the restored wooden side with the free 3m vinyl samples i'm going to use to cover it!

i managed to find some reproduction gator sideart done by appolo a while ago. they look nice, but i don't like that reproduction note at the bottom PLUS they are smaller than the originals were. but since i bought them for good money, of course i'm going to use them. the following picture shows the applied gator sideart on top of the white vinyl. in reality, one can see where i stitched the white vinyl pieces together, but i can easily live with that!

one more thing i don't like about the appolo reproductions is that they have been cut out badly (perhaps he was drunk while doing that

). very shaky


once i'm done with the sides, i'm glueing them back on the control panel

remember: this is what the right side of the control panel looked like when i got the game

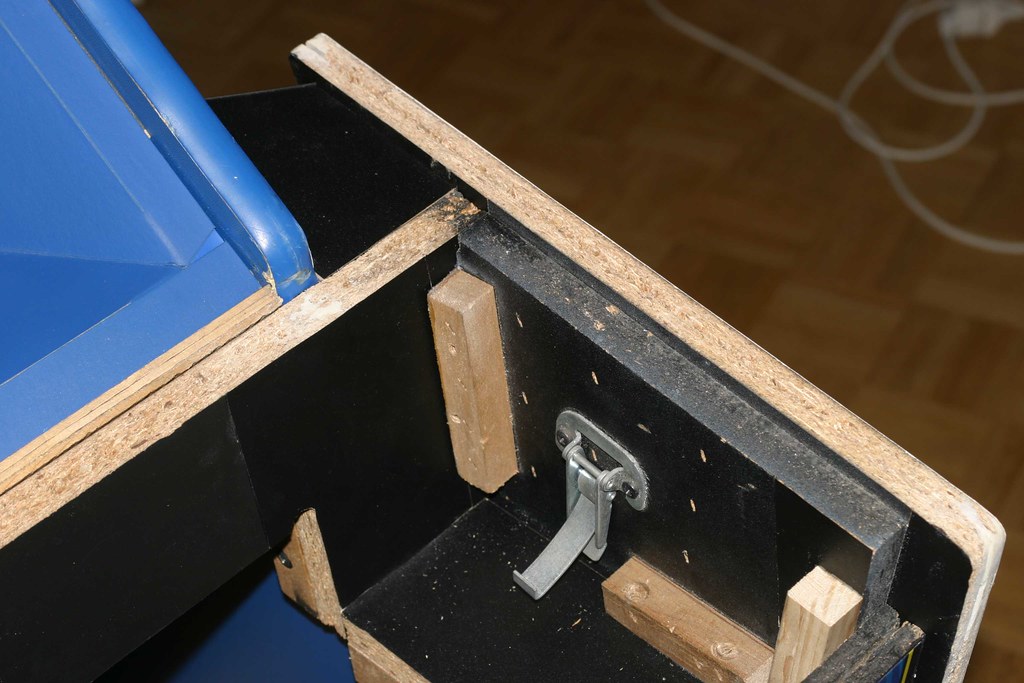
broken pieces of wood, held together by screws

i'm trying to use as many of the original pieces as possible, so after filling all the wholes and putting on new vinyl, the pieces look like new

putting the last few pieces together

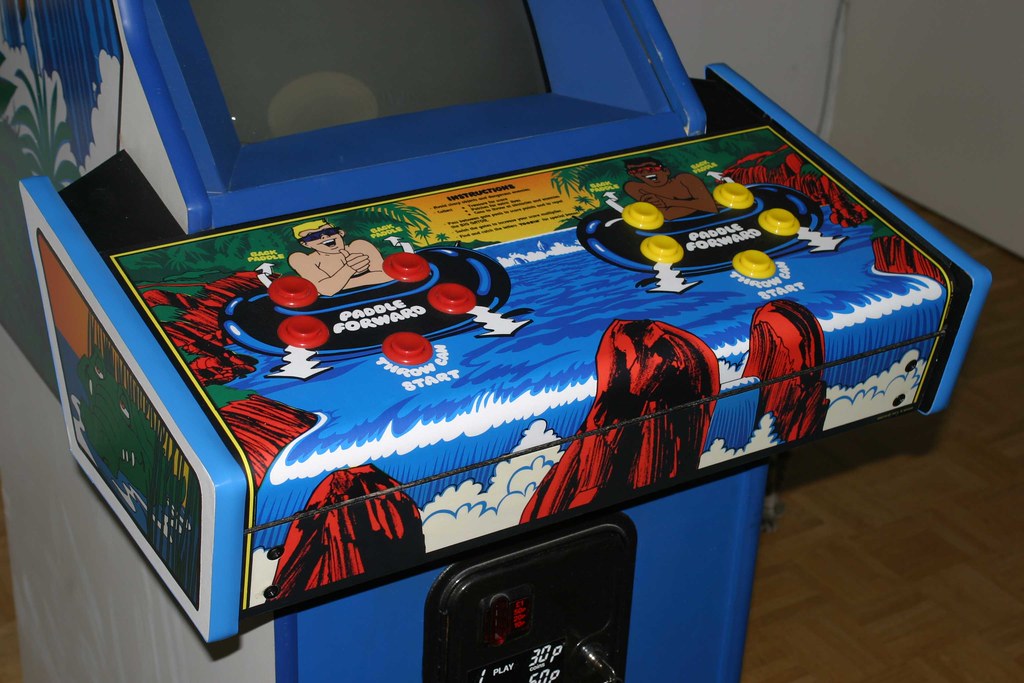
and the panel looks like new!


i'm not the only one who's happy


gnocchi's new favourite place

or not!

one more thing to do (for now): replace the t-molding on the control panel. although the t-molding on the cabinet isn't perfect, i decide against replacing it, because there is no colour match for the blue t-molding. i'm using the light blue version for the panel because it matched well with the light blue of the overlay.
here's the old (worn) t-molding in comparison to the new light blue version i'm going to use


see how the t-molding blends in with the light blue of the overlay

it took me some time (and money), but these are the moments that outweigh all the rest


some more shots of the (almost) finished cabinet


as always: the keyring!

i L-O-V-E

that cabinet

i'm
almost done with this restoration, there's only one thing left to do: fix the missing pieces of the sideart. but this is something which can be done "on location", so i'm moving the game into my living-room next to some of the others. isn't that a nice lineup?
 stay tuned for the final chapter ...